
The ingredients for homemade past are very simple.
2 Cups flour (wheat or white)
2 Eggs
Some water
period
that is all!

Dump your flour onto the counter or whatever surface you would like to use
it is best if it is a clean surface
nothing is yuckier than grit in your pasta
Make a fun little volcano and crack your two eggs into it.
 Then starting on the outside work the flour and the eggs together with your hands

I recommend taking your rings off….my wedding ring still hasn’t recovered from the eggy flour mixture.
This is what it will look like when the eggs and flour are combined, it will be a dry crumbly mess.
This is where the water comes in.
Add water about a Tablespoon at a time until you get a very dry, very stiff dough. The amount of water you use will vary each time depending on many factors.

Kneed and mix everything together really well

 Once the dough looks like this let it rest on the counter top (or surface of your choice.) for 10 to 30 minutes, covering it with a damp cloth.

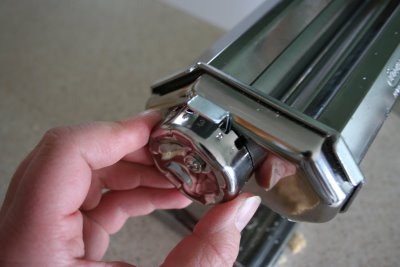
While the dough is “resting” (whatever that means) set up your pasta maker.
If you are simple like me it will be of the hand-crank variety
(which preforms wonderfully)
or an electric one.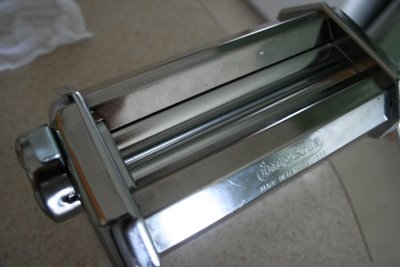
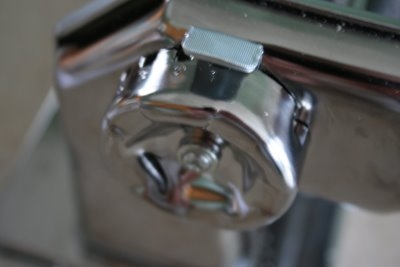
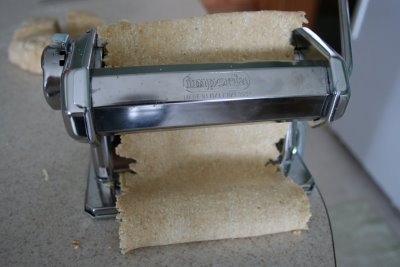
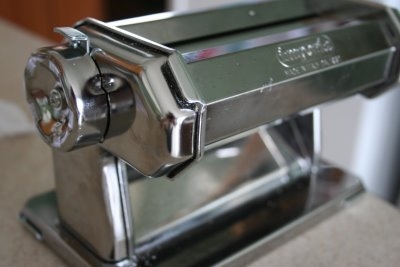 and set it to the biggest setting, where the rollers are as far apart as they will go.
or an electric one.

 and set it to the biggest setting, where the rollers are as far apart as they will go.

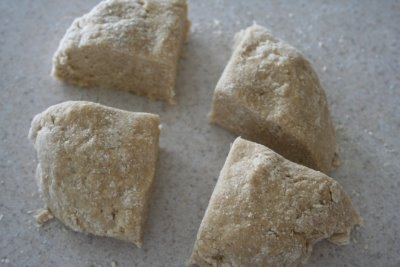
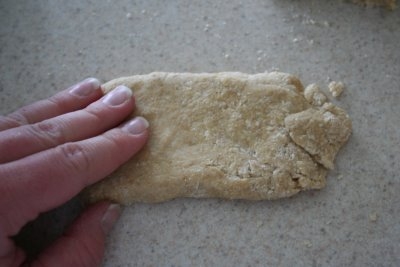
Once your dough has had a nice nap cut it into fourths, it it easier to work with. Cover the pieces that you aren’t working with with your damp cloth so they don’t dry out too much.
 Moosh your piece out kind of flat….
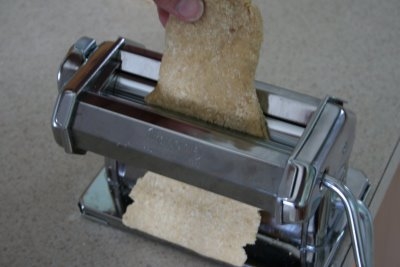
 and push it through the roller
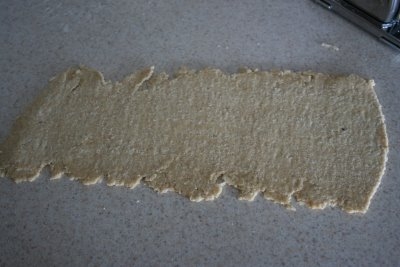
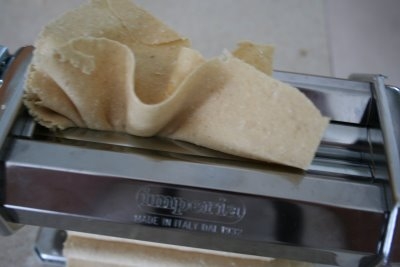
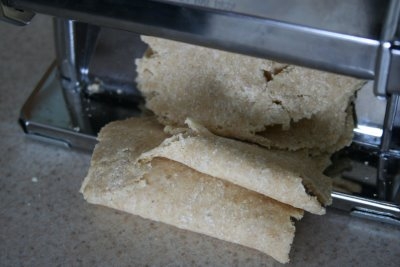 After the first pass through the machine it will look like this and you will think you are a pasta-making-failure, but don’t despair, this is a normal step.

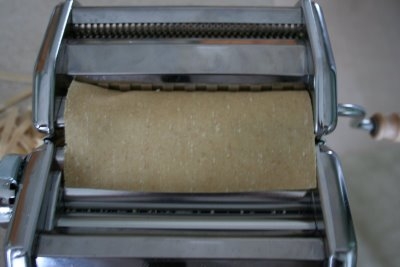
Gather it all together and fold it as best as you can and give it another pass through the machine.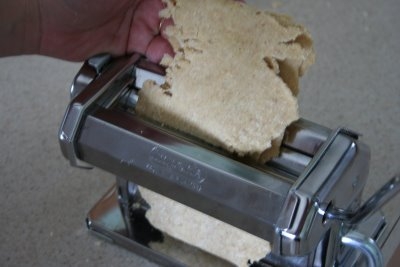 When it starts sticking together well, adjust the pasta maker to a lower setting (so the rollers are closer together)
 Moosh your piece out kind of flat….
 and push it through the roller

 After the first pass through the machine it will look like this and you will think you are a pasta-making-failure, but don’t despair, this is a normal step.

Gather it all together and fold it as best as you can and give it another pass through the machine.

 When it starts sticking together well, adjust the pasta maker to a lower setting (so the rollers are closer together)


Fold the dough up and make some more passes
 All you do now is fold and run through the machine….adjust down…..and fold and run.
 (look how bad I am, that is some uncovered dough in the back ground! tisk-tisk!)
 (and if this happens during one of the passes, don’t fret, it will iron itself out)
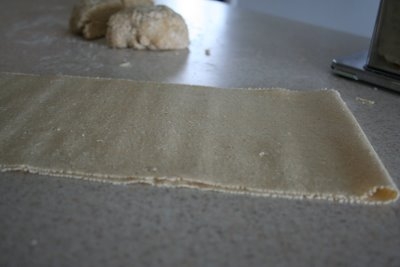
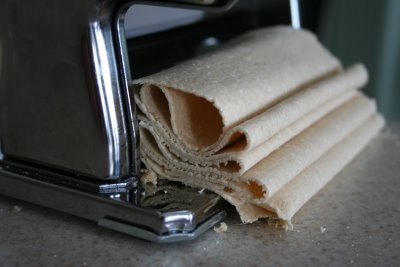
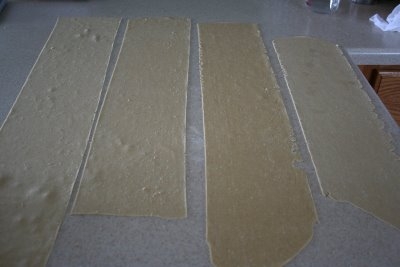
 Lay the big sheet of pasta out on the counter top…(or surface of choice) and rest (there is that word again) for about thirty minutes.
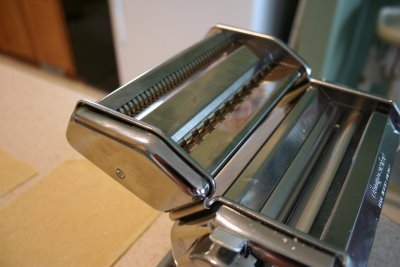
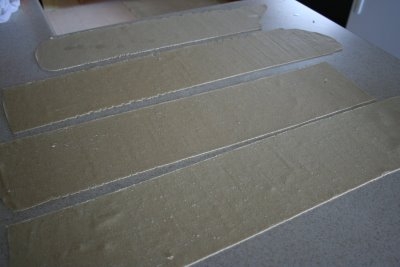
When you are ready to cut the pasta put on the attachment of your choice. (At this time I only have two, but that will be changing!) and cut the big sheets of pasta to the length desired. I was making mine for Chicken Noodle soup, so I only wanted them about three inches long. I used a pizza cutter and quickly make the cuts.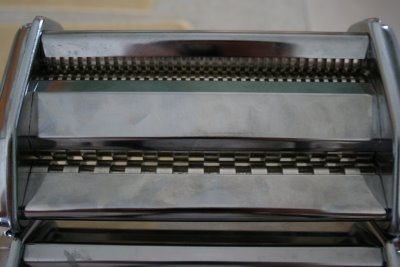
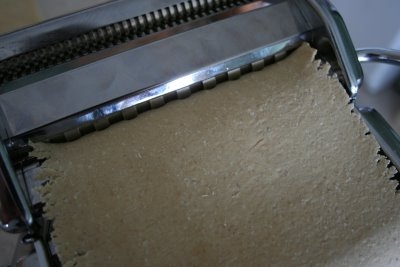
Then you just feed it through the cutter and (taadaa) pasta!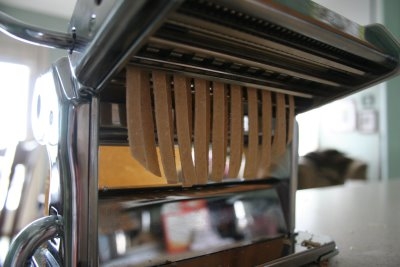
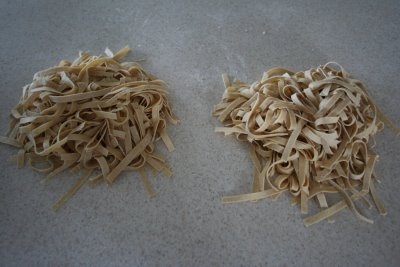
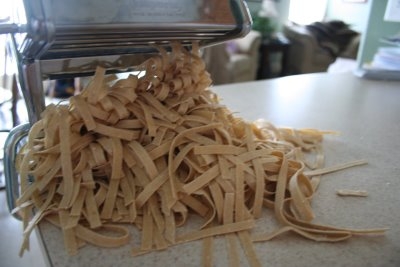 This recipe will make two pounds of pasta.
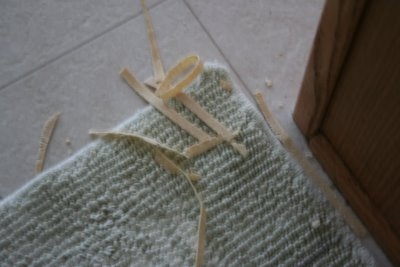 (I am not so much loving the small pile that made its way to the floor, not my surface of choice)
 and a quick picture of the living room without laundry all over
(just give it a couple days…)
 All you do now is fold and run through the machine….adjust down…..and fold and run.
Very Simple.
 (look how bad I am, that is some uncovered dough in the back ground! tisk-tisk!)

 (and if this happens during one of the passes, don’t fret, it will iron itself out)
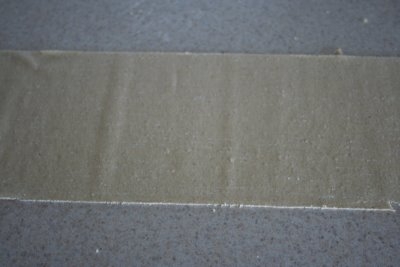
Keep going until it is at its smallest setting, or until you are at the thickness you like.

 Lay the big sheet of pasta out on the counter top…(or surface of choice) and rest (there is that word again) for about thirty minutes.


When you are ready to cut the pasta put on the attachment of your choice. (At this time I only have two, but that will be changing!) and cut the big sheets of pasta to the length desired. I was making mine for Chicken Noodle soup, so I only wanted them about three inches long. I used a pizza cutter and quickly make the cuts.


Then you just feed it through the cutter and (taadaa) pasta!


 This recipe will make two pounds of pasta.
I love that big fat pile!
 (I am not so much loving the small pile that made its way to the floor, not my surface of choice)
 and a quick picture of the living room without laundry all over
(just give it a couple days…)
I divided the pasta into two piles, one for the soup and one for the freezer.
I haven’t learned how to dry pasta yet, but when I do I will be sure to tell y’all
(Kristi the “y’all” is for you!)
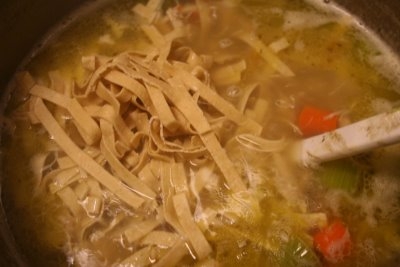 Into the soup pot it goes and since it is fresh it only takes about 5 minutes to cook, and onto the dinner table.

No more dried, store bought pasta for this family.

 Into the soup pot it goes and since it is fresh it only takes about 5 minutes to cook, and onto the dinner table.
YUM!

No more dried, store bought pasta for this family.


