This past week my family and I went on vacation to Yellowstone National Park.
This is my third trip up there and my children’s first.
Yellowstone is seriously one of my favorite places to visit.
More about that later.
We stayed in a town called Island Park in Idaho,
my family (Parents and married sisters) rented a cabin (that was fabulous, thanks Lindi) which made things easier.
We were able to cook all of our own meals, and that saved us a ton of money. I can’t even imagine what we would have spent had we eaten out, all three meal with our family of 7!
Even though we were able to save some in the food department I still spent my whole grocery budget for the rest of the month on our 5 day trip. I didn’t cook like I usually do (breakfast was cereal and that can get pricey with 7 people eating) and I knew we would need a lot of prepackaged snacks for the ride through the Park.
This is going to present a bit of a challenge for the next week and a half. I am going to have to feed my family from the food I have stockpiled, and even though it will be a challenge, I think it will be fun.
Last night I went scavenging and this is what I came up with. Sorry it is a little disorganised, I was seriously making things up as I was going.
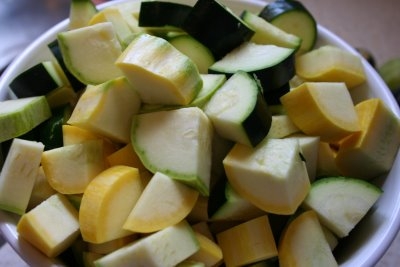
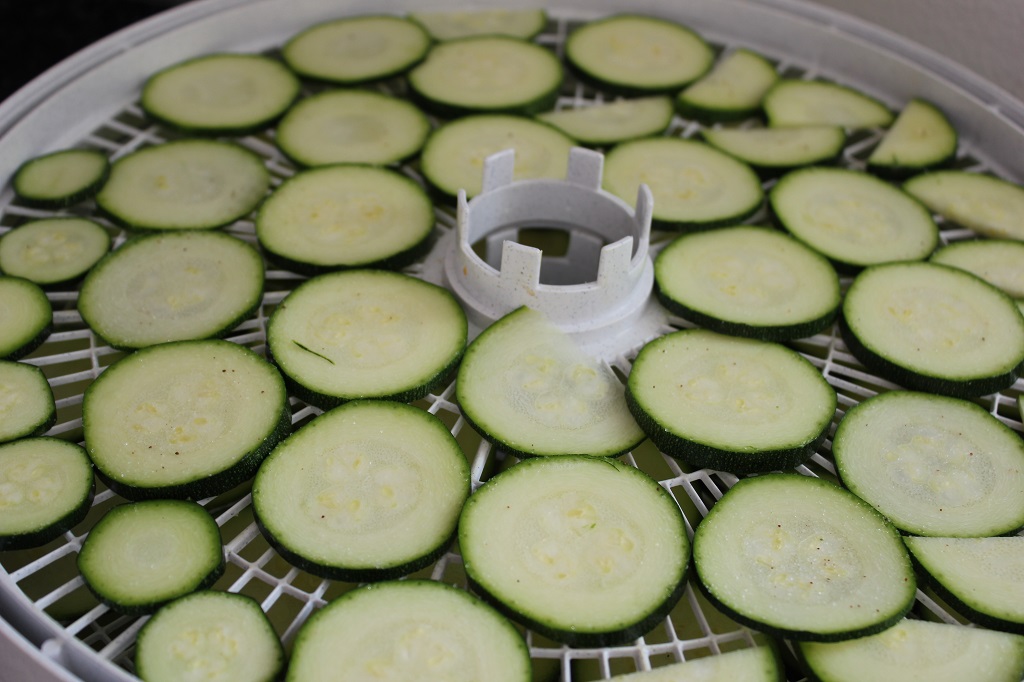
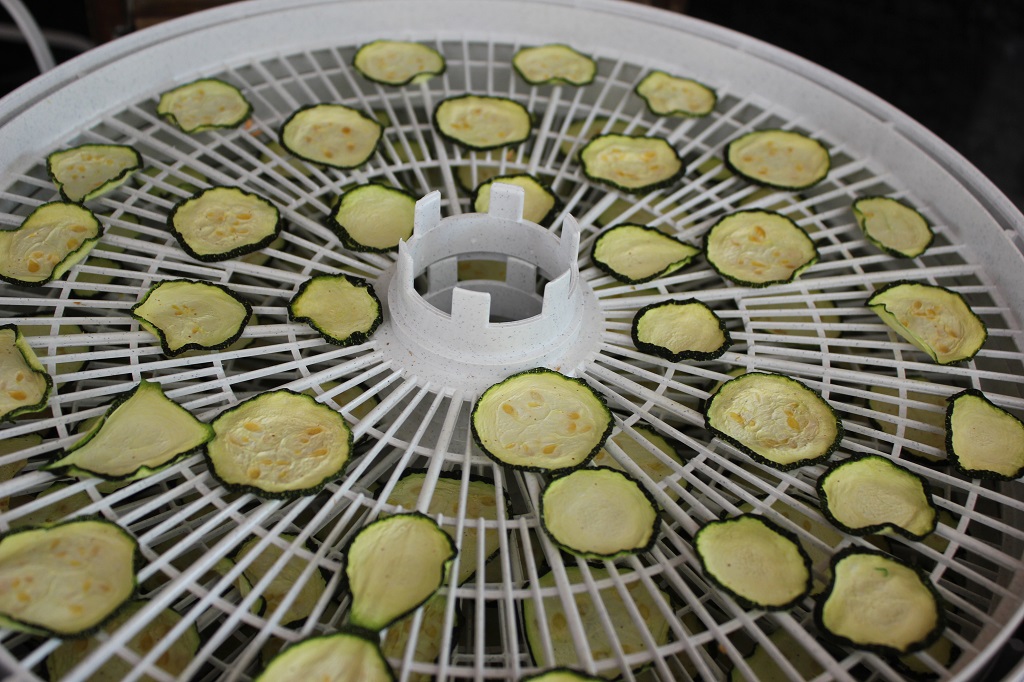
While we were gone my summer squash exploded, so I figured that would be a good starting place.
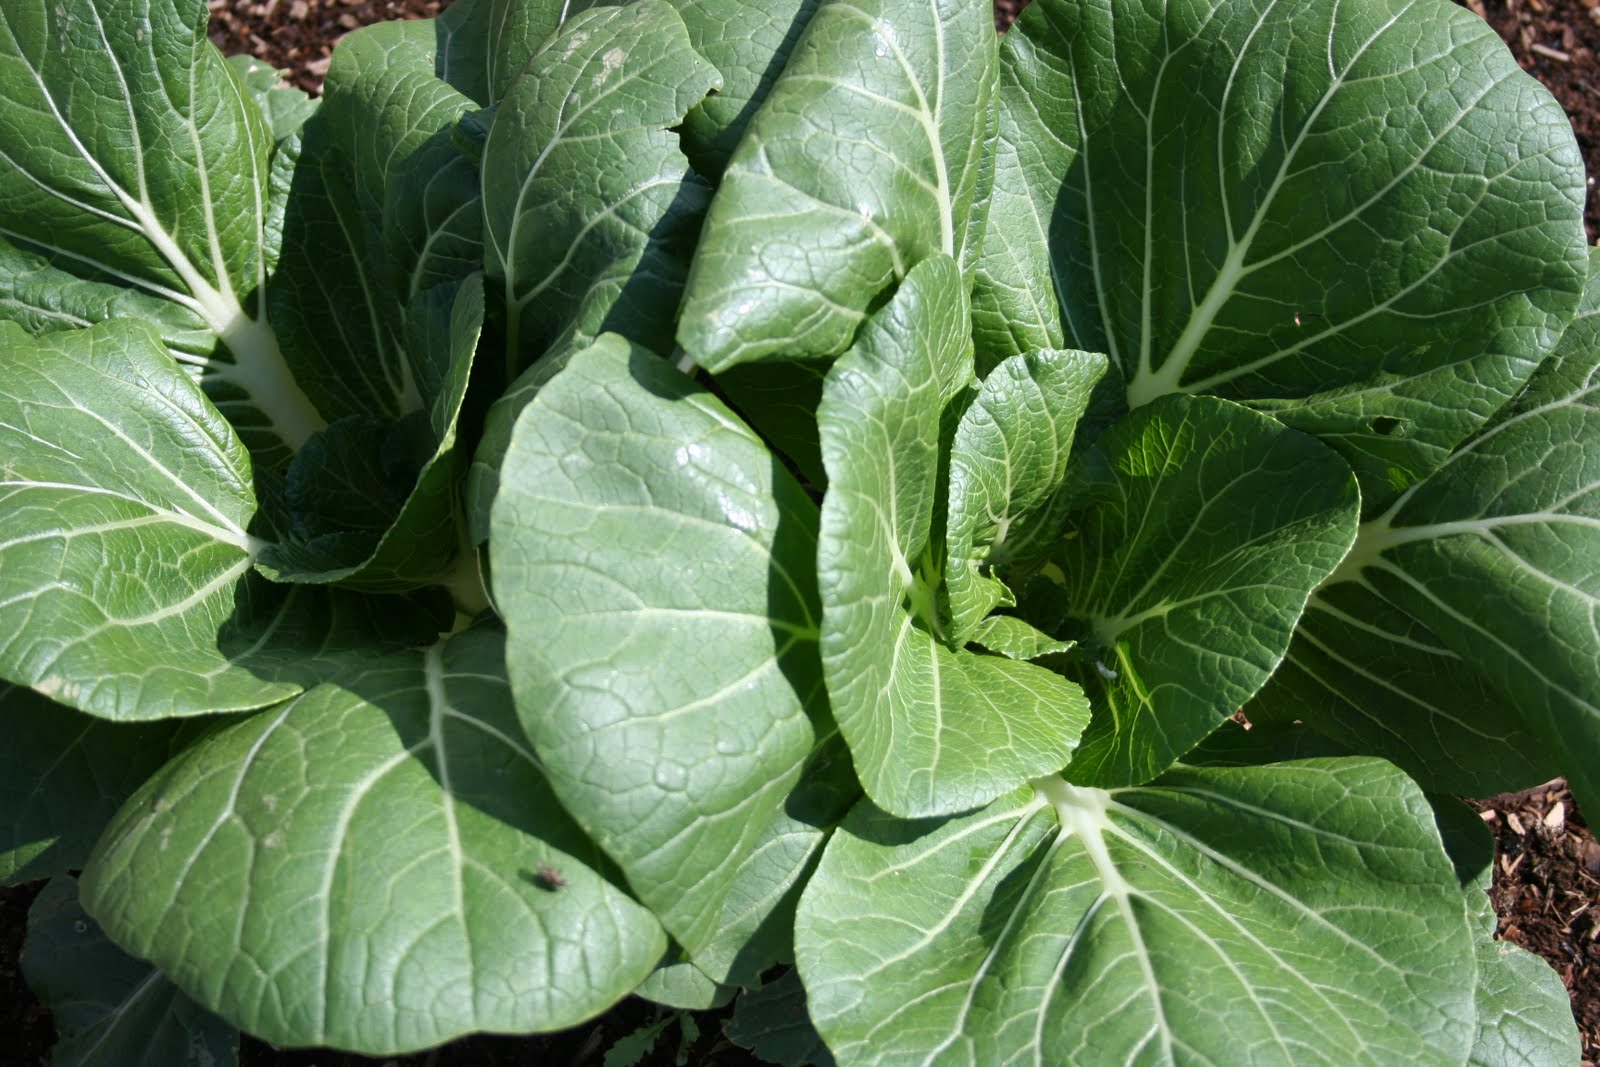
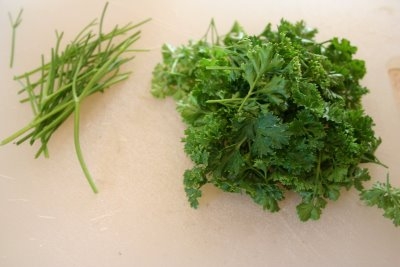
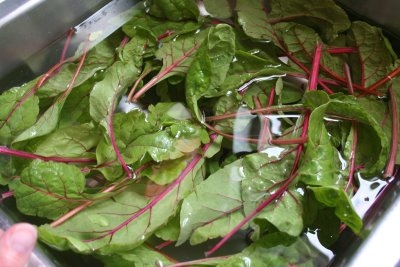 I also have very vigorous Chard plants, I cut a bunch and put them into my sink full of ice water, to crisp up.
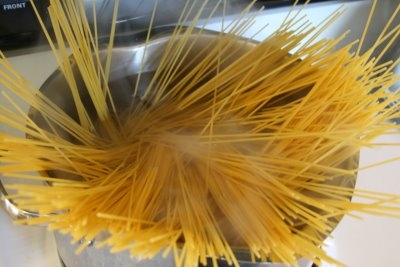 I felt like pasta, so in goes the spaghetti noodles into a pot of salted, boiling water.
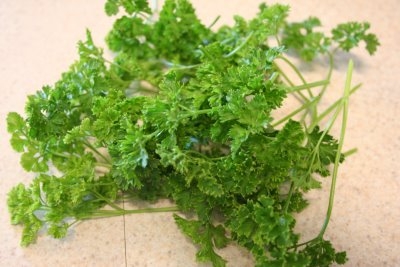 I also had some parsley from the garden that needed to be cut, and I love parsley in hot pasta.
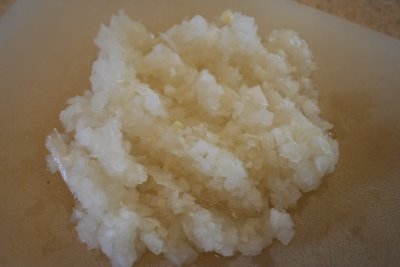 Knowing that I needed to cook my summer squash and not really wanting to go the traditional route of boiling or steaming them I figured I would try sauteing them with some Olive Oil, Onions and Garlic. I like the flavor of onions, but not a big crunchy chunk of onion. So I chopped them really fine. (I will admit I used my Pampered Chef chopper, on my own I wouldn’t have had the attention span to chop that onion that small!)
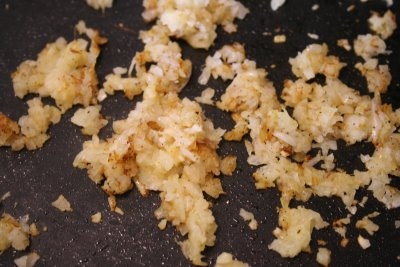 Then I threw the onion in a hot skilled with three cloves of crushed garlic, some olive oil and salt and pepper and cooked then until they had a nice brown color.
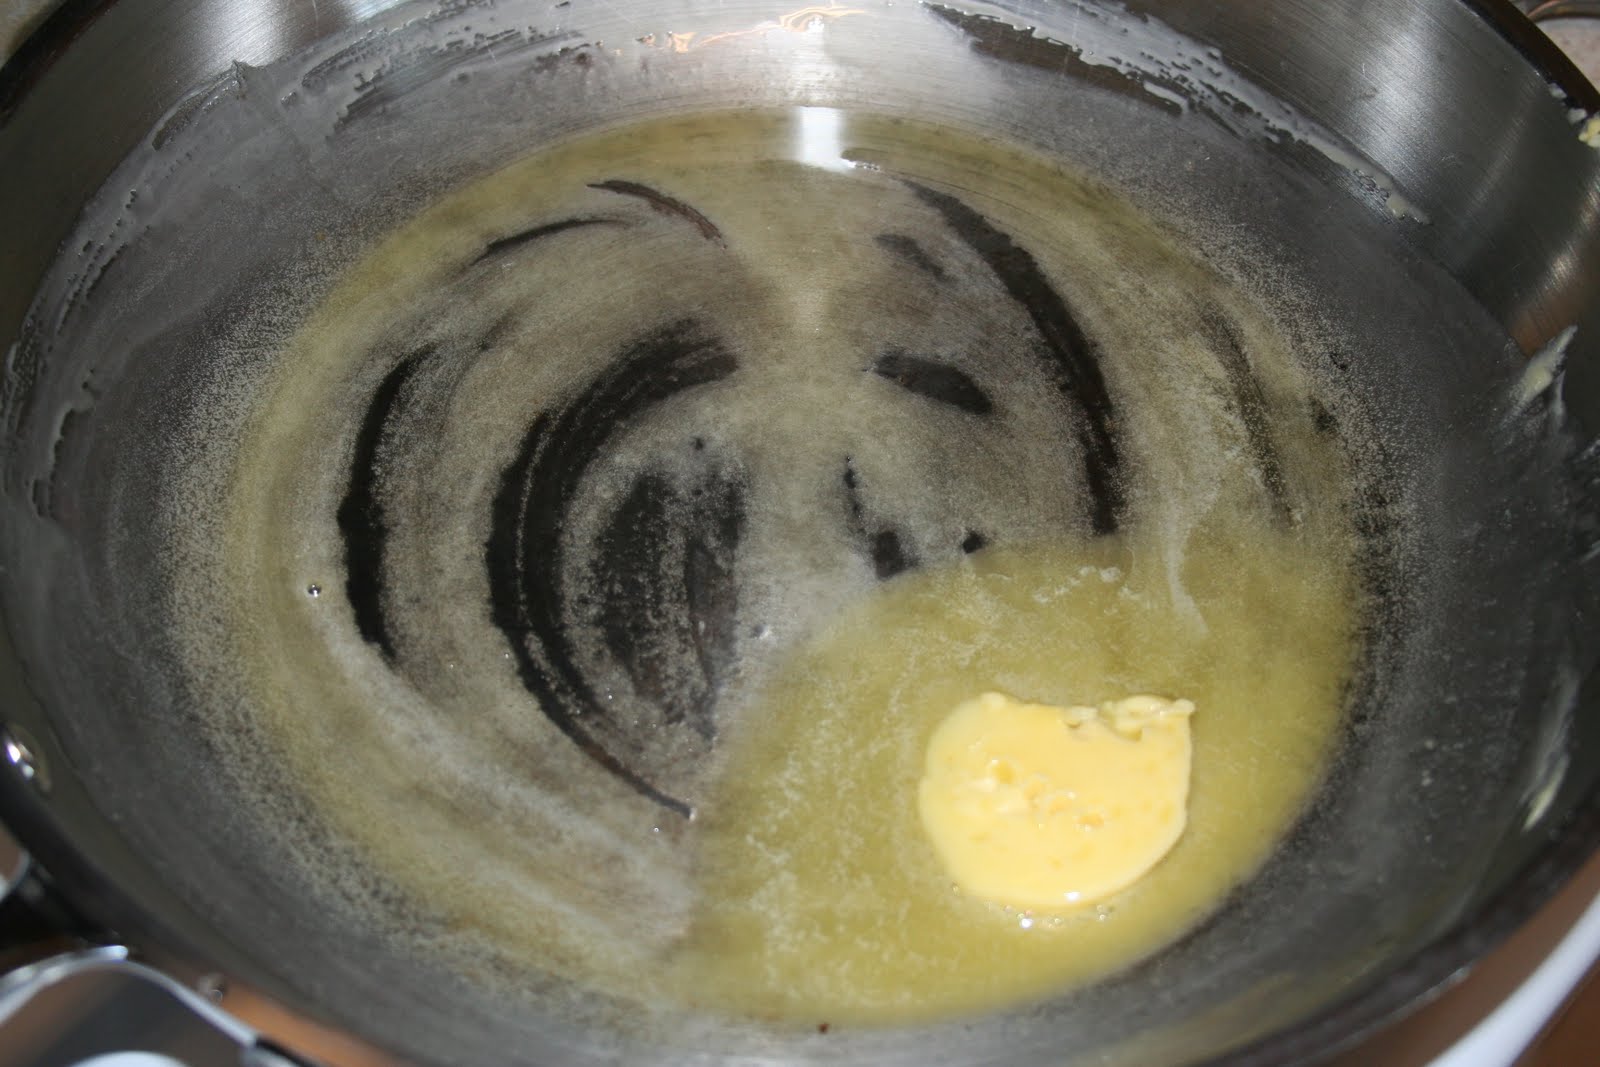
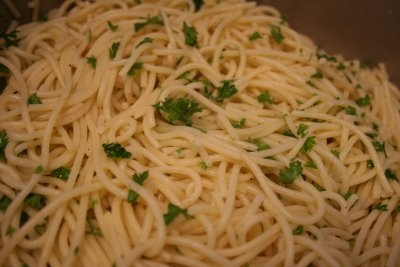
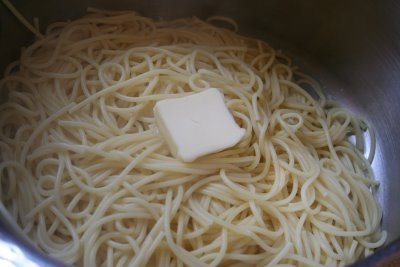 Meanwhile the pasta had finished cooking I drained it and slapped a pat of butter on top. Typically I would have stirred in Olive Oil, but for some reason I felt like butter…mmm…butter!
This will keep the noodles from sticking together while I was working on the rest of the dish, and butter adds a nice, buttery flavor.
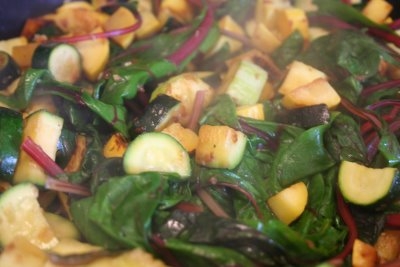
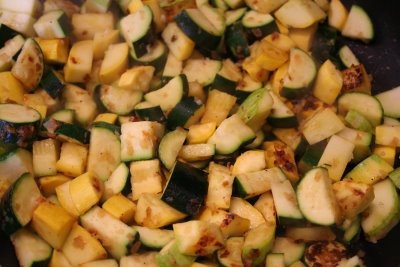 I put the summer squash in the nice hot skillet with the browned onions and let them cook stirring frequently. I didn’t want those little guys to burn!
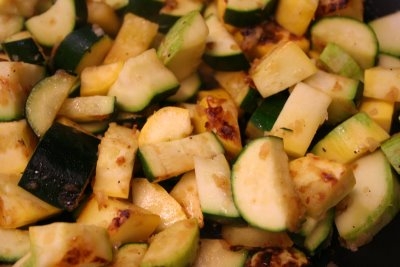 Don’t they look yummy!
That right there would be a great side dish.
 While the summer squash was cooking I prepared the parsley, after washing it I separated the tender leaves from the harder stems.
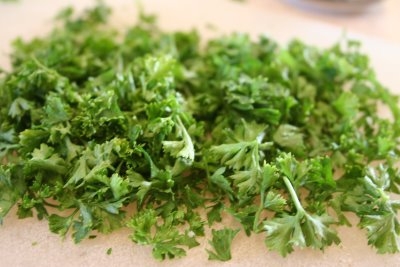 Then I coarsely chopped it.
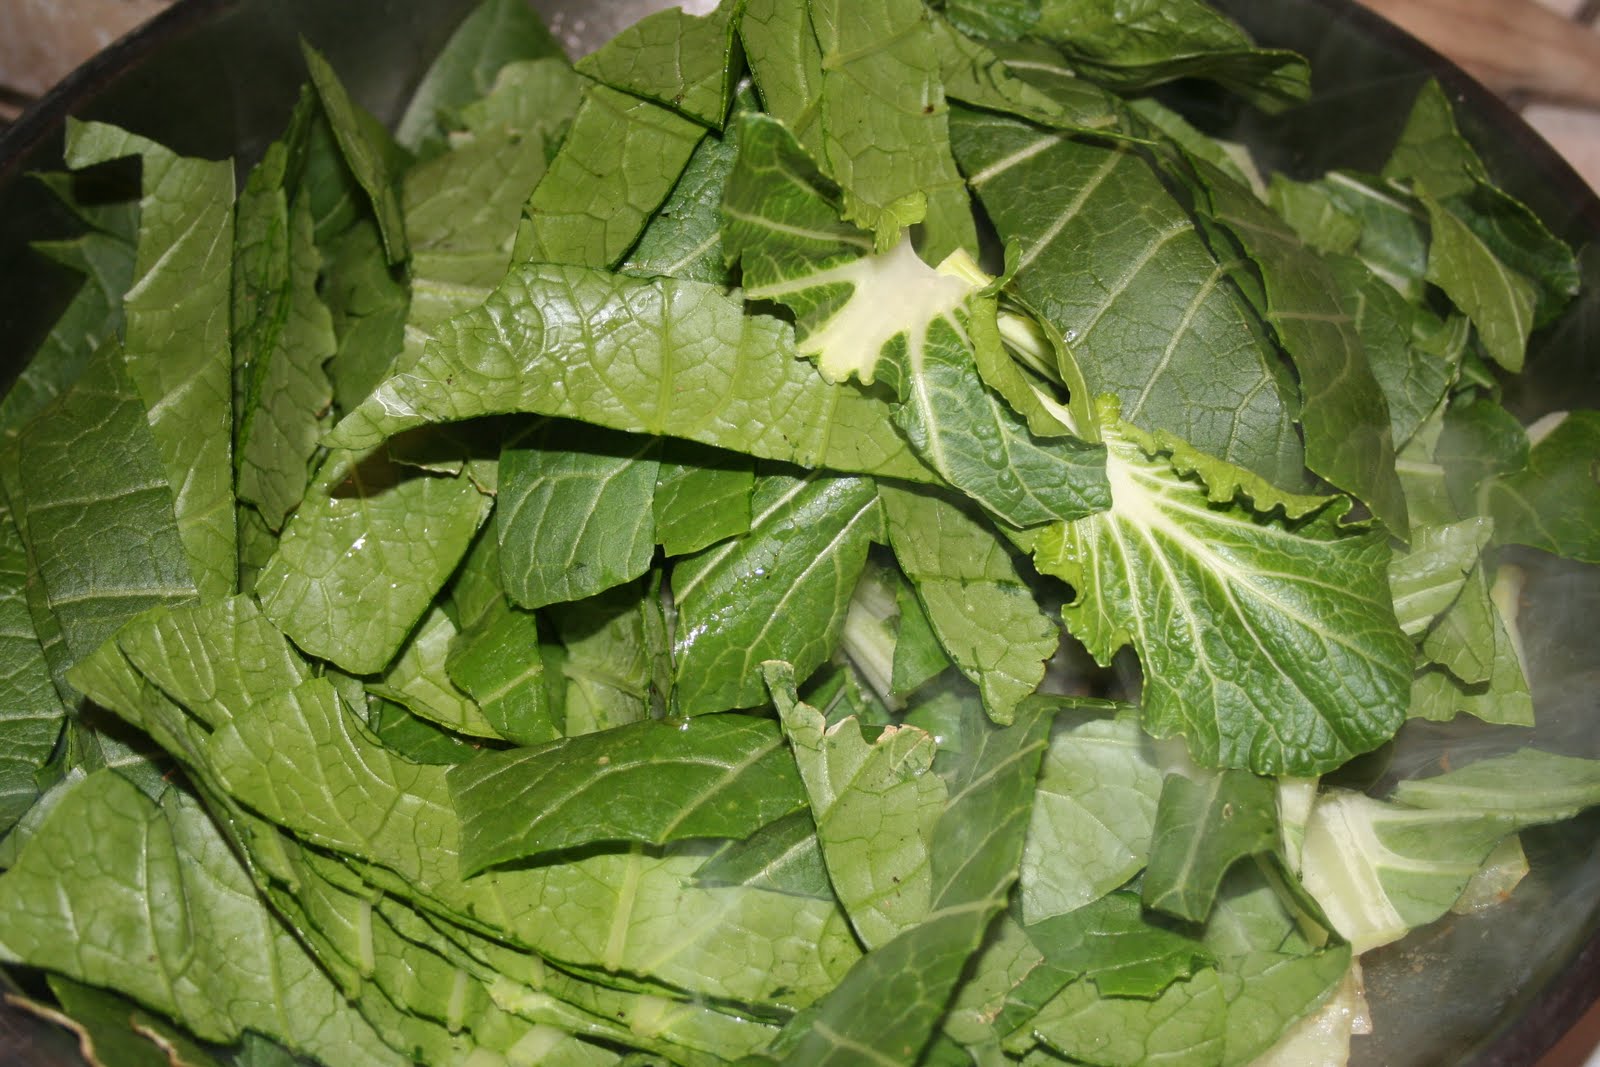
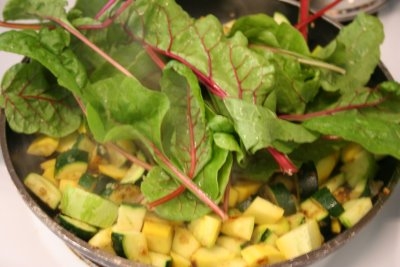 About that time the squash was almost cooked, I added my chard.
I didn’t drain all the water off, I wanted the leaves to be nice and wet so it would create steam.
You need to pile it on in there, it cooks down a lot so don’t be shy.
(You could also use fresh spinach)
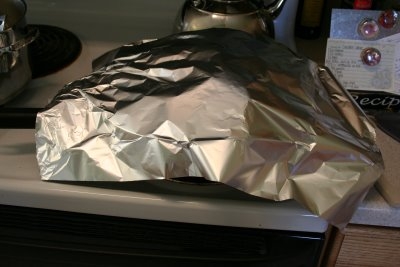
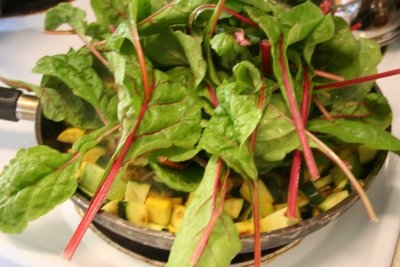 Then cover your pan, ideally with a lid, but since mine didn’t come with one tin foil works too.
This will help steam the chard and finish cooking the squash.
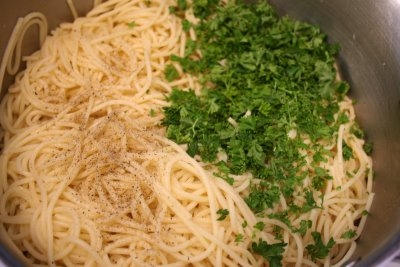
I then added my parsley and a generous amount of salt and pepper to the pasta and stirred it all it. Any herb would be yummy tossed in with this pasta, whatever you like…the sky is the limit!
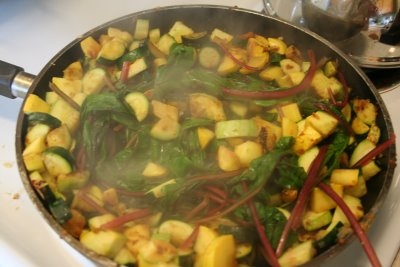 The Chard only take a few minutes to cook so you have to watch it closely or the squash on the bottom will burn
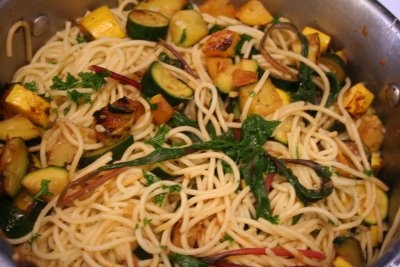 Dump the squash/chard mixture into your pasta and stir.
It tasted really good, even my kids ate it and Dadzoo asked for seconds!
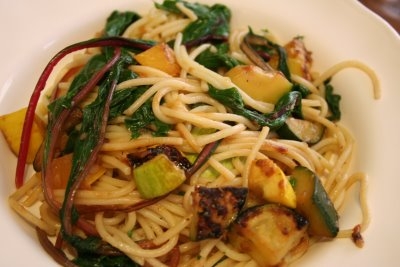
There are a few things I will do different next time. I will chop the chard, coarsely, I like the big pieces, but the whole leaf was a bit much. I will also add more garlic, at least two more cloves, maybe more, I need to experiment on that. I also think that this would be yummy with some freshly grated Parmesan cheese mixed in (everything is better with cheese) and I also think it would be good with sour dough or french bread.
So there you go, my scavenged dinner!

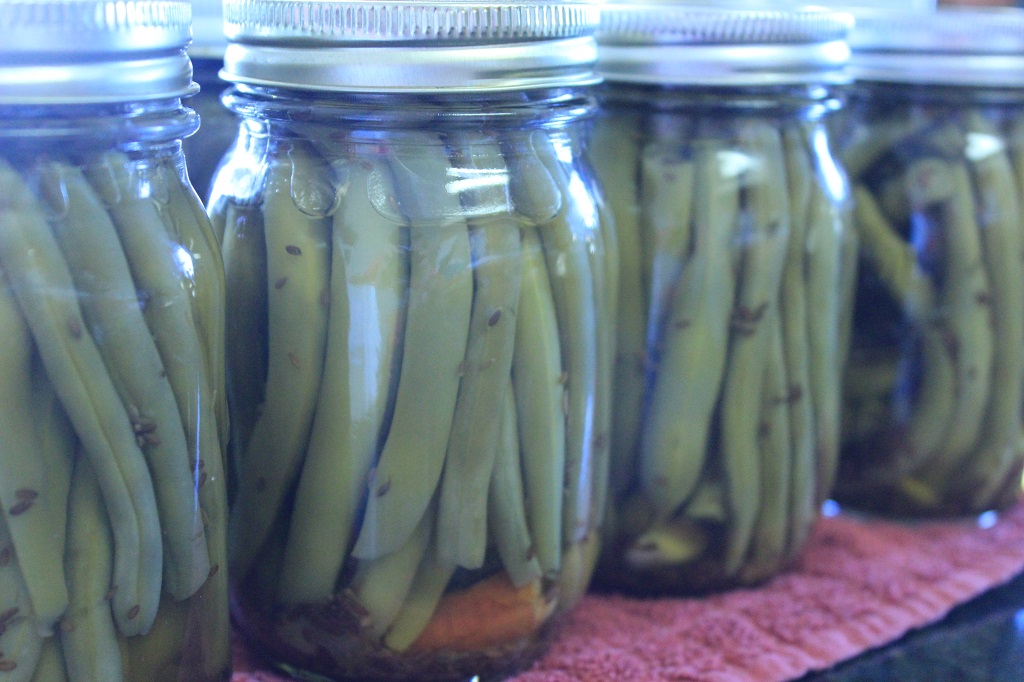
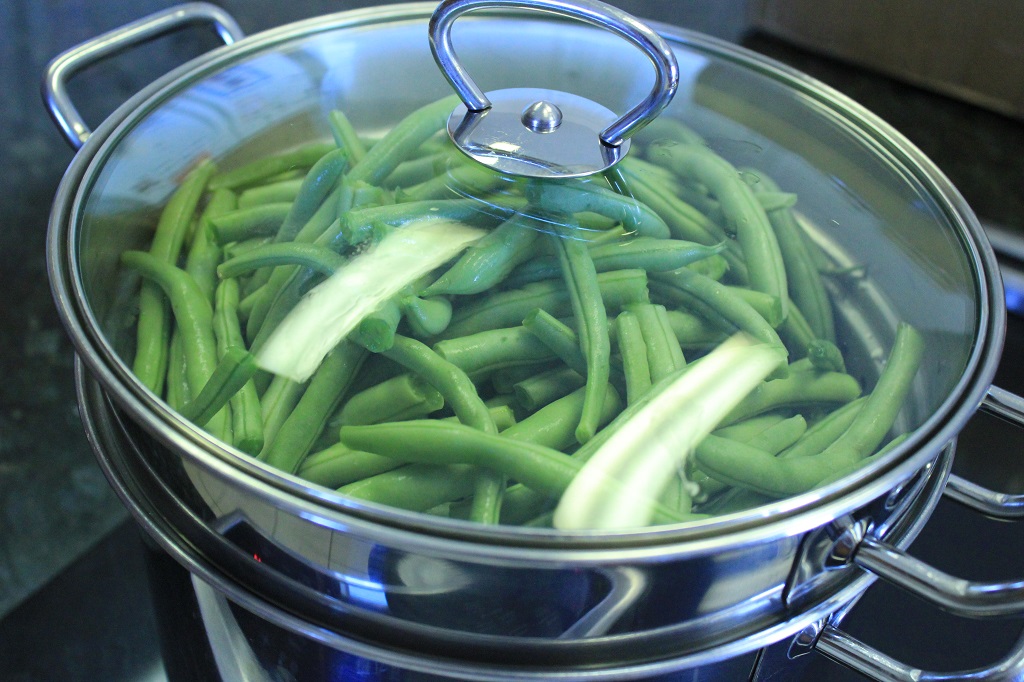
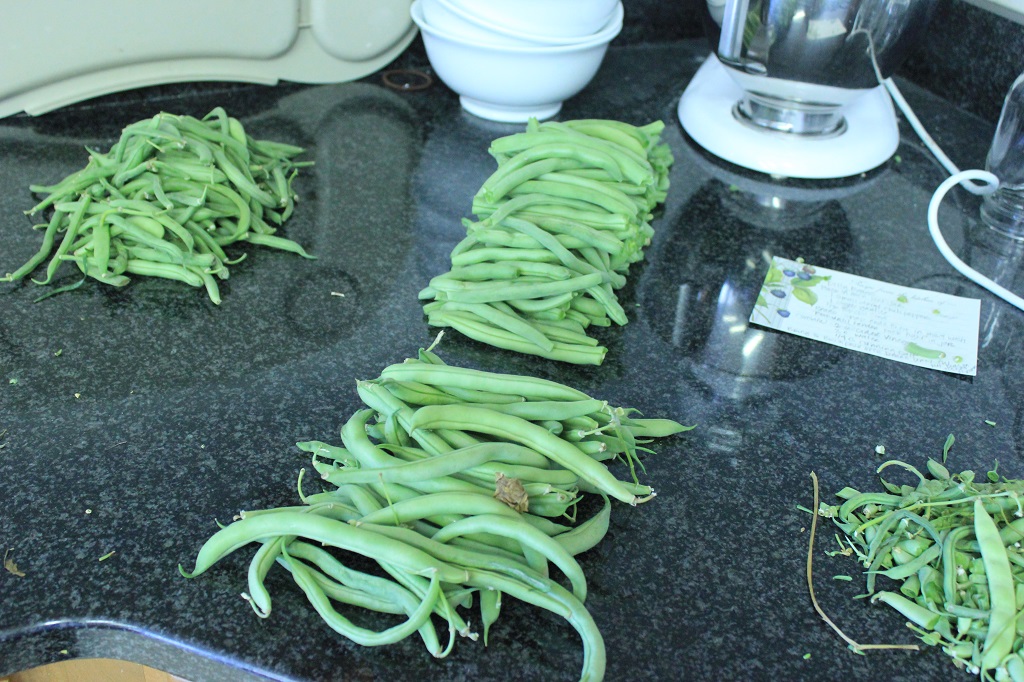 The preparation is very simple. Simply wash the beans and cut them to the size of your jars, steam them until they are just tender. That’s it.
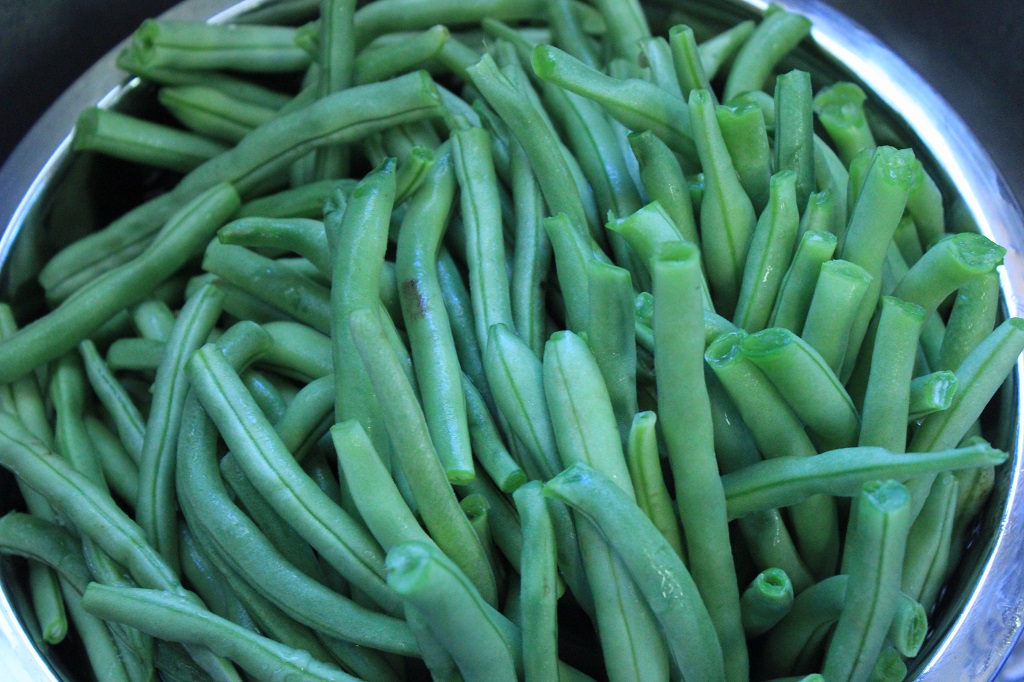
 In clean, sterilized jars place one dried chili pepper, one clove garlic and one half teaspoon dill seed. Pack the beans tightly in the jars, standing on end.
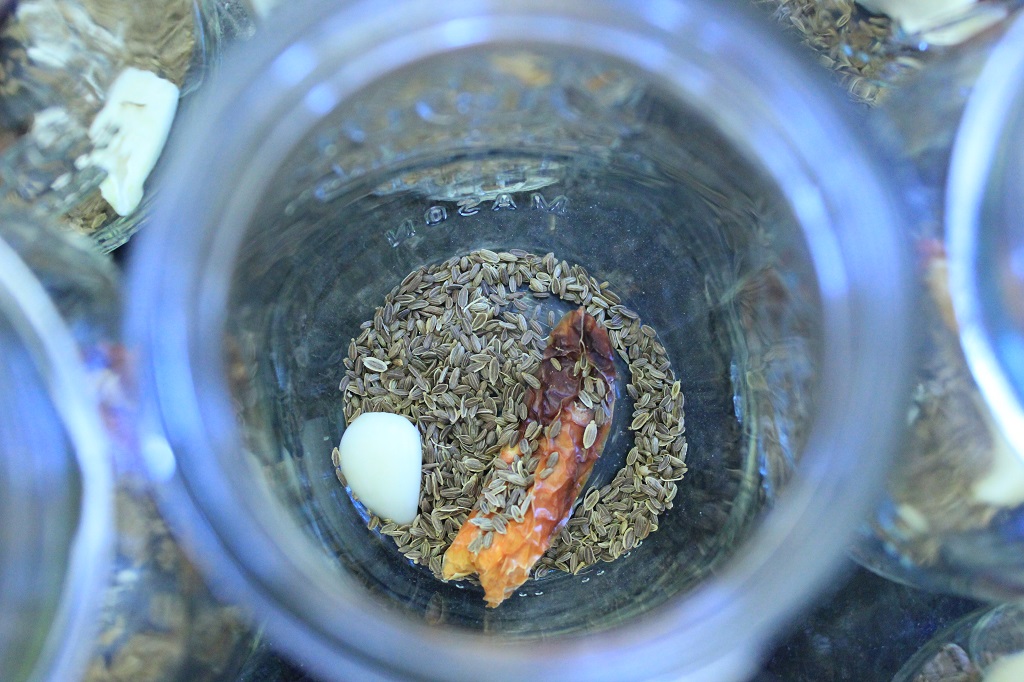 Bring 2 cups water, 2 cups apple cider vinegar and 1/4 cup canning salt to a boil and pour over the beans, leaving about a half inch head space. Screw the lids on tight and flip jars over.
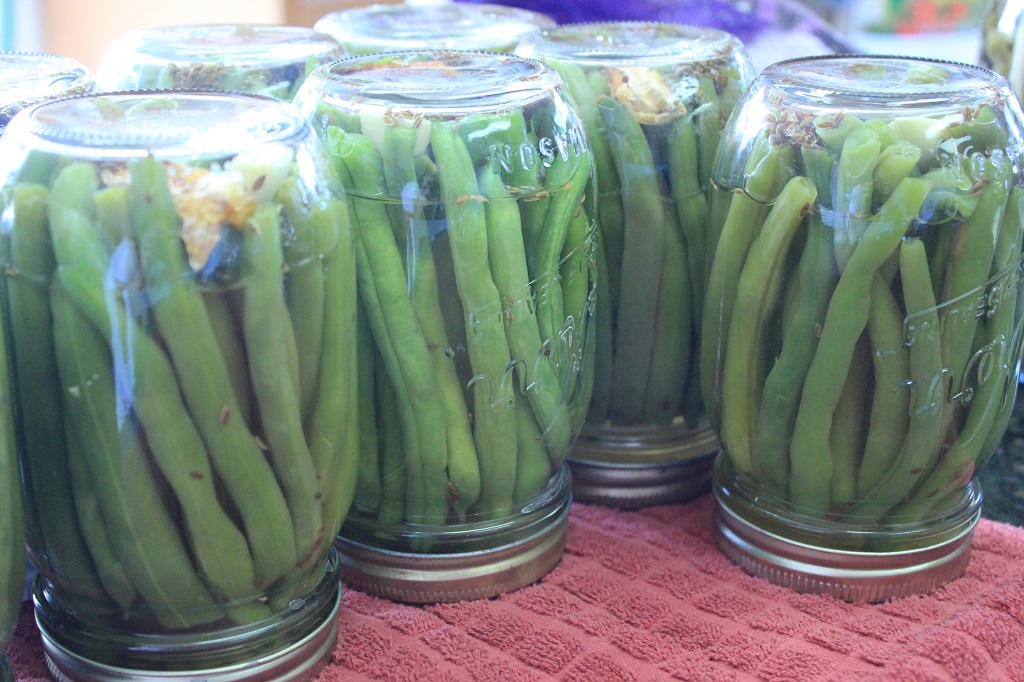 Once the jars have cooled completely, flip them back and check the seal. Store for a few weeks before serving, so the flavors can mix and mature.