Zucchini Bisque

It’s been a while since I have posted any recipes. Like years. Figured it was about time, and I really couldn’t keep this soup a secret any longer.  Bisque is a fancy name for a very simple soup that literally takes minutes to throw together and is simple to modify, my version is not vegan, but with a couple simple tweeks it’s good to go for you herbivores. I also like to make a huge batch, freezing the extra for later, this is a good way to preserve the summer bounty of zucchini.  (Sorry I have no measurements, I don’t really measure anything with this soup….)

Ingredients:

butter

onions

garlic

summer squash

chicken broth

salt and pepper to taste

Yes, it’s THAT simple

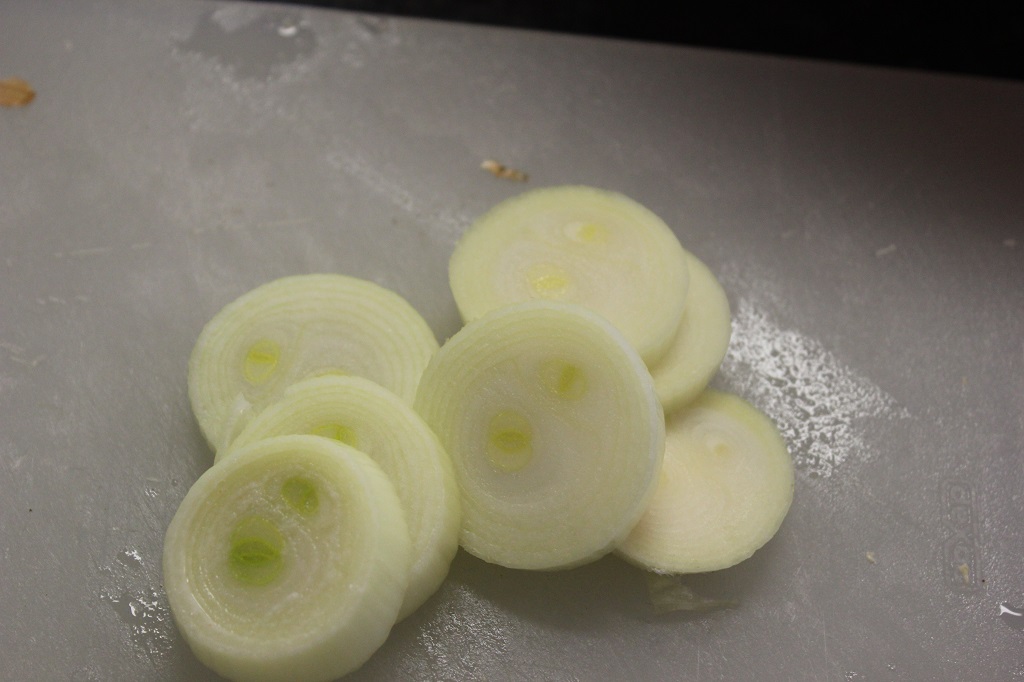
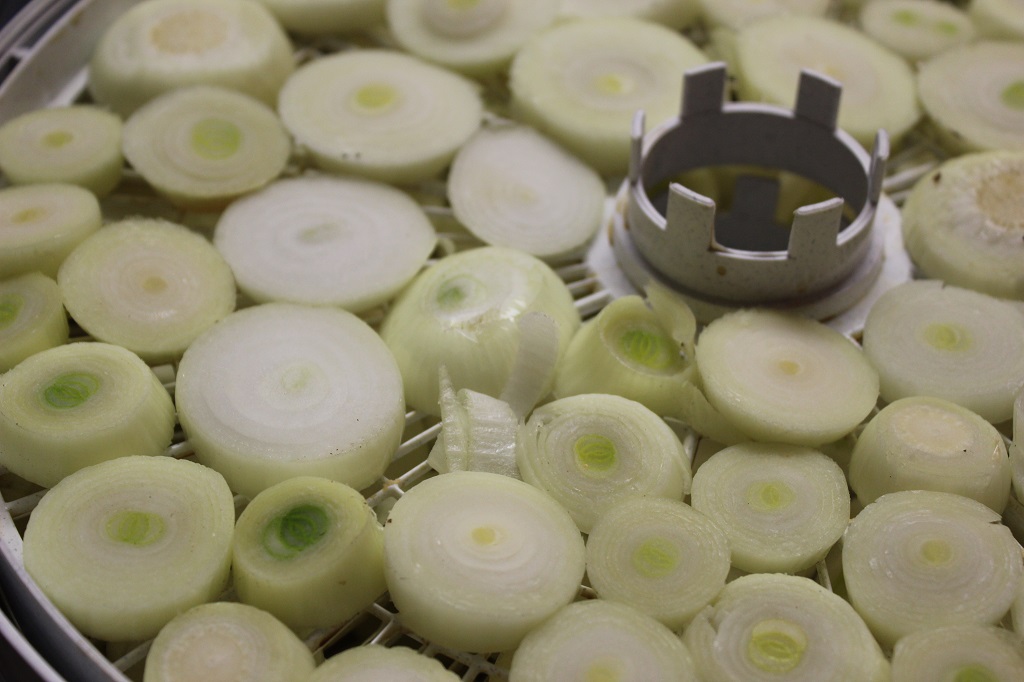
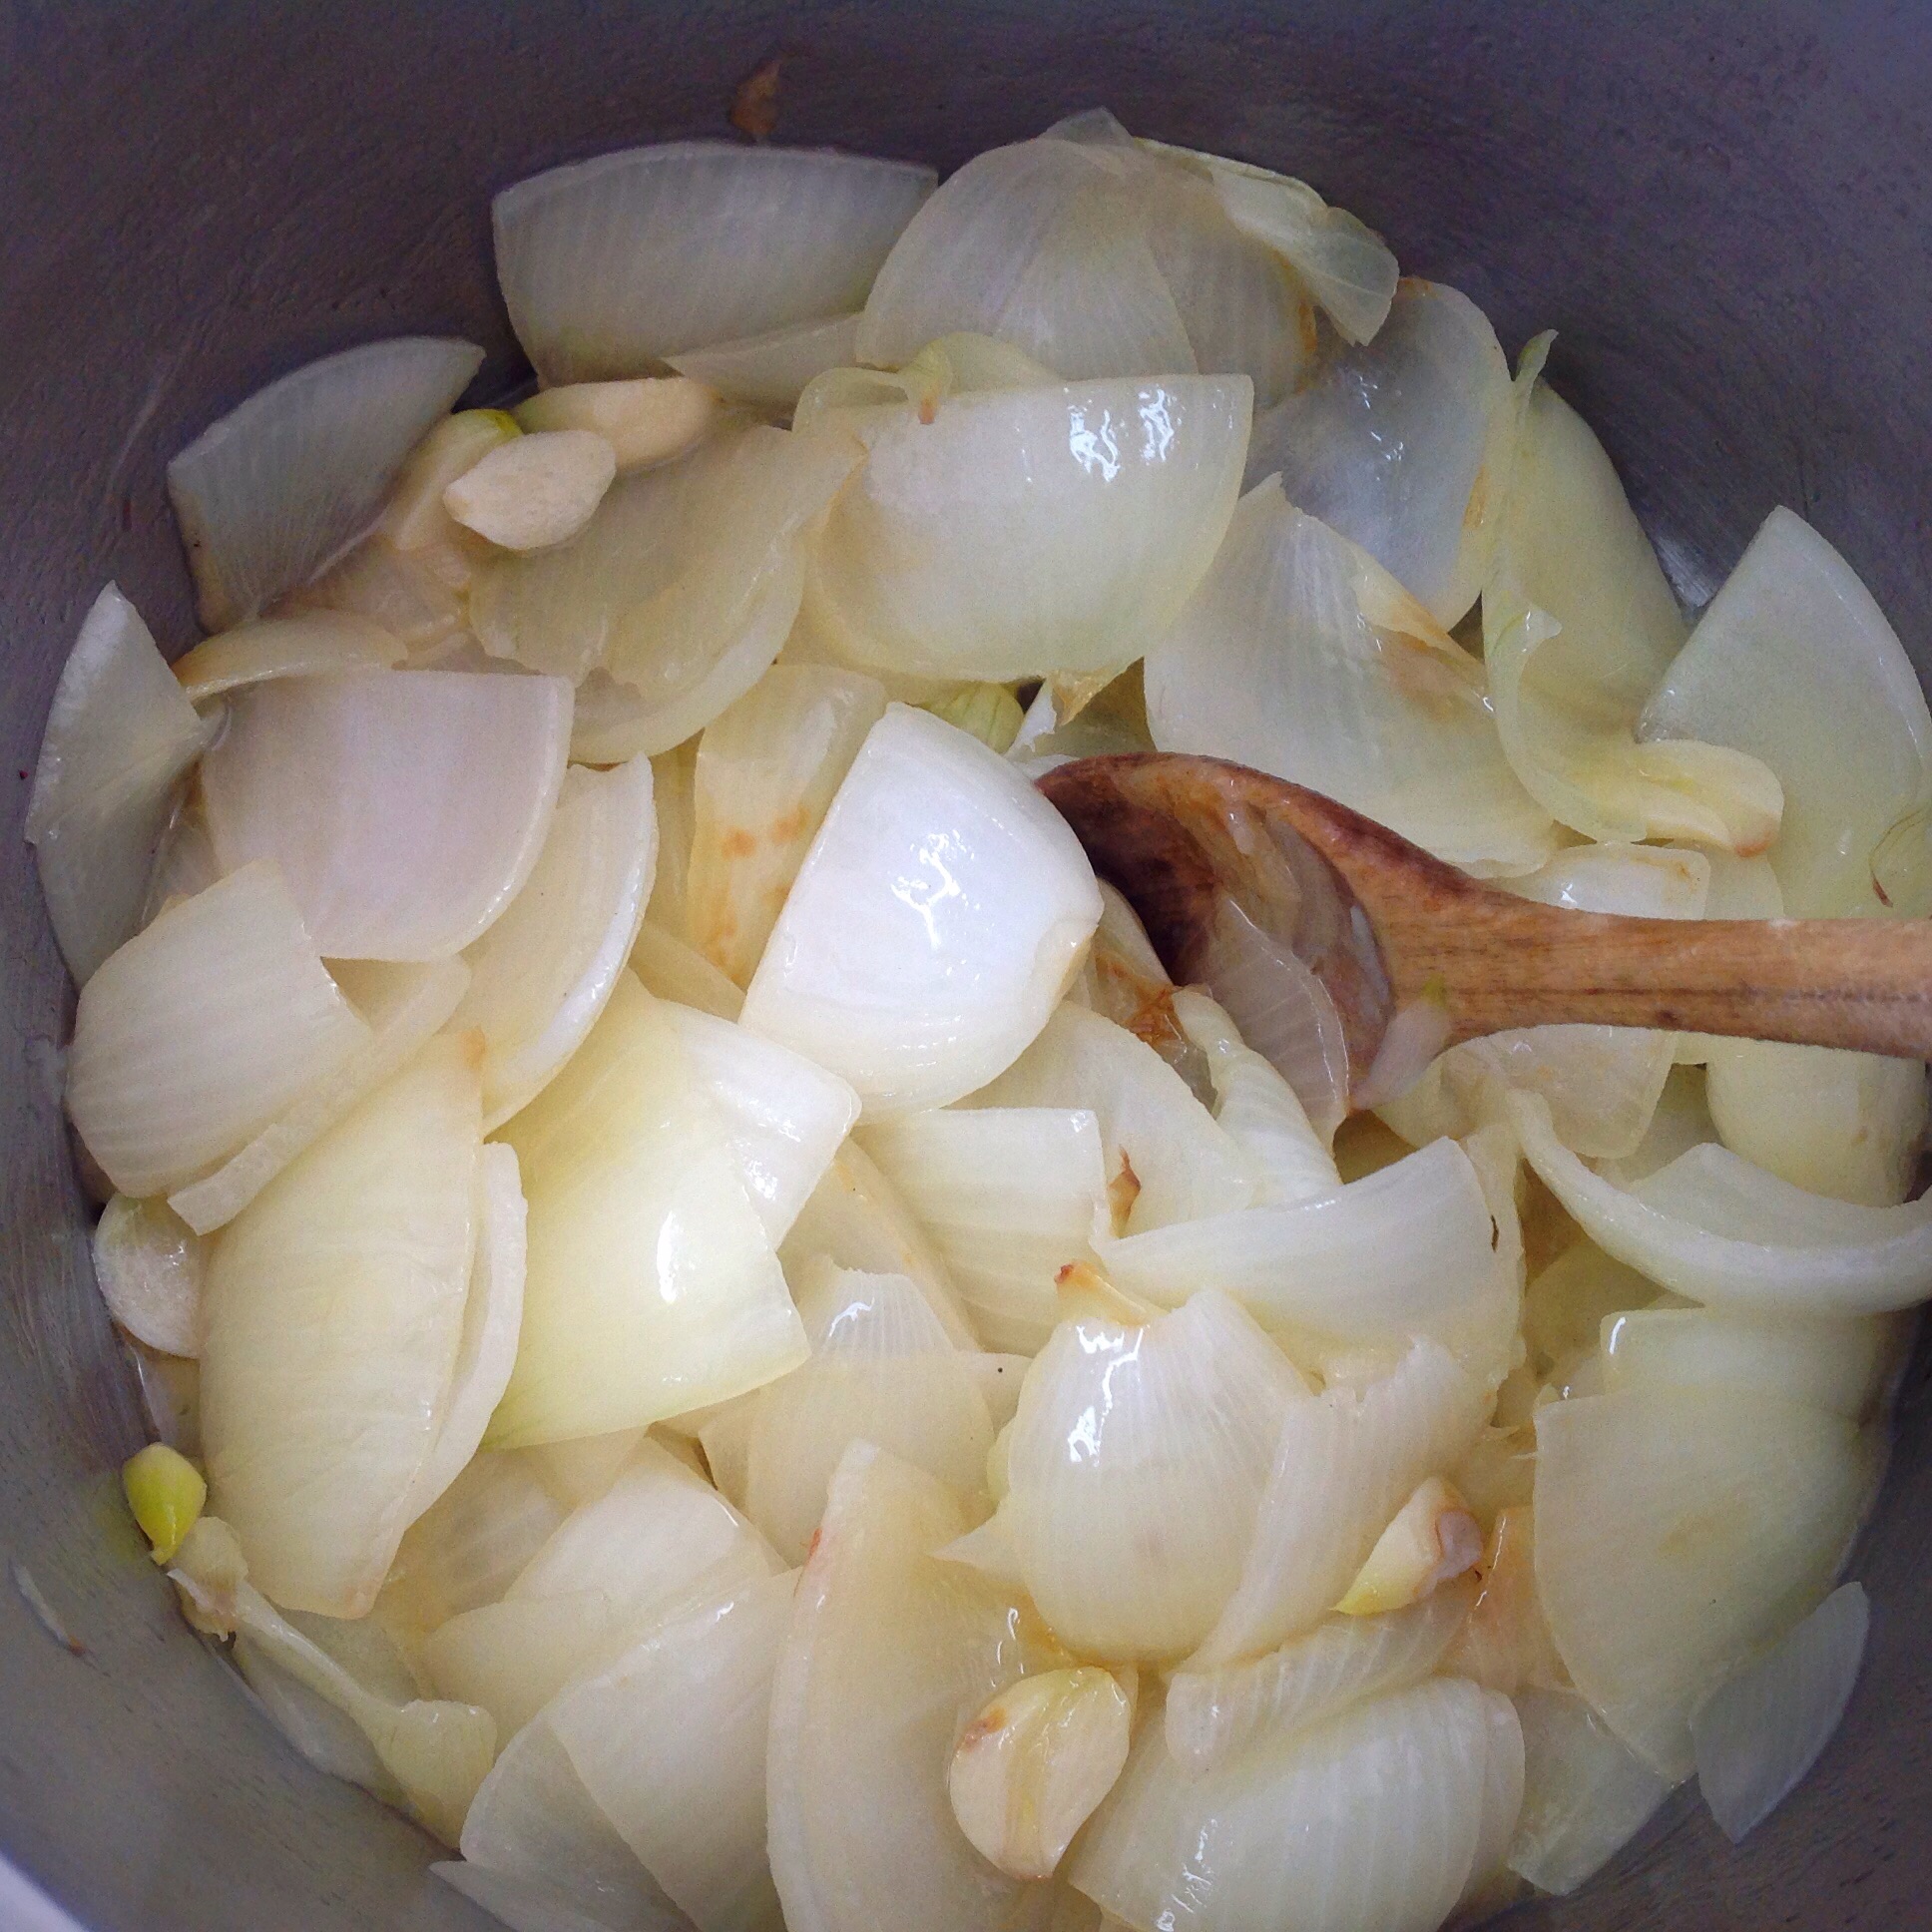
First, melt butter in the soup pot, then peel and cut onions and garlic, I don’t bother to dice small, because this all goes in the blender anyway, no need to make extra wok for yourself.

image

Next, wash and cut up the summer squash, when the onions and garlic are nice and soft and have started to carmalize, add squash to pot.

image

Stirring occationally cook the squash downimage
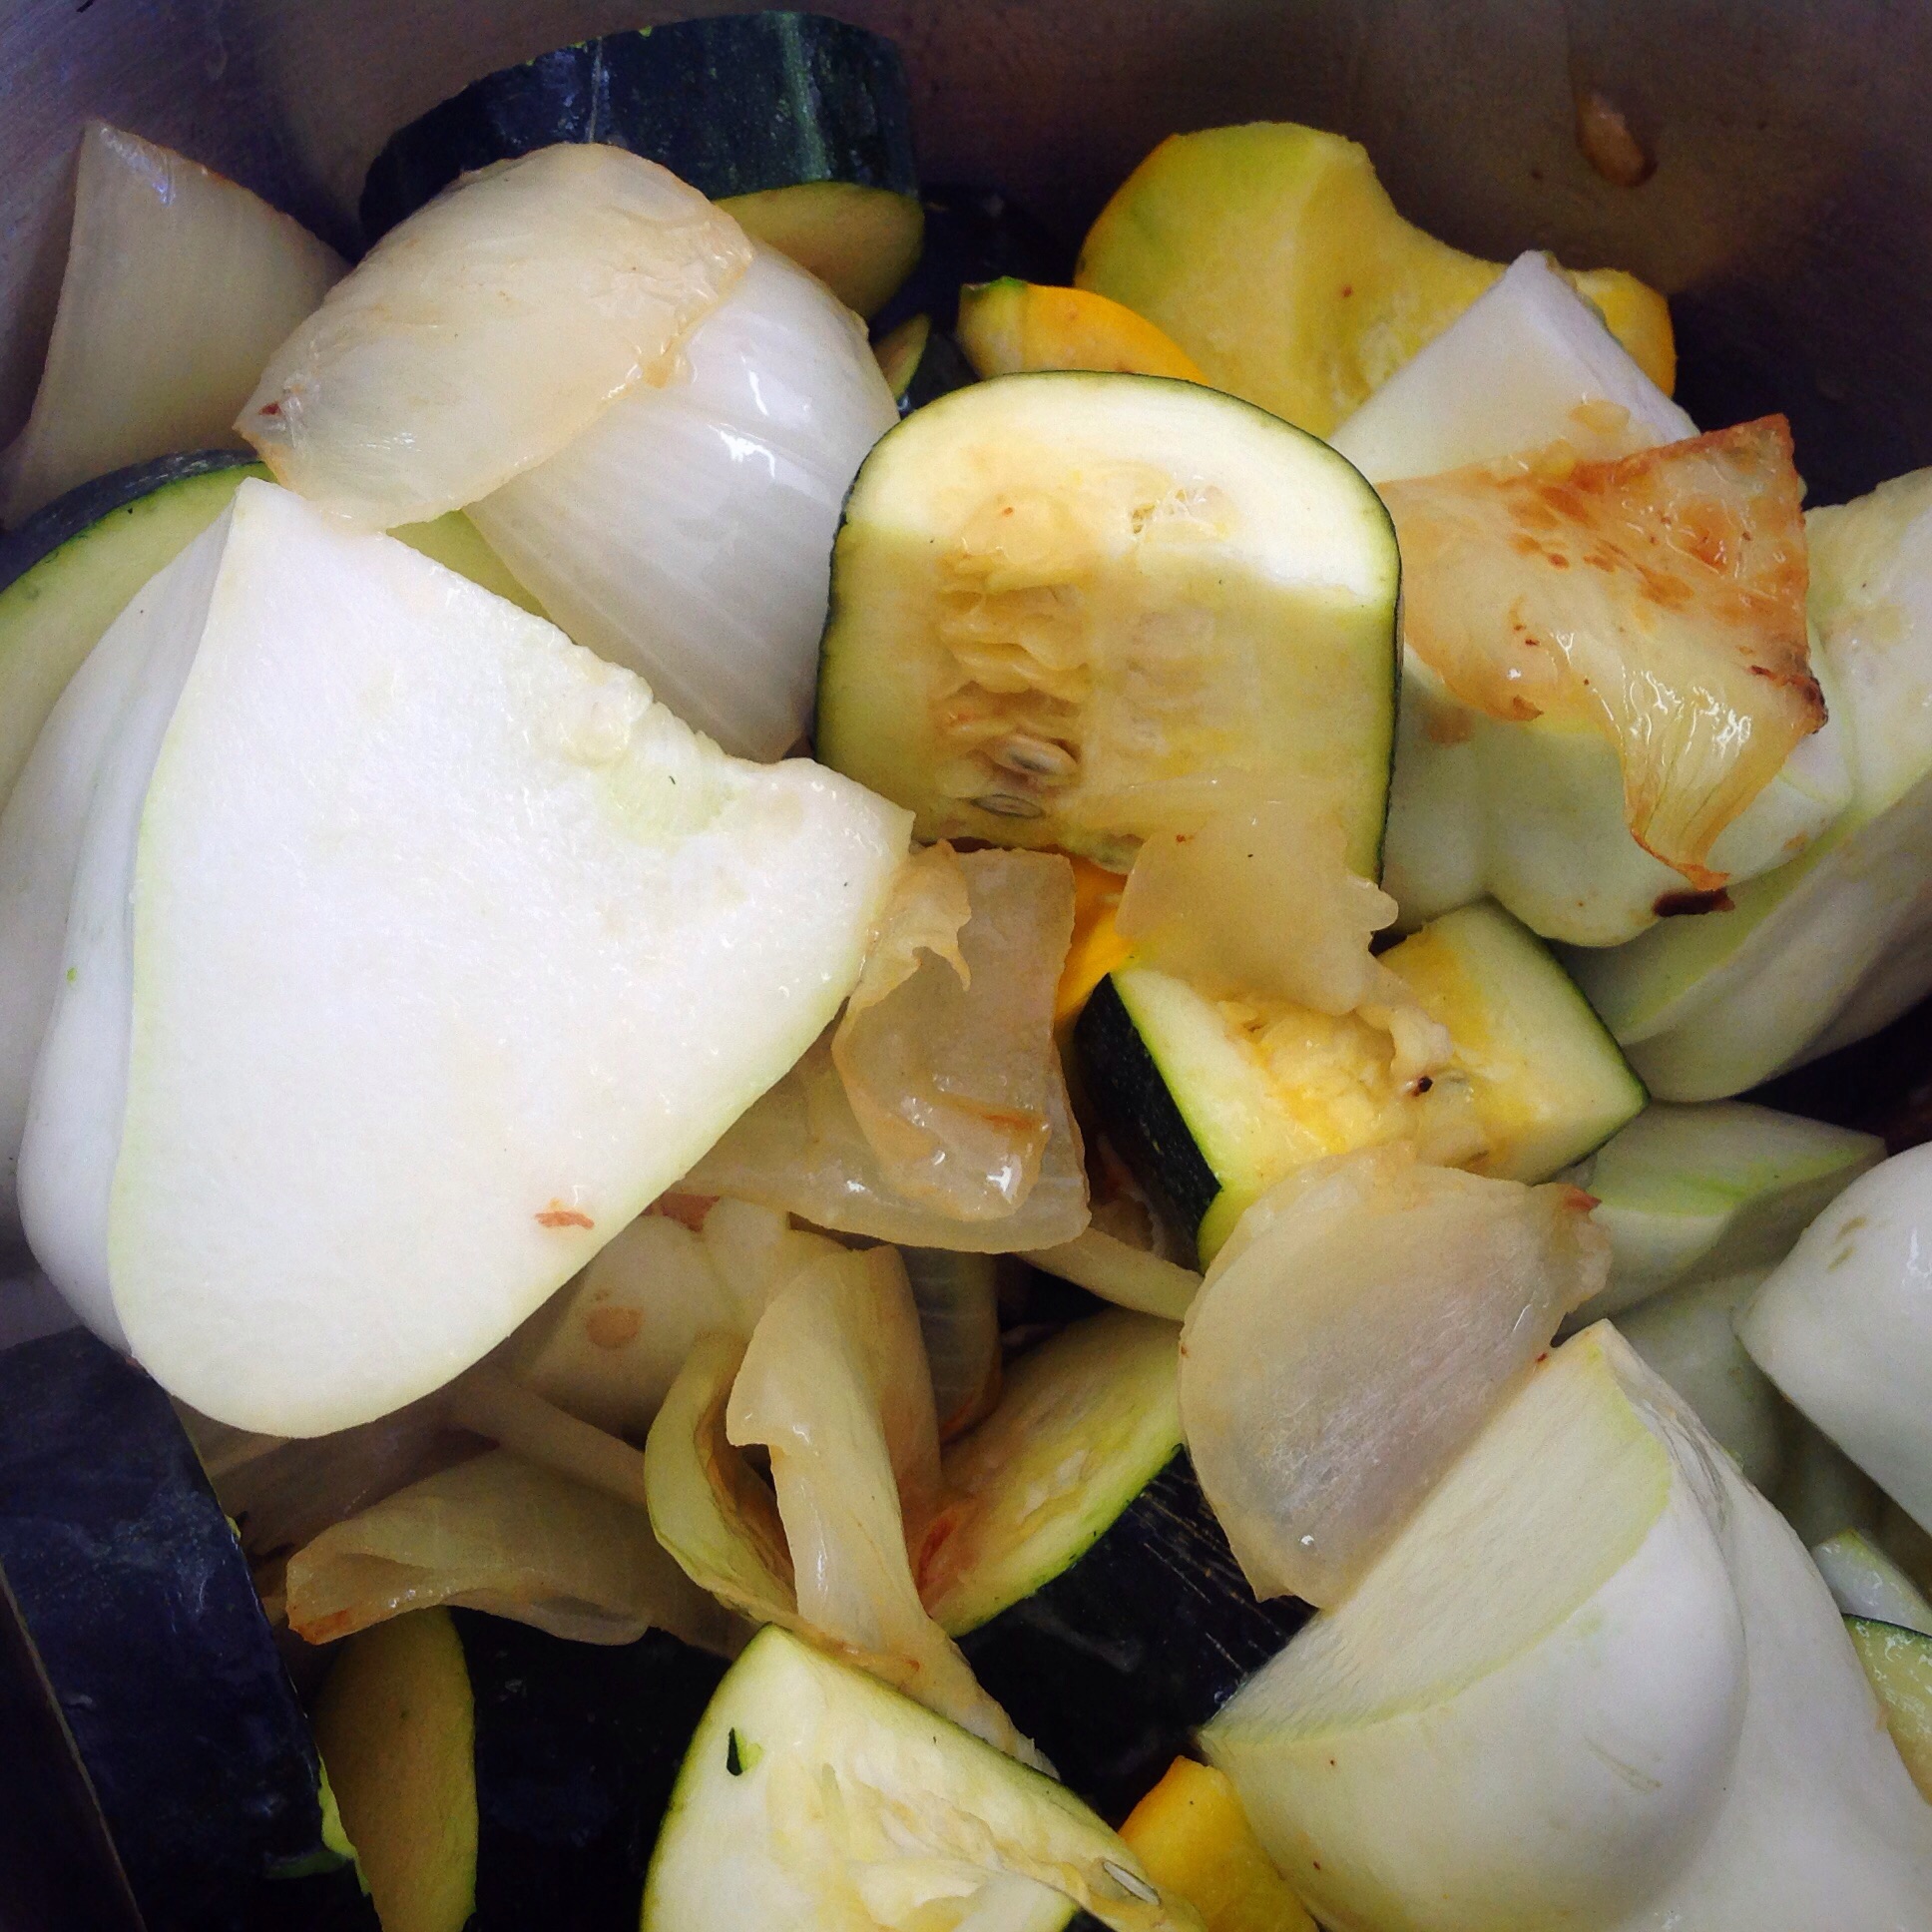
letting the edges brown just a little bit.

image

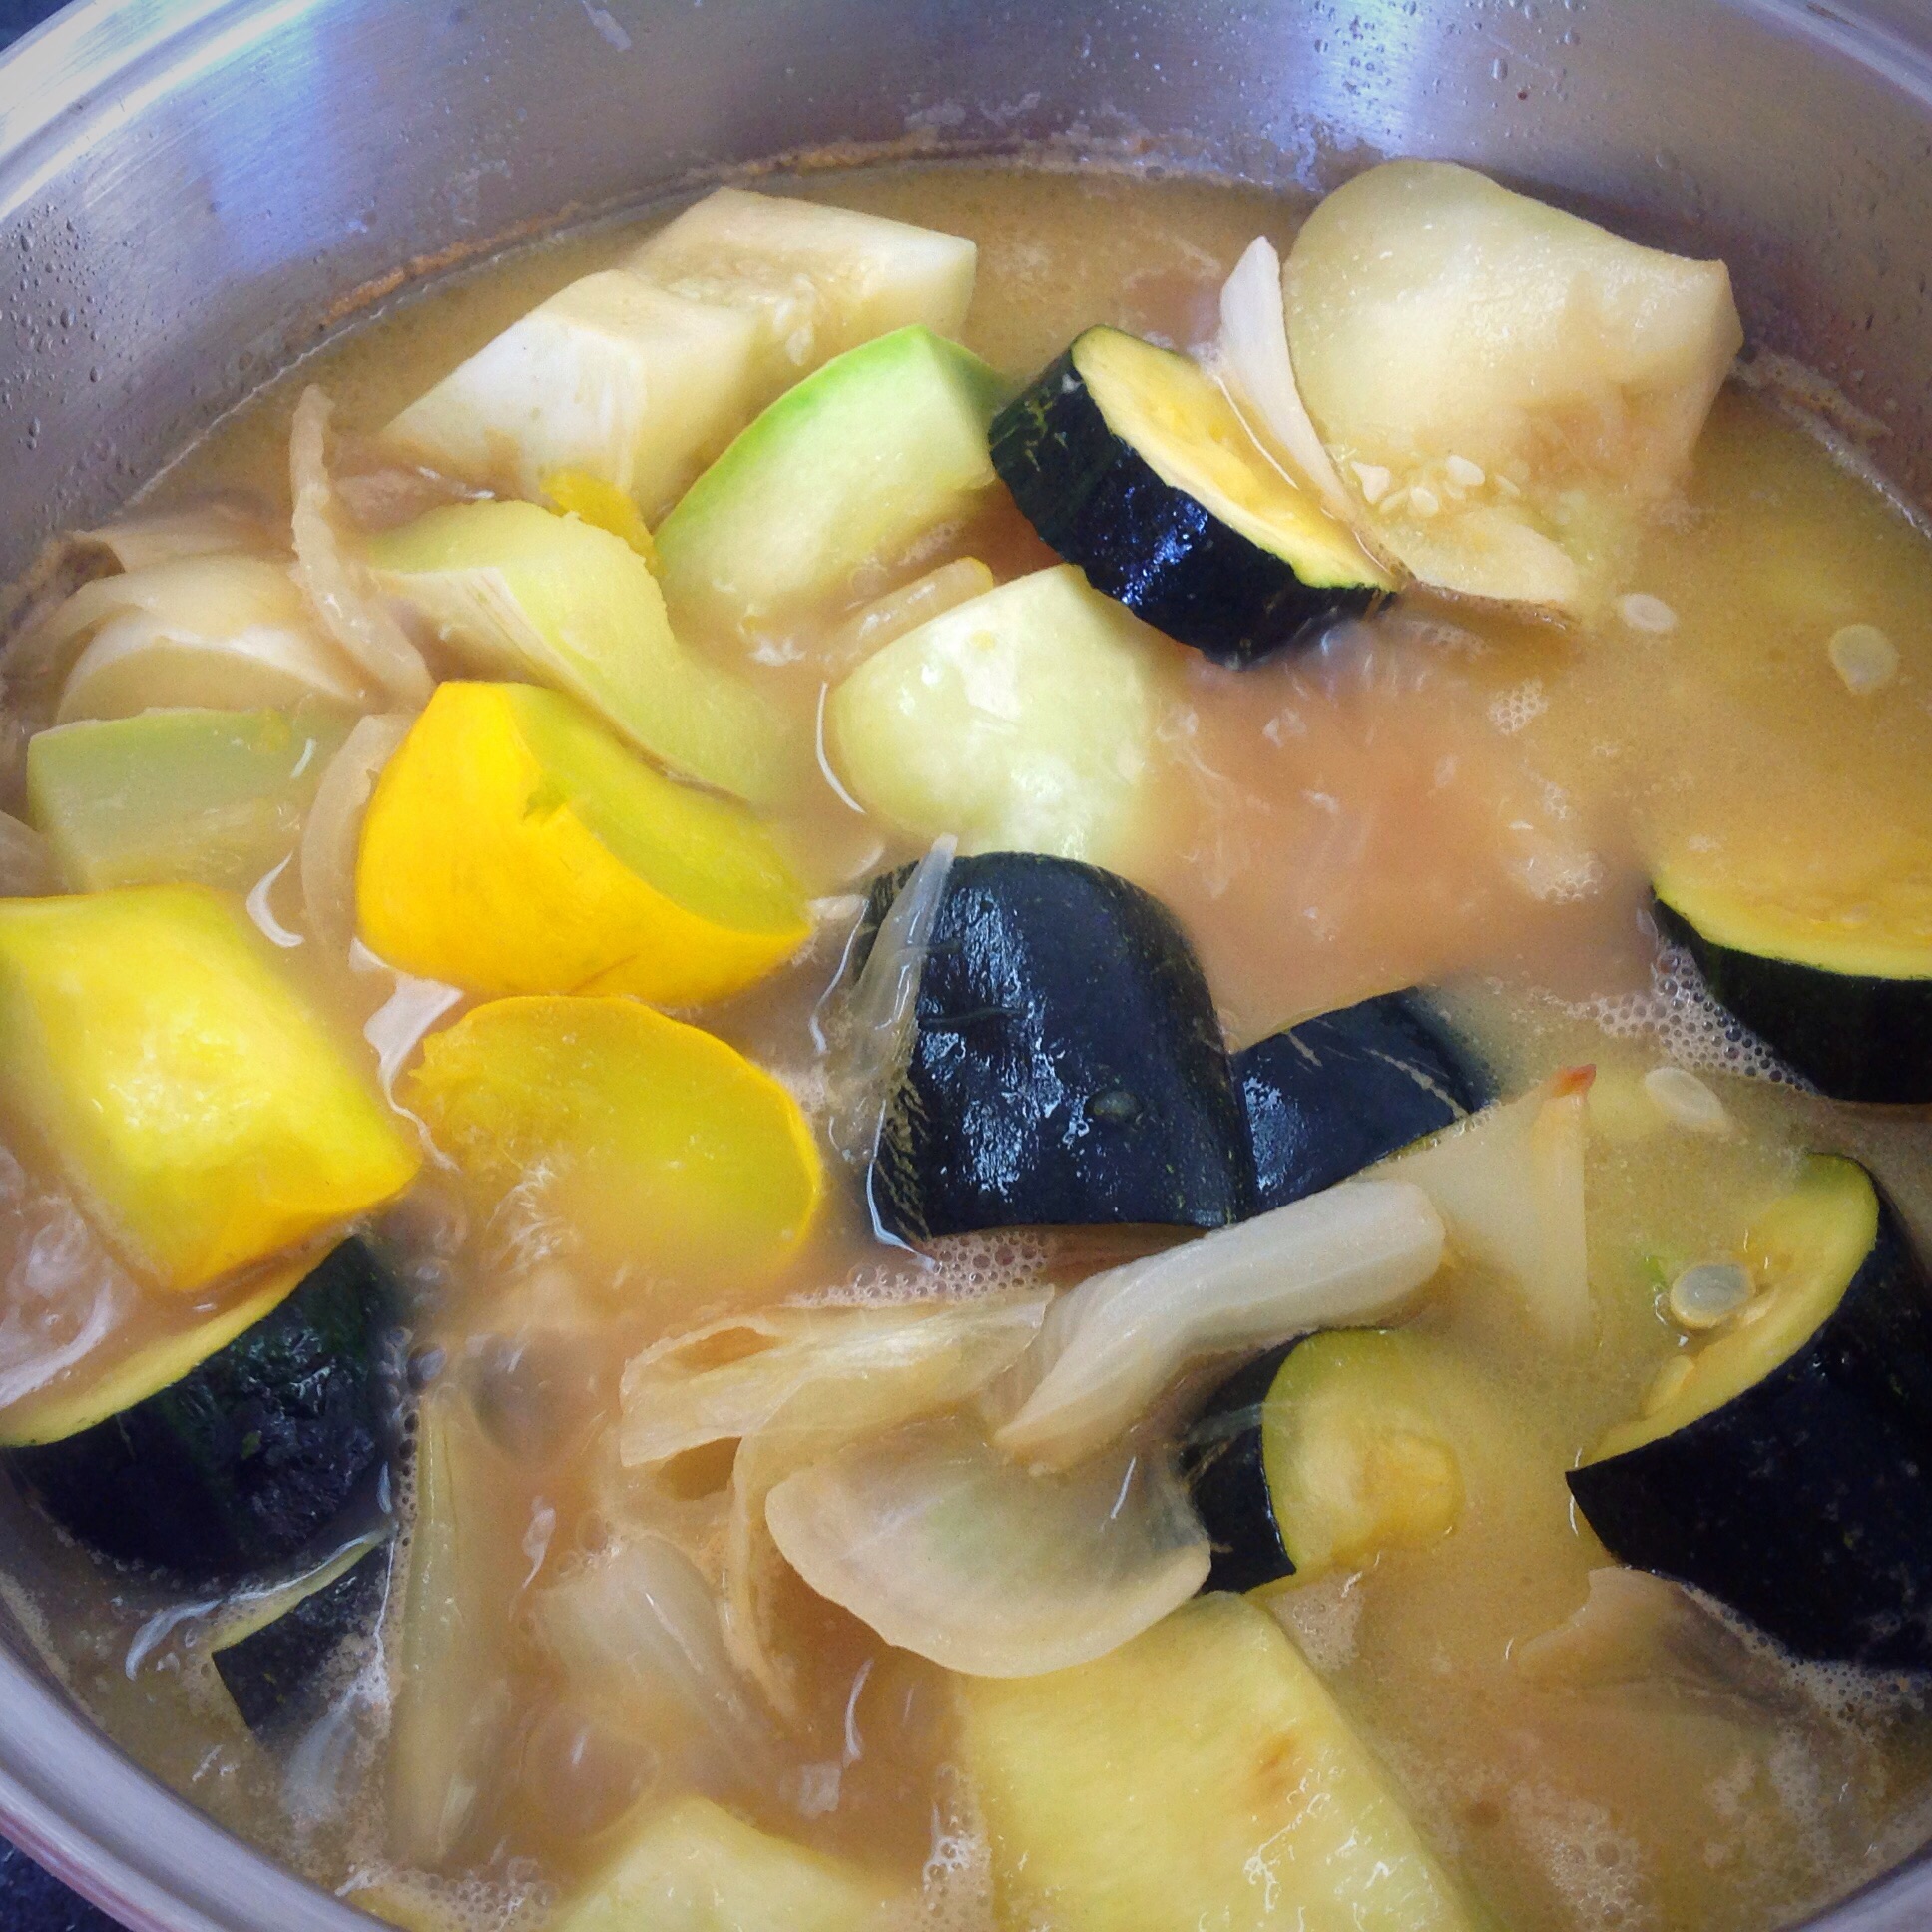
Then add enough broth to just cover all the vegetable and simmer until the squash is nice and soft.  Once everything is nice and cooked, with an immersion blender, or in small batches, blend everything until is is nice and smooth.

image

This soup is wonderful just like this, I have also served it with a bit of sour cream and cheese, and of course a side of warm bread.

Enjoy!

Drying Onions

We had an awesome onion harvest this year, more than enough for our needs. The big onions are being stored fresh in the basement (I had intended to braid them up all cute like, but it just didn’t happen), for the little onions I decided to try something different.

IMG_5062
I had about a half bushel of smaller onions, they had a really good flavor, but I just didn’t want to mess with little onions, to me they aren’t worth the effort to cook with them. BUT, they are still good food and it would wrong to just discard them.

IMG_5063
So I decided to was going to dry them. I used dehydrated onions a lot in my cooking. I tend to get a little lazy at times and instead of chopping an onion I will throw a handful of dehydrated onions in soups or ground beef.

IMG_5064I was very simple, I just sliced them about a half inch and threw them in my dehydrator.

IMG_5065
I set the dehydrator outside, I didn’t want the smell of onions to fill the house, and boy they were strong smelling too.

IMG_5066
It took about twenty four hours and they had dried crisp and beautiful, perfect for throwing into a pot of soup.

IMG_5081
They are stored in a gallon size glass jar in my pantry, a simple, easy way of storing and preserving onions.
IMG_5082

Tomatoes

While 2013 was the year of the beans, it will also be known as the year of the big tomato failure.
Temperatures were just too hot this year, we went from mild and cool spring weather to record breaking heat in a matter of a week.  We missed out on the few weeks of temperatures needed to set tomato fruit, therefore the harvest was very slim.  Around the end of the season things picked up a bit, but not in the quantities we needed for storage through the winter.

Sadly I had to buy boxes of tomatoes, maybe next year will be better.

IMG_4822IMG_4823(Lou searching for a ripe tomato or two)

IMG_4870IMG_4872Lou was our faithful tomato grower this year, even though it wasn’t the bumper crop we were hoping for she was still very diligent in caring for her tomatoes and when canning time came around she was right there doing her duty.

IMG_4875Seventy quarts later we have our tomatoes for the year.  I just can pain stewed tomatoes so I can go quickly, and any other tomato products that are needed throughout the year can be make from them.

Dilly Beans


The summer of 2013 will always be known as the year of the “bean” at the farm.
We had tons of beans.
Oodles of beans.
It was such a blessing, we had enough beans to eat fresh and can and enough beans to play around a bit.

This year we tried the Dilly Bean.
Canning Dilly Beans was a lot of fun and really simple, which is a huge plus for me, I just don’t have time to play around with complicated canning recipes.
I have lots of mouths to feed!

IMG_4766The preparation is very simple.  Simply wash the beans and cut them to the size of your jars, steam them until they are just tender.  That’s it.

IMG_4767IMG_4768In clean, sterilized jars place one dried chili pepper, one clove garlic and one half teaspoon dill seed. Pack the beans tightly in the jars, standing on end.

IMG_4769Bring 2 cups water, 2 cups apple cider vinegar and 1/4 cup canning salt to a boil and pour over the beans, leaving about a half inch head space.  Screw the lids on tight and flip jars over.

IMG_4770Once the jars have cooled completely, flip them back and check the seal.  Store for a few weeks before serving, so the flavors can mix and mature.

Serve cold

IMG_4773


Strawberry Jam

 In August I got a great deal on flats of strawberries.
(yes, I said August, I guess I’m a little behind on posting, I feel like my life skipped over most of September and all of October)
We hadn’t had strawberry jam in the house for years
(I refuse to buy jams)
so the girls and I went right to work making up loads of strawberry jam.

IMG_4675 IMG_4676 IMG_4677 IMG_4680

IMG_4685

At the end of a very long day I was left with a bunch of strawberries, not enough for a full batch of jam, so I canned them in syrup, it was a grand experiment that paid off, these little gems are really good on top of yogurt or ice cream.IMG_4687Everything else made it into jars and jars of strawberry jam