This year I grew several herbs in our yard. The nice thing about herbs, is that they are beautiful to look at (for the most part) and can be tucked into general landscaping. Here are a few of the herbs that I have planted.

Chamomile

Lemon Balm
(aka Sweet Melissa)
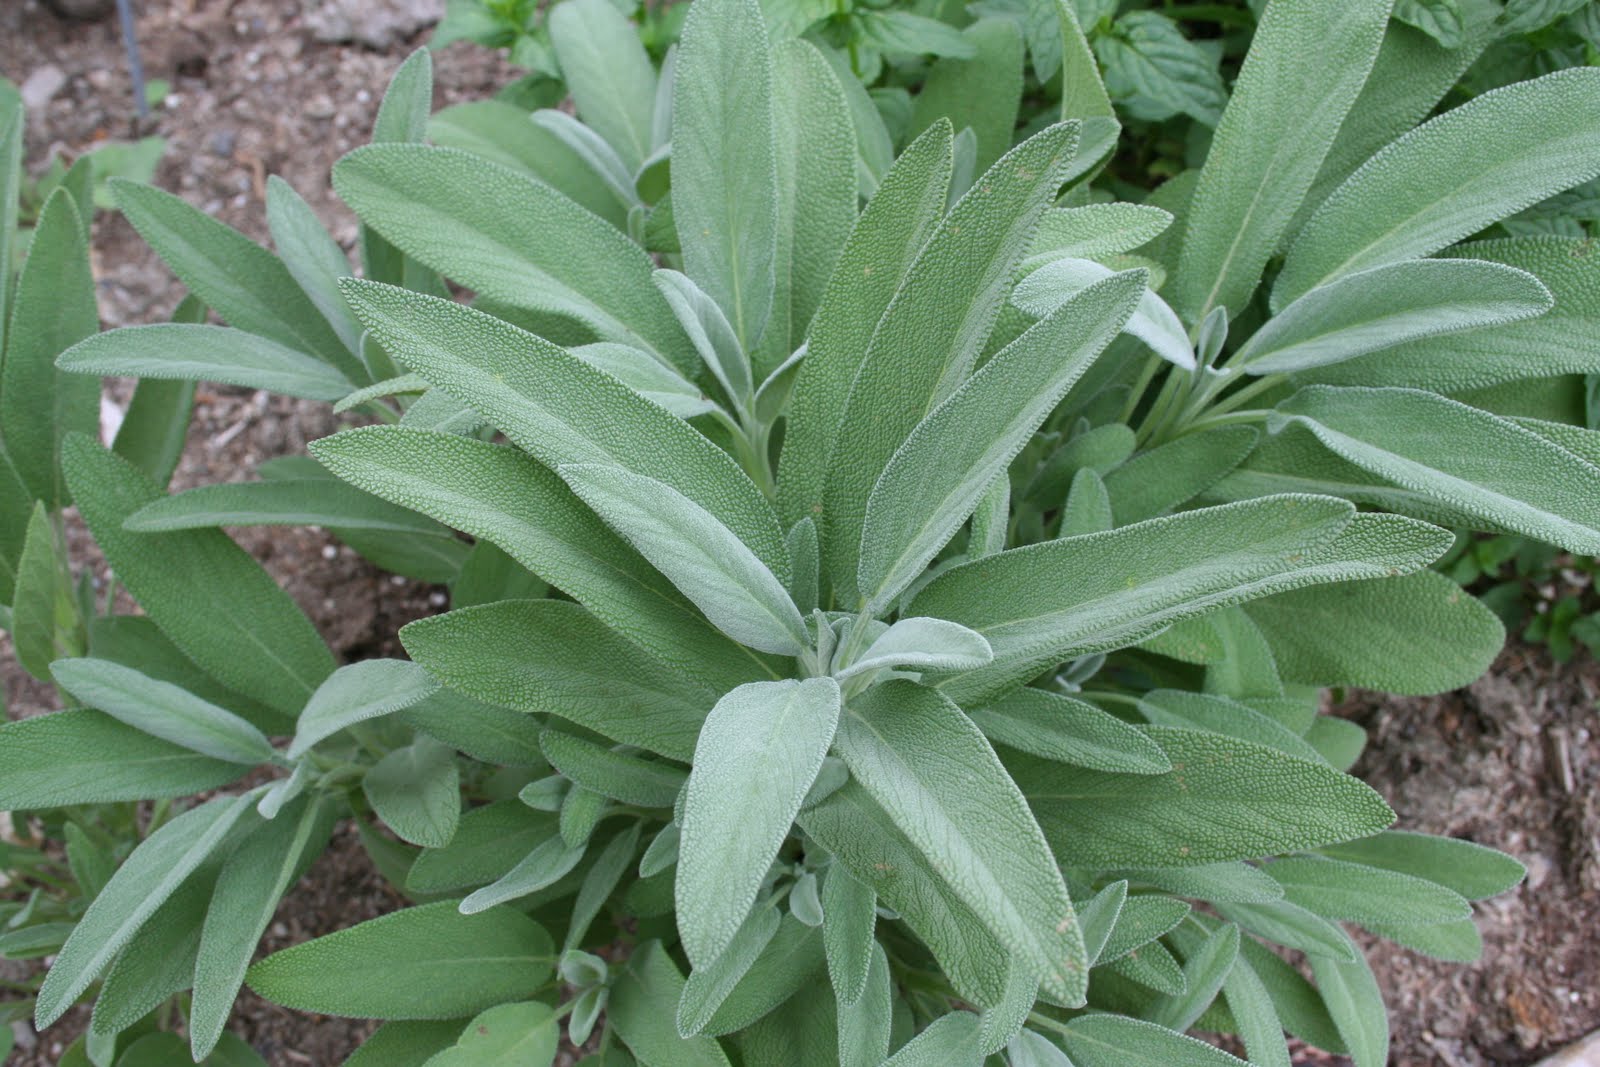
Sage

Mint

Parsley
I also have a few other things not pictured: Chives, Comfrey, Yarrow, Lavender, Basil, Roses (yes…roses, a medicinal herb)
Today I harvested several of my herbs and prepared them for drying. They will be stored in old pickle jars in my pantry for those cold winter days, when fresh herbs aren’t available.

For herbs that don’t have long stems that are easy to gather and dry in bundles I use paper sacks. First I rinse everything very well in cold water and they them drip dry. Then I clip the leaves (sage happens to be what I am working on in these pictures) from the stems. Then I simply put them in a paper sack. Do not pack them in tightly, there needs to be air around the leaves, or they will rot instead of dry. Then I just sit them on my counter top, a couple times a day, when I think of it, I give the bag a shake, to keep things light and fluffy, so the air will circulate.

I use the bag method for: sage, parsley, chamomile, basil, and rose petals.
For other herbs, I do the hanging-upside-down method.

I am hanging Lemon Balm in these pictures.
First just gather up the stems and tie the ends together in a bunch. Make sure they are tied really tight, the plants will lose volume as they dry and will fall out of the bundle while they are hanging if they aren’t tied tightly enough.

I wash them when they are bundled up with cold water, then let them drip dry for an hour or so.


Then they get hung up in the kitchen, a bit of a seasonal decoration.

When everything is dry the herbs get stuffed into jars and stored in the pantry.