Honey Harvest


Cutting the comb off the frames

Cutting the comb off the frames

Little fingers (Boo I believe) picking honey comb to eat

Little fingers (Boo I believe) picking honey comb to eat

More cutting, loving the honey rolling off the frames

More cutting, loving the honey rolling off the frames

Little Monkey, her fingers in the way wanting a sweet treat

Little Monkey, her fingers in the way wanting a sweet treat

Golden honey comb

Golden honey comb

ready to strain

ready to strain

Golden goodness dripping from the filter

Golden goodness dripping from the filter

Filling the jars

Filling the jars

Pints of our own honey.  We only harvested 4 pints this year, but we are happy with our first year with our one little hive.

Pints of our own honey. We only harvested 4 pints this year, but we are happy with our first year with our one little hive.

Drying the Zukes

 Zucchini
A gardener’s delight,
the gift that keeps giving
and giving
and giving
right up until the first hard frost.

Zucchini is one of those beautiful vegetables that seems to grow despite the blackest of black thumbs, it gives prolifically for a long time, making it one of the best vegetables to grow for fresh summer eating.

There are many recipes out there for fresh zucchini, from skillet dinners to baked goods, but today I am going to talk about preserving zucchini.  Zucchini is a delicate vegetable, being that its flesh turns soft quickly when cooked, making canning and pickling a little challenging.  However it dries and freezes beautifully.

IMG_4707

Zucchini is very simple to dry, if you don’t have a dehydrator, a warm oven or a couple sunny afternoons will do.  The method is as simple as slicing thin and sprinkling with salt (if you want).  Some recipes call for oil to be added, while added oil is good for a very crispy, flavorful zucchini chip, it doesn’t work well for long term storage, as the oil will go rancid quickly. IMG_4592

It only took one day in my dehydrator, it always amazes me how much produce shrinks in the dehydrator. IMG_4596

The dried zucchini will be stored in glass jars in my pantry to be used later in soups, stews and sauces. IMG_4878

Beets

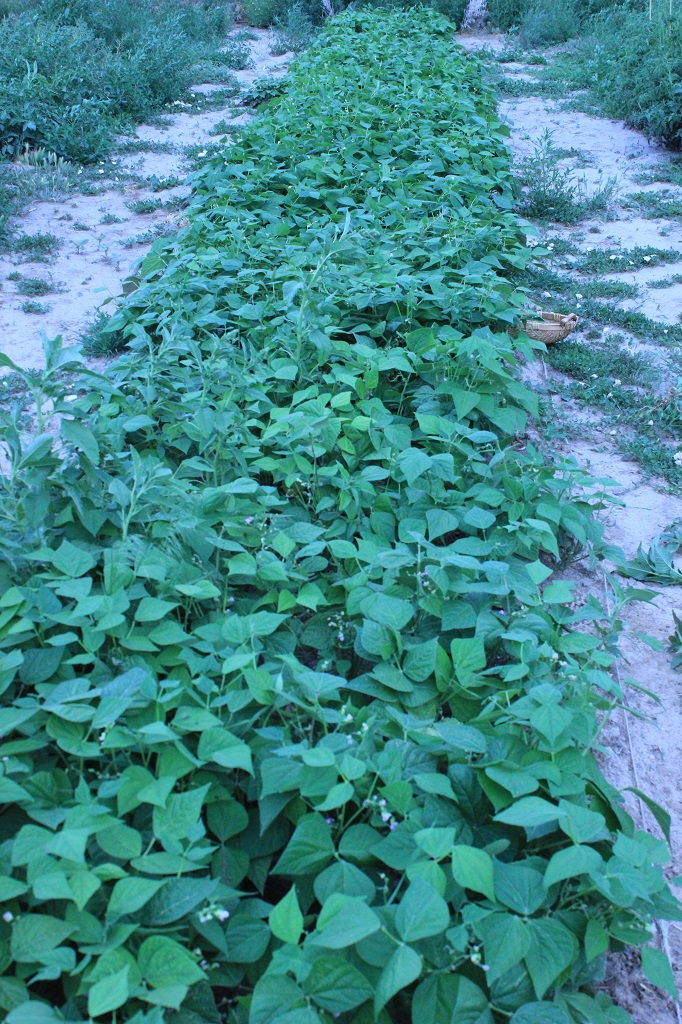
 One fine Saturday I was strolling through the garden,
and I came upon this:

IMG_4601
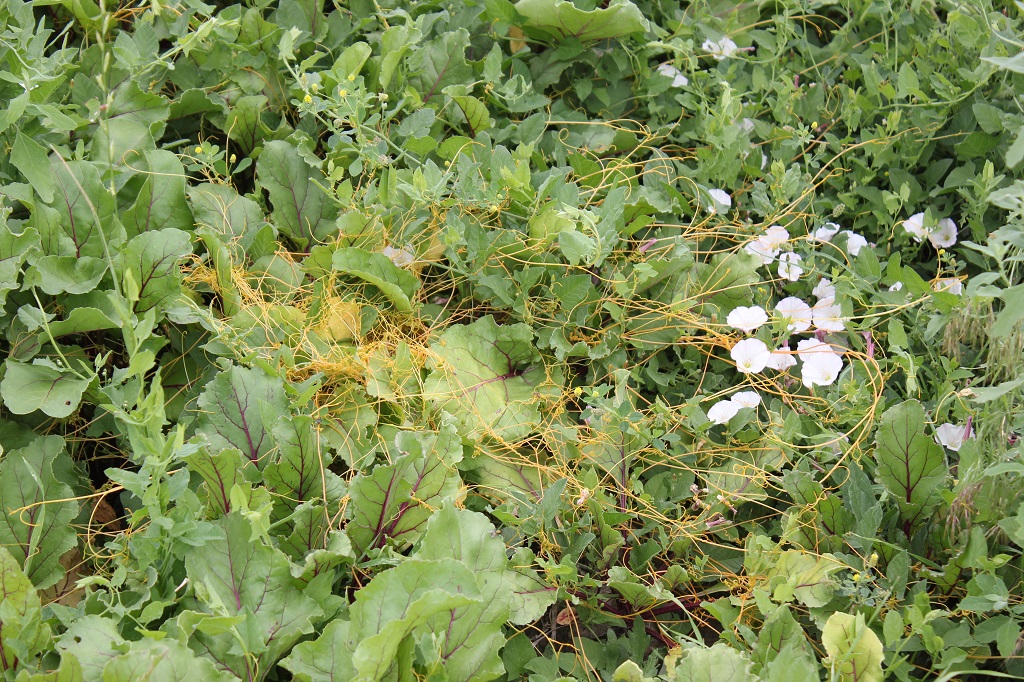
It might be a little hard to see, but looks like lots of thin orange string tangled up among my beets.
But it isn’t string, it is a particularly noxious weed called
Dodder.
And it is bad.
It is a parasitic weeds, it has a little seed that germinates, and then finds a host, once it finds its host the root pulls up and it eats off the host, and it grows like wild fire, and it produces seeds and it spreads like crazy and its hard to get rid of.
Really hard, so hard it will take me a few seasons before I will know if it is completely gone.  So we formulated a plan of attack, and hopefully we will get this critter contained before it takes over my whole garden.  First I harvested the beets, the Dodder doesn’t hurt the beets and they were perfectly fine to eat, but I needed to get them up and put away.  I cut the tops off the beets right there in the garden and left them on the ground.  The Dodder had already started to go to seed and I didn’t want to risk dropping seeds anywhere else.  I then took round-up (sniff, sniff, there goes my organic garden) and sprayed the entire area, all the weeds and other veggies growing around the beets, I needed to make sure I got everything.  This killed off all the host plants, thus killing the Dodder.  Once everything is dead and dry, the area will be cleansed by fire.  Then I will treat the entire area with Preen, a pre-emergent that will kill any seeds that germinate and sprout.  I will do this this season, and next year and the next year, hoping to get all those little dormant Dodder seeds.

Sigh….

Anyway.
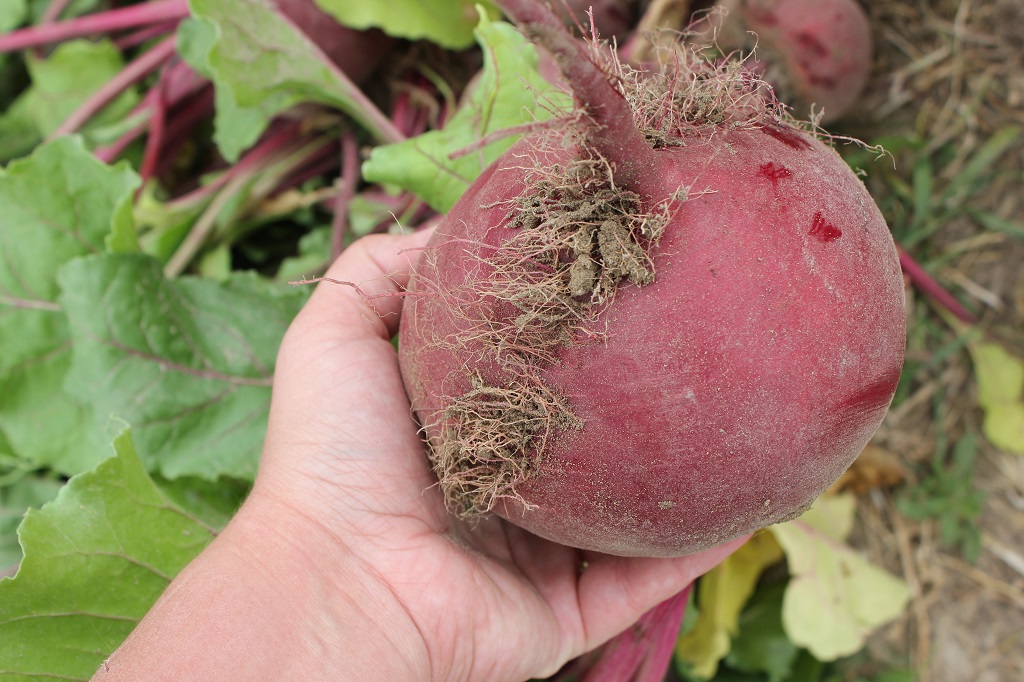
In the mean time I got a bumper crop of beets.
They did so well that I think I will plant more next year.

IMG_4600

Some of the beets were as big as my hand, and while it is advised that you don’t let beets get this big, they get al little tough, it was sure fun seeing them that huge.

IMG_4672

I decided to bottle the beets this year, I have had little success with root cellaring them in the past and knew canning is fairly risk free.

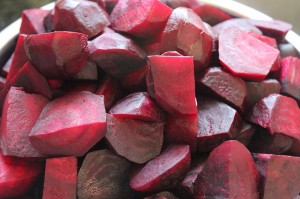
To get the beets ready, I boiled them for about 10  minutes, to loosen the skin, then peeled and diced them up.  It was a lot easier than I thought it would be, and my fingers turned a pretty purple color.

IMG_4673 IMG_4674

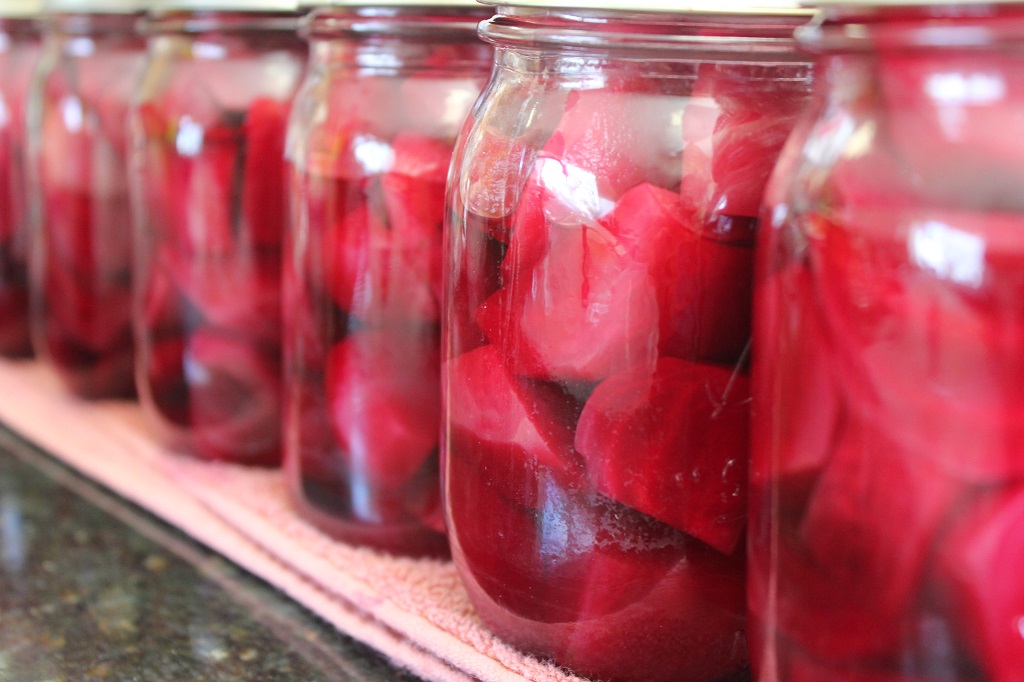
Aren’t they a beautiful purple color all ready for the canner.
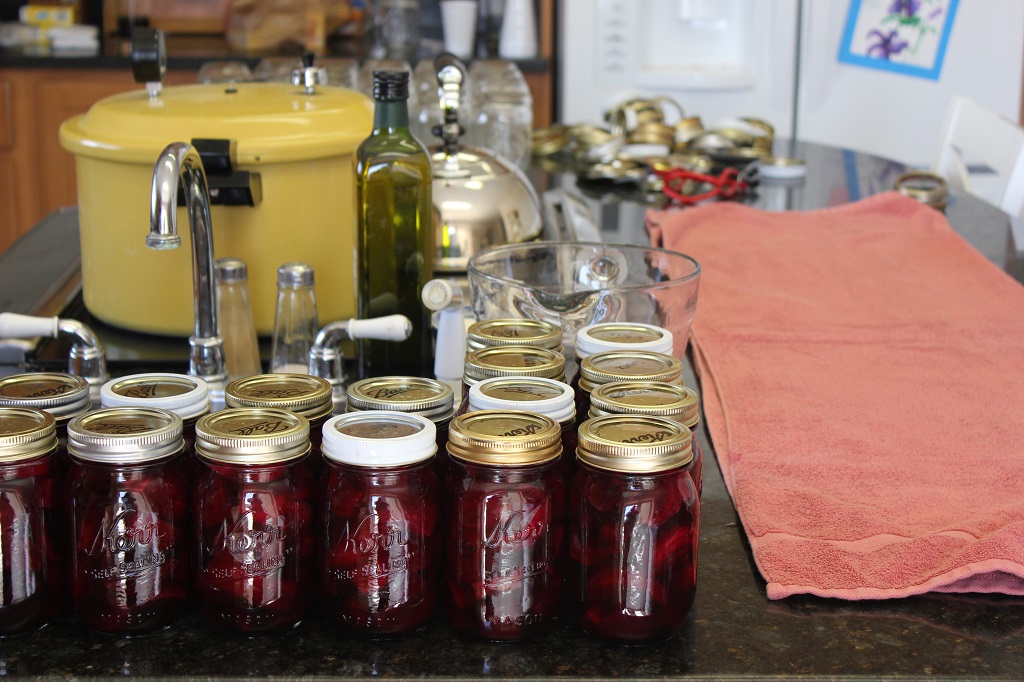
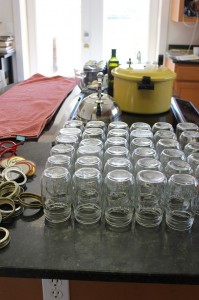
I raw packed them in pint jars, I didn’t use any salt and filled the jars with hot water.
I processed the jars at 12 pounds pressure for 30 minutes. IMG_4684

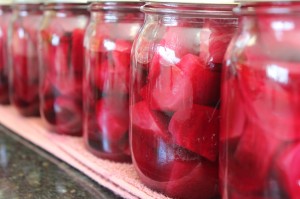
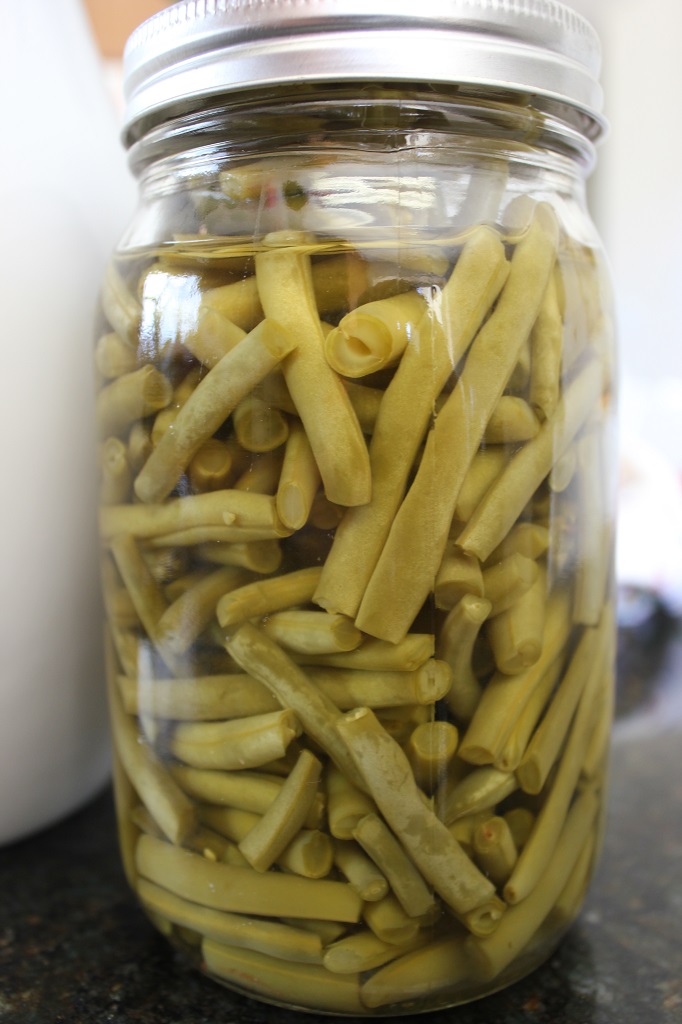
They came out perfect, a beautiful red color, although I wish they would have stayed the dark purple, they sure do add some color to my larder and to our dinner table come winter time.

Processing Carrots


We had a really nice carrot harvest this year,
about 80 pounds.
Our original plan was to store the carrots in the ground, with a thick cover of straw and dig them up as needed.
However.
A friendly little gopher changed our plans.

When we got back from vacation the first of July we found several new gopher mounds around the carrot patch and one smack in the middle of it.
While I appreciate that even little rodents need to eat, I’d not too keen on sharing my hard earned food with them.
They can eat sage brush.

IMG_4568

Our carrots were quickly harvested the next day, and the tops cut off to prevent the carrots from going soft. IMG_4576

There are several ways to preserve carrots through the winter.  They are one of the easier vegetable to store. As I mentioned before, they can stay in the ground, with a thick cover of straw or other bedding to prevent freezing.  They can be stored in a root cellar, either buried in damp sand or peat moss.  They can be stored in a cool refrigerator.  They can be dried or canned.

Since my first pick, storing them in the ground, was derailed by pesky gophers I picked drying and canning, I don’t have refrigerator space and didn’t want to deal with barrels and buckets of sand in my cold storage (which really doesn’t keep a very cold temp anyway).

IMG_4577

Drying was  the simplest method.
I sliced those pretty Orange carrots in the food processor and laid them out in my dehydrator.
It took about a day for them to become crispy dry. IMG_4578 IMG_4704

They are stored in mason jars in the pantry.
They will be added to soups and stews this winter. IMG_4703 IMG_4579

Most of the carrots were canned.
Canning carrots are very easy
(as long as you aren’t scared of using a pressure canner like I was for so many years!)
The girls scrubbed the carrots very well and I sliced them into chunks.
We then raw packed them into pint jars, added water (no salt) and processed at 12 pounds pressure for 25 minutes. IMG_4580

Some of the smaller carrots I saved and canned them whole in the jars.
I thought it looked cute,
everyone needs a little cuteness in life. IMG_4582

So there you have it.
Carrots, stored away for winter.
And if I was really on the ball, I would have planted more and would have more to harvest, or over winter later this fall.
But I didn’t,
maybe next year?

Beans, Beans My Magical Fruit


Beans have been my magical fruit this year.
They have been wonderfully abundant.
much to my homesteaders hearts delight!

IMG_4564 IMG_4583

Starting the middle of July, we have been picking about 15 pounds every two to three days.  During the peak flush it took two hours to pick everything. IMG_4584

And just as many hours to snap them all.
Good thing I have lots of little hands to help. IMG_4585 IMG_4587

(Monkey was especially enthusiastic in her “helping”, she loves being one of the big kids.) IMG_4593

All those pounds and pounds of beans went to one of three places: fresh in our bellies, to friends and family or in quart jars, bottled for the winter. IMG_4695Now it’s in the middle of August, and the beans are slowing down.  We are picking every three or four days and only getting a few pounds a time.  While I am sad to see bean season end, it is a bit of a relief to not have to keep up with the picking and bottling.  All in all I was able to can 70 quarts of beans, more than enough to last us until next bean harvest, along with other vegetables that have been dried, bottled and frozen.

This work, of being self sustaining (as much as possible) is long and hard, but the results are so very satisfying.