Tomato Powder

In September I canned about a zillion tomatoes.  I did stewed tomatoes, tomato sauce and tomato soup.  I used tomatoes that I purchased from road side stands, some from my garden and some from friends and neighbors, I never turn down free produce!  Once I was done canning I still had tomatoes in my garden and a few from my Mom’s garden.  So instead of canning little batches I decided to dry them.  I also pick all the green tomatoes off my vines the first part of October when we had our first hard freeze and as they have been slowly ripening I have been drying those too.

Drying tomatoes is a simple process.  I just washed them and cut them in half.  My tomatoes were Roma’s a nice meaty paste tomato, meaning there isn’t a lot of water, perfect for drying.  If you are using bigger slicing type tomatoes, then you would need to cut them into 1 inch slices, you can also dry cherry tomatoes, just poke a hole in them, so the water can escape and they can be dried whole.


It took about 2 days to dry the tomatoes crispy.  In order to grind them into a powder (which was my goal) they need to be good and crisp.  If you plan on keeping them in oil, they don’t have to be crispy, just nice and rubbery.

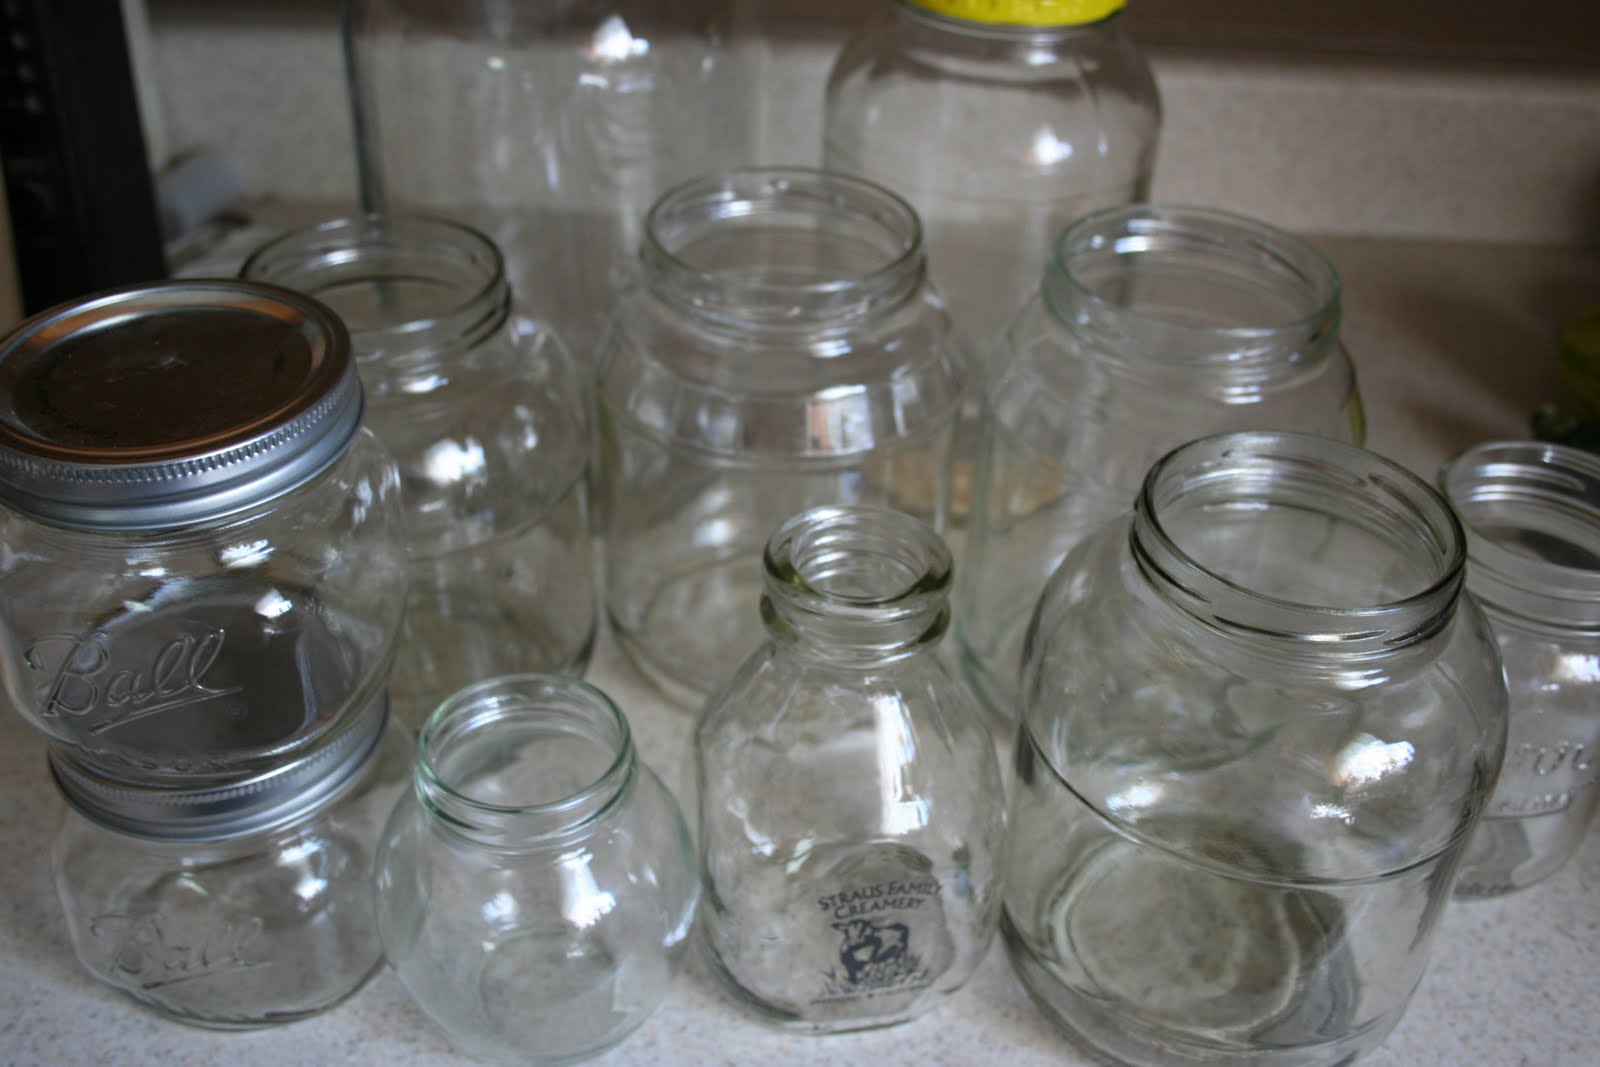
I dried over 100 pounds of tomatoes, and they all fit in two gallon jars and a couple of pickle jars.


I then ground up the dried tomatoes in my blender, nice and fine to create a powder.  They compacted down quite a bit in powder form, wonderful if you don’t have a lot of storage space and want to preserve food.

I left a few whole tomatoes, to add to soups and stews throughout the winter.

Here is the finished product.

I am figuring (I am not an expert so this is just my own thoughts) that if oxygen packs were added to the jar, this powder would store for several years.

Now, how does one use this powder?

Well, here you go:

To one cup powdered tomatoes, add the following….

Tomato Paste:
1 3/4 cup water and 1/2 tsp sugar

Tomato Juice:

3-5 cups water or to desired thickness.  Salt and Pepper to taste

Tomato Sauce:

3 cups water and 1/2 tsp sugar

Tomato Soup:

3/4 cup water, 1/2 cup milk.  Season to taste.

Autumn Cranberry Pear Jam

I was blessed with 40 pounds of Pear for a very good price.  Strangely enough for all the caning and food processing I do, I have never done pears.  I a not a fan of pears in syrup, I have never liked them, and the thought of spending all that time to make something that I won’t want to eat…well….yeah.  So I have been on a quest to find some different ways to preserve these wonderfully sweet pears.

While browsing through my Ball Canning book I came upon a recipe for “Autumn Cranberry Pear Jam”.  It sounded really yummy and uses liquid pectin, which is new for me.

I think this jam turned out especially pretty in their jars.

I am thinking potential Christmas gifts….?

Here is the recipe from the “Ball Complete Book of Home Preserving”
(love, love, love this book, it has 400 recipes for pretty much anything you can cram in a jar!)
3 cups crushed cored peeled pears

2/3 cup coarsely chopped dried cranberries
1/4 cup unsweetened apple juice
1/4 cup lemon juice
5 1/2 cup sugar (wowza!)
1 tsp cinnamon
1 pouch liquid pectin

In a large stainless steel pot combine all ingredients except the pectin.  Over high heat, stirring constantly, bring to a full rolling boil, one that cannot be stirred down.  Stir in pectin.  Boil hard, stirring constantly for 1 minute.

Remove from heat, process 10 minutes (depending on elevation).

Harvesting Carrots

Saturday we harvested the carrots. 
Harvesting carrots is one of the fun gardening jobs.
The kids love to pull carrots.
Storing a carrot is very simple.  They are a “root cellar” vegetable, meaning they will stay good and fresh as long as they are stored correctly.  I keep mine in plastic bags in an old refrigerator in my garage, I keep the temperature in the refrigerator at about 50 degrees, and they will stay fresh that way for months.  You can also keep them in a cold basement room or a root cellar, if you are lucky enough to have a root cellar.  When storing fresh carrots cut off the green top, leaving a half to a quarter inch of the top on.  If you don’t cut the tops the carrot will wither, same thing will happen if you cut into the root. 
If you don’t have a place to store carrots at that temperature, you can blanch and freeze them, or can them (using a pressure canner).
We harvested 50 pounds of carrots, along with the 23 pounds already harvested gives us a total of 73 pounds of carrots this season.  They were grown in 16 square feet of garden on my little quarter acre of land.
Yay for suburban farming!

Smelly Pickle Jars

I am a bit of a collector

of glass jars.

I know, kinda strange, but I love glass jars in all sorts of shapes and sizes.  I have been known to purchase a product, not for the food inside, but for the shape of the glass jar.

I use my glass jars for storing all sorts of dry goods: beans, rice, special grains, flours and herbs.  Some jars I use to store milk, yogurt, cream and butter.
Of all the jars I have collected, I think I have more pickle jars than anything else.  They are a good size for storing all sorts of things.  The only problem with pickle jars is that they retain the pickle smell.  Nothing ruins a good cup of chamomile tea faster that the smell and taste of pickles.
The smell comes from the lid of the jar.

The inside of the lids are lined with plastic and rubber, to help keep the lid from rusting and to maintain the seal on the jar.  The pickle smell gets into the plastic and is almost impossible to wash out.

But, there is a way….

All you need is the special odor fighting power of Baking Soda and a plastic bag.
Place washed lids in a plastic bag with some Baking Soda and let sit for a few days.  Then wash.  Now you have clean smelling, virtually free, storage containers!

Celery from the Garden, Using the Whole Plant

This year one of my experiment crops was celery.  I stared them from seed on my window seal in early April, then very carefully transplanted then in to the garden mid-May.  I wondered if they were really going to grow, I didn’t know anyone in my area who has ever tried celery, and at first they were slow to grow.  However, once the heat of the summer (finally) came on they grew big and green.  If anything they are a lovely addition to the garden, as they are beautiful and green.

Celery grown commercially is tied in a bundle while it is grown, so the stalks grow straight and tight, this makes for easier shipping and it also keeps the inner stalks lighter in color and mild in flavor.  Next year I might try doing this, but this year I wanted to see what they would do it they were just left alone.  Also, I only harvest a stalk at a time, I didn’t intend to cut the whole bunch at once so I really didn’t need the bunch to be tight and compact.
Picking and eating the celery as been a lot of fun, in my weird quirky way I enjoy stuff like that.
When using celery, there is a lot of the plant that is cut off and thrown away.  The leaves would be great in the compost pile or fed to the chickens, but I decided that I wanted to keep all the wonderful flavor for myself.

I washed the cut tops really well, then let them drain on a towel.
Then I set them out to dry.
(I will show how in another post)
Dry celery leaves make wonderful flavoring for soups and stews during cold winter nights. 
I love the satisfaction I feel when I grow, gather and process my own foods.