Pepper Jelly

At the first of the season I was gifted two jalapeño plants.
We aren’t really pepper people, but I figured it would hurt to grow some, and maybe I would get enough to make salsa or chili sauce.  I then bought some regular bell peppers, just in case I could pull the salsa thing off.

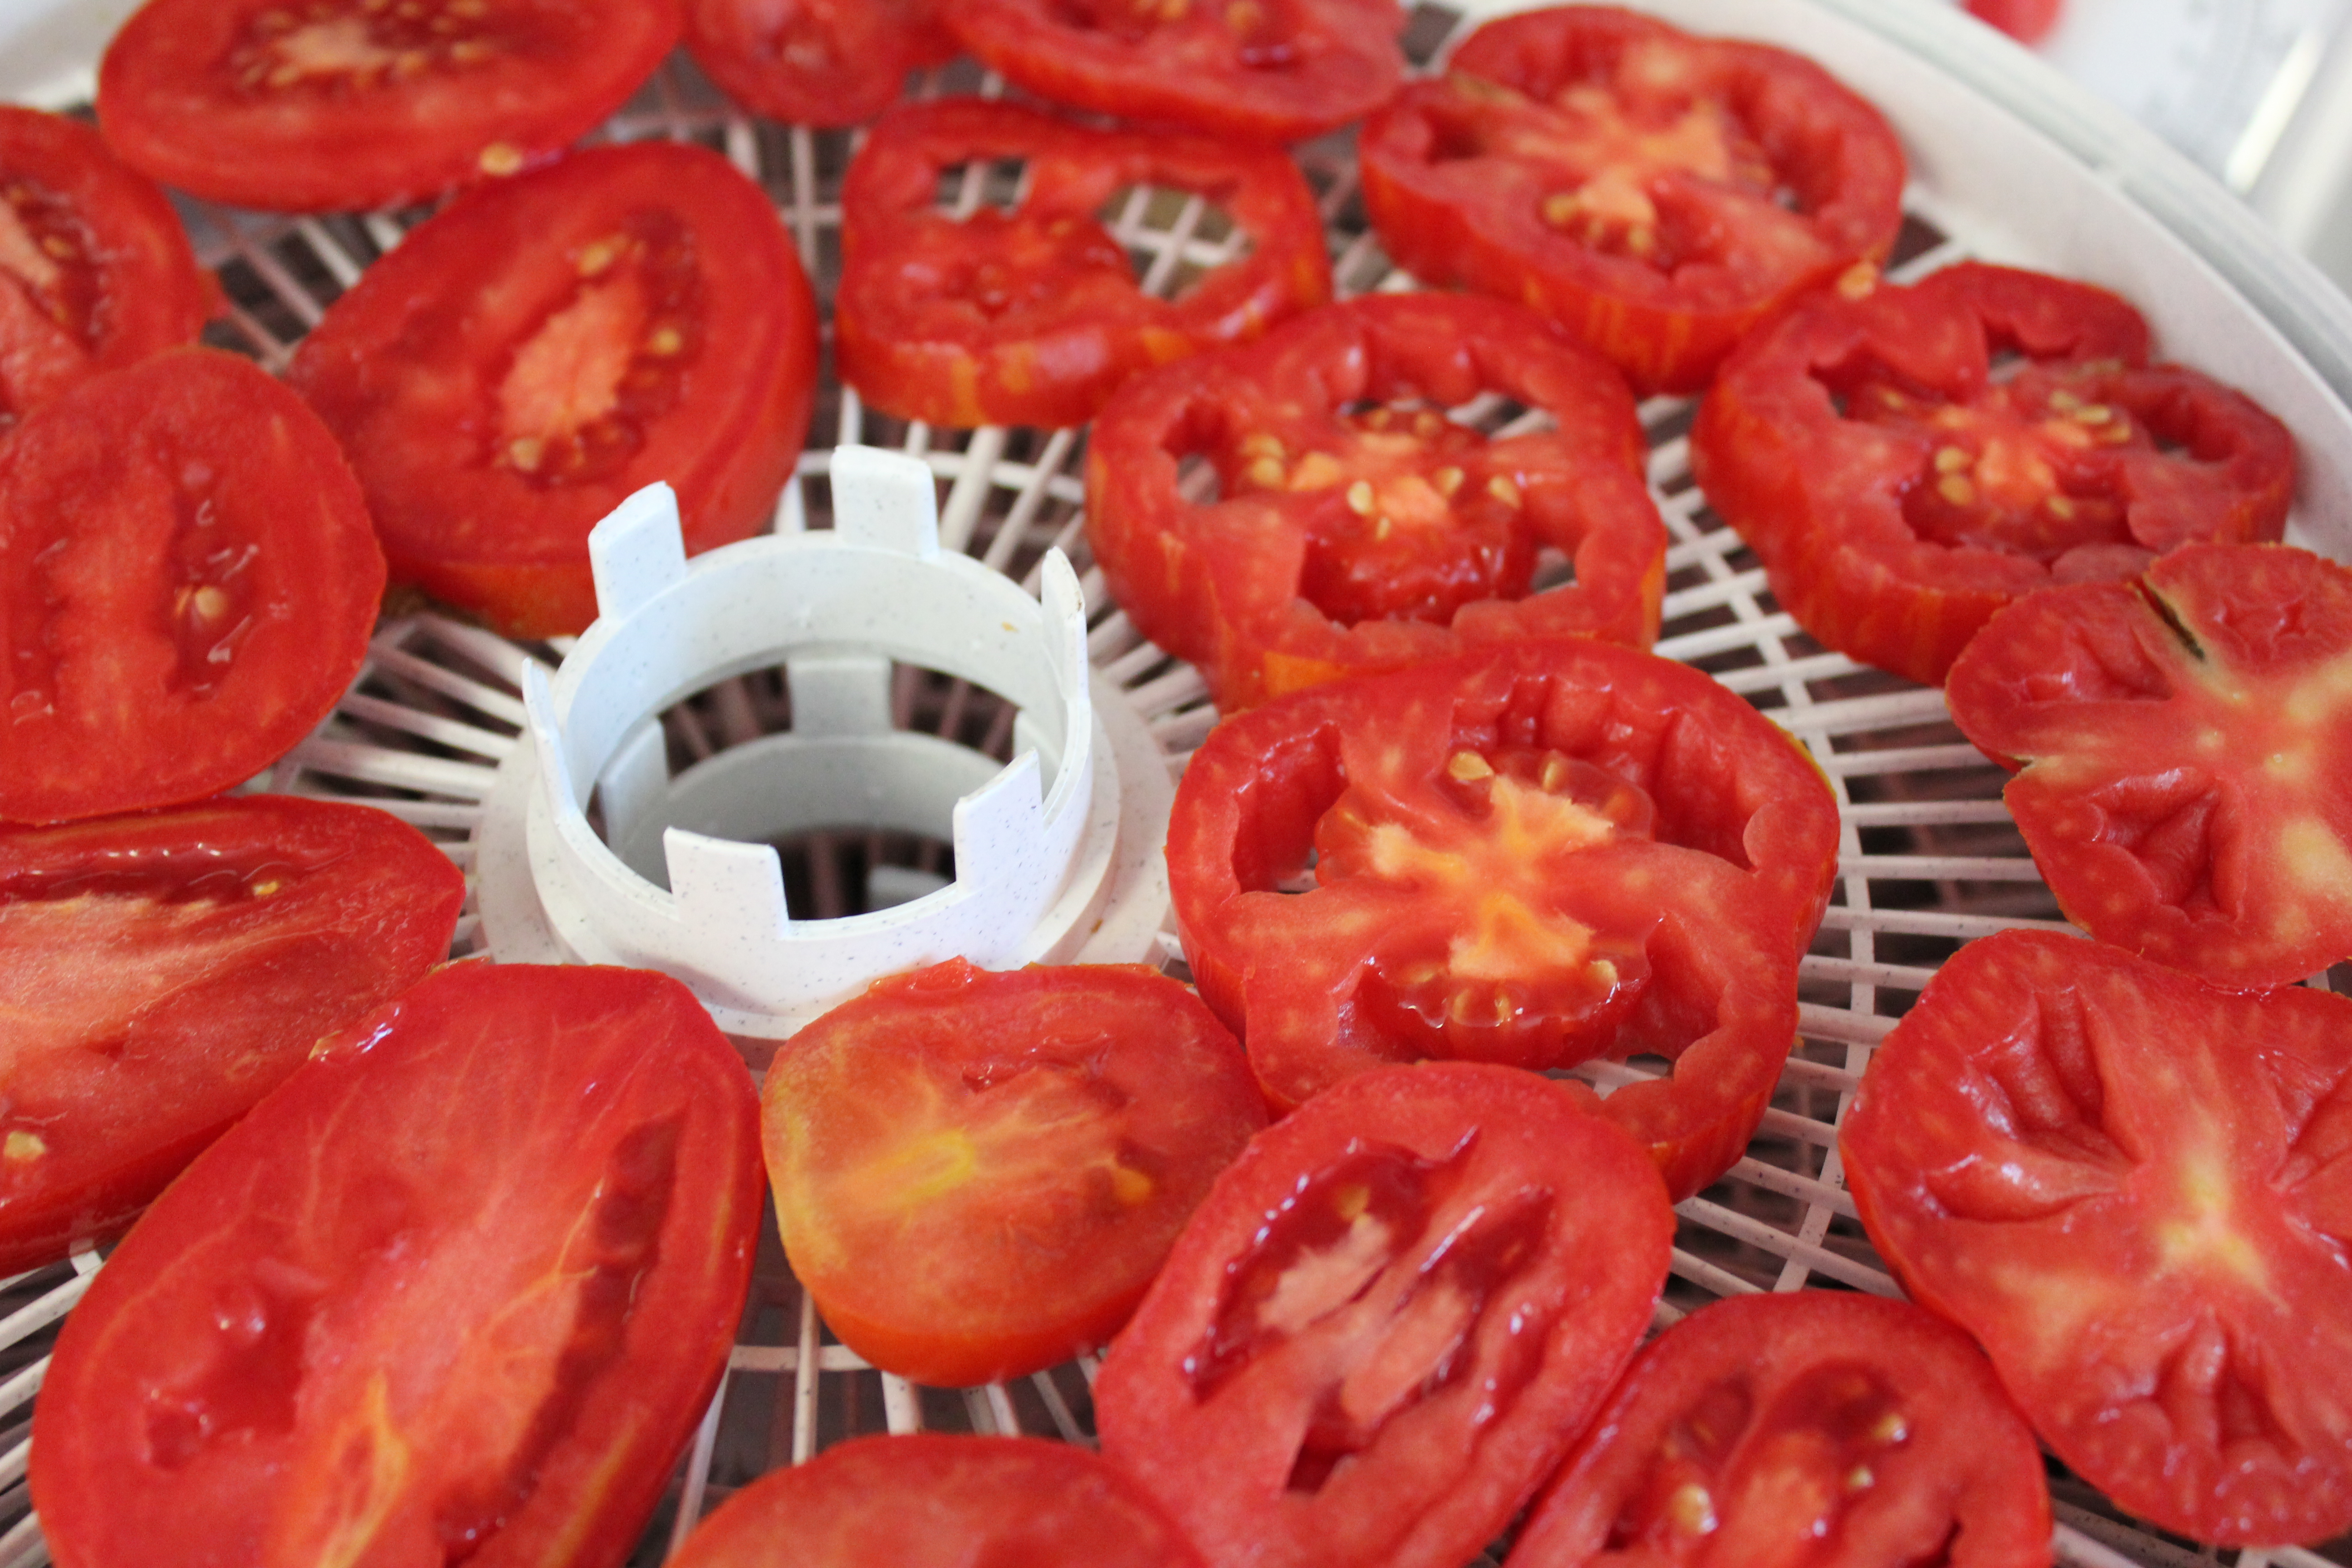
Well it didn’t really work, I never got enough tomatoes the same time I got peppers to make it worth whipping up a batch of salsa, when I bottle things I go big, or go home.  If I can’t make a lot, it just isn’t worth it to me.

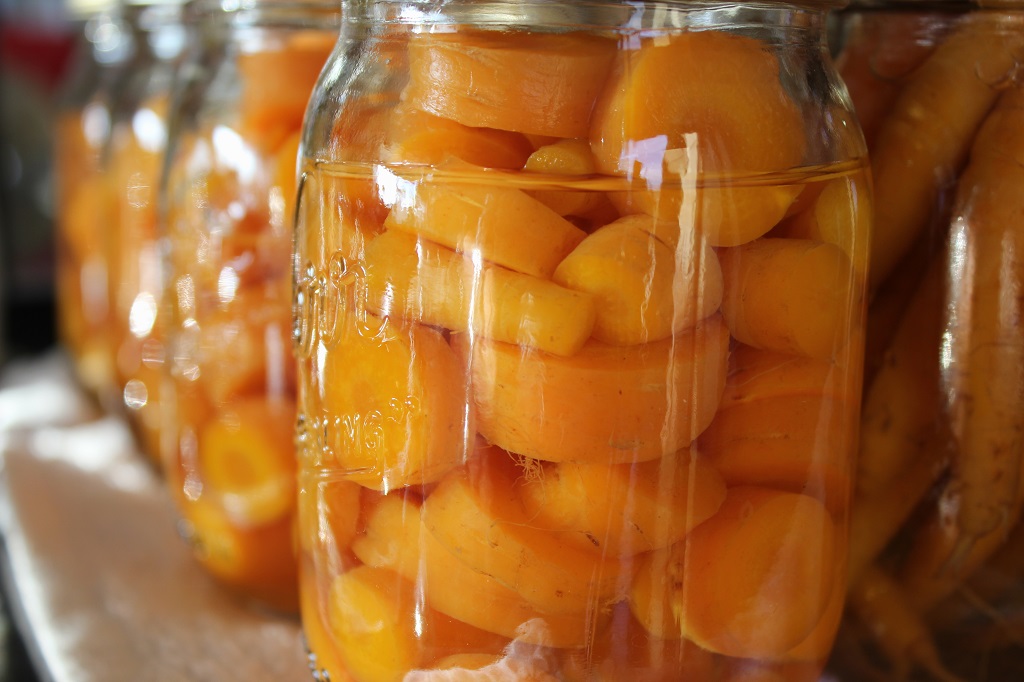
However, that isn’t always the case for a few specialty items, things I wouldn’t want to have dozens and dozens of jars.  Pepper jelly is one of those specialty items.  I love pepper jelly, but we don’t eat jars at a time, a dozen lasts us well over a year, so a dozen is what I make.

I mixed two recipes from the Ball Canning Books.  I didn’t make a true jelly, because I was way to lazy that day to let the pulp drip for hours to make a clear juice, it is more of a pepper jam.

IMG_4775.

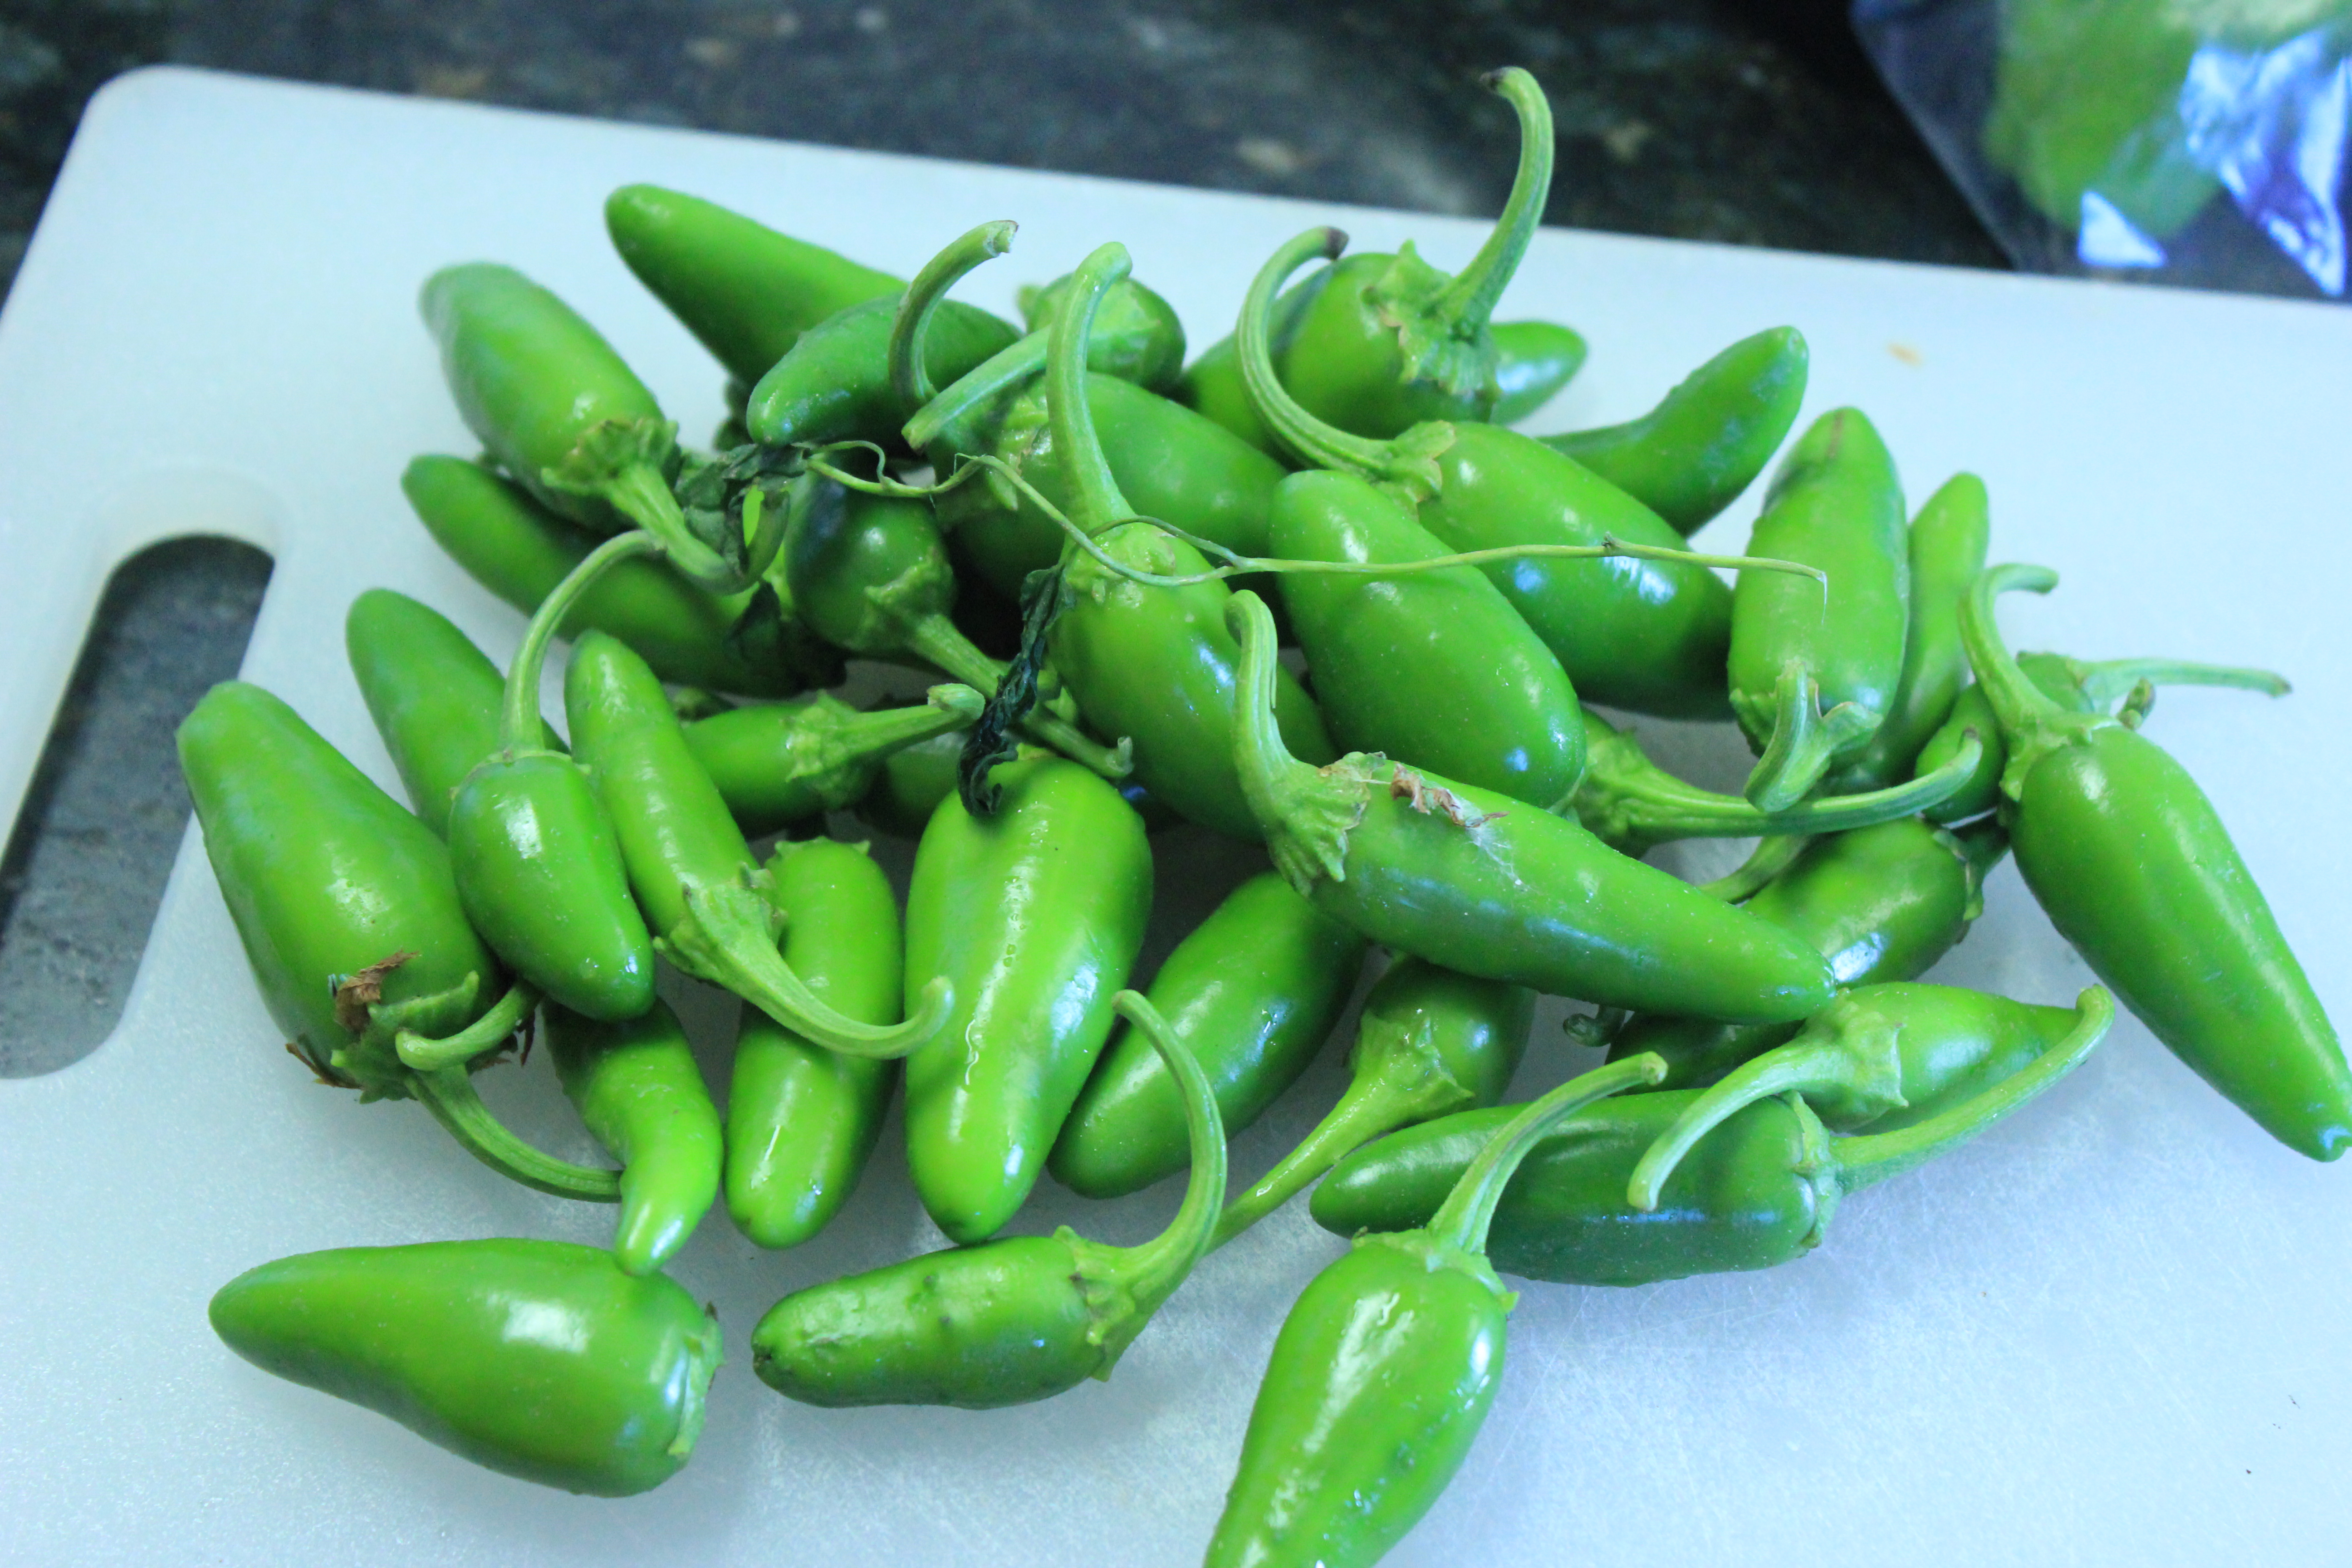
I cut and seeded my peppers, using about a two to one ratio, more bell peppers than jalapeño, while I like the kick jalapeños give, I don’t like it to be too hot. IMG_4776 IMG_4778

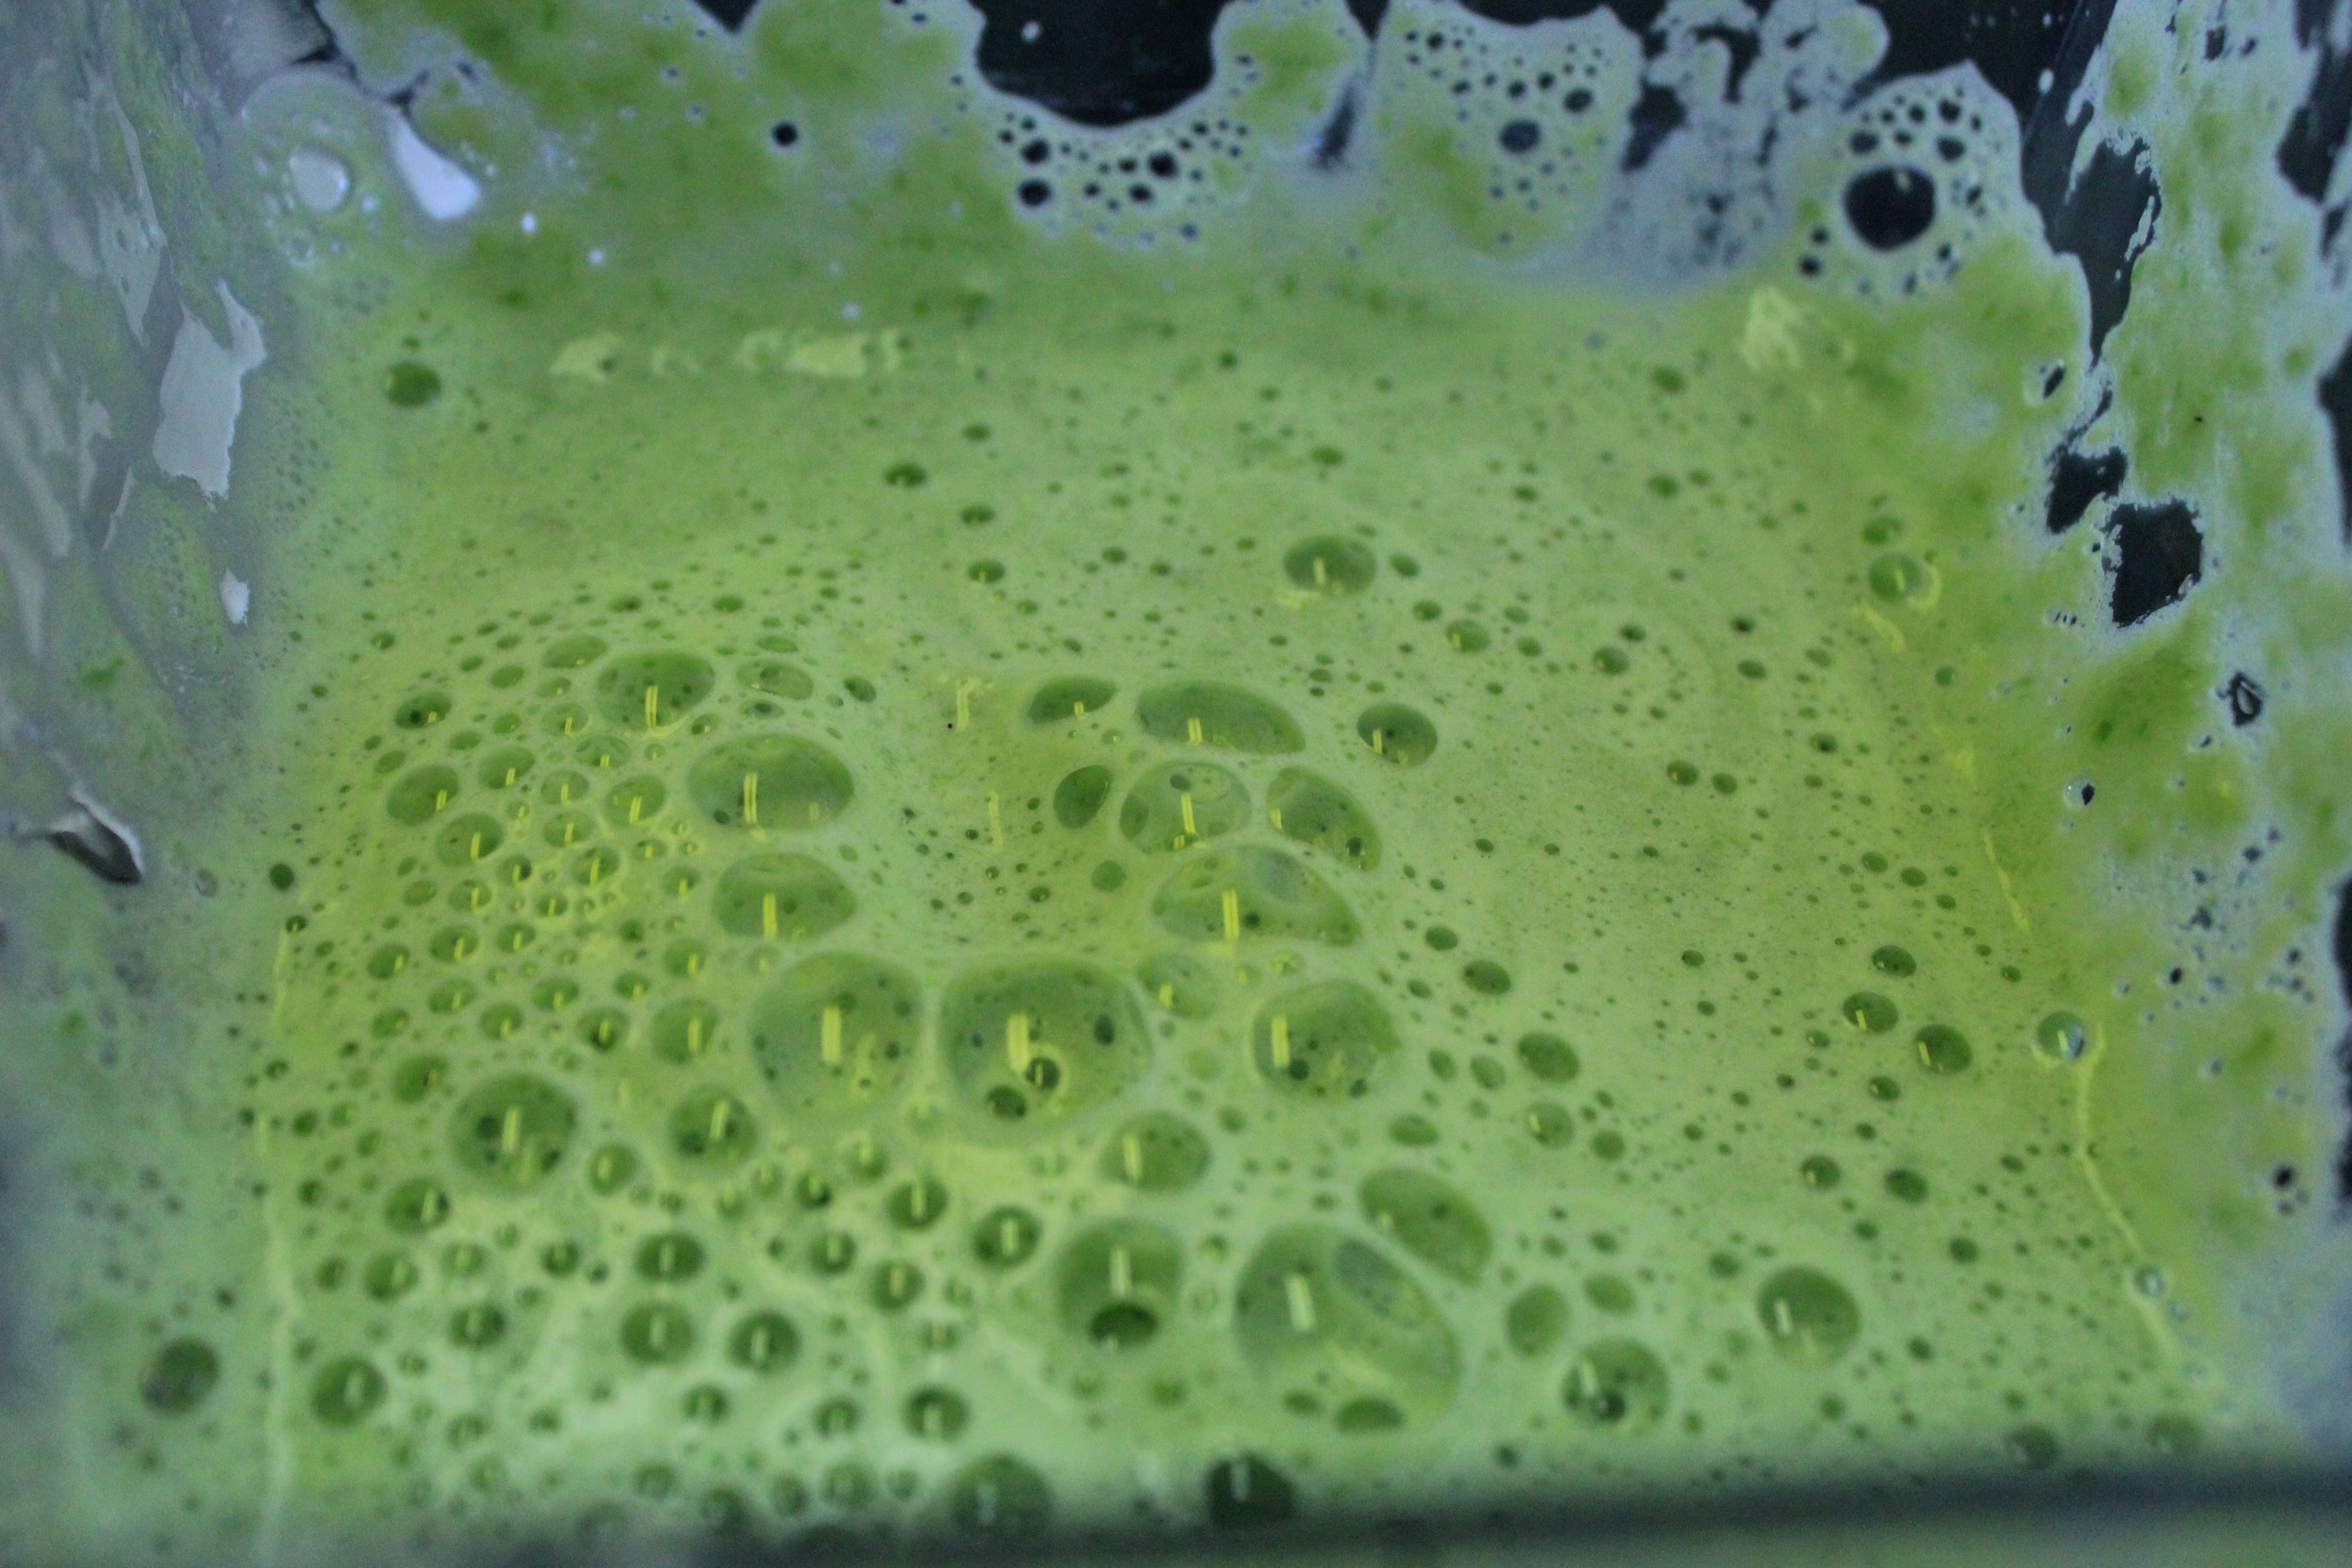
Pretty green juice, the peppers all ground up ready to add to the cooking pot, along with sugar and pectin. It looks so pretty and green, but has a little bite if you breath too deeply. IMG_4779

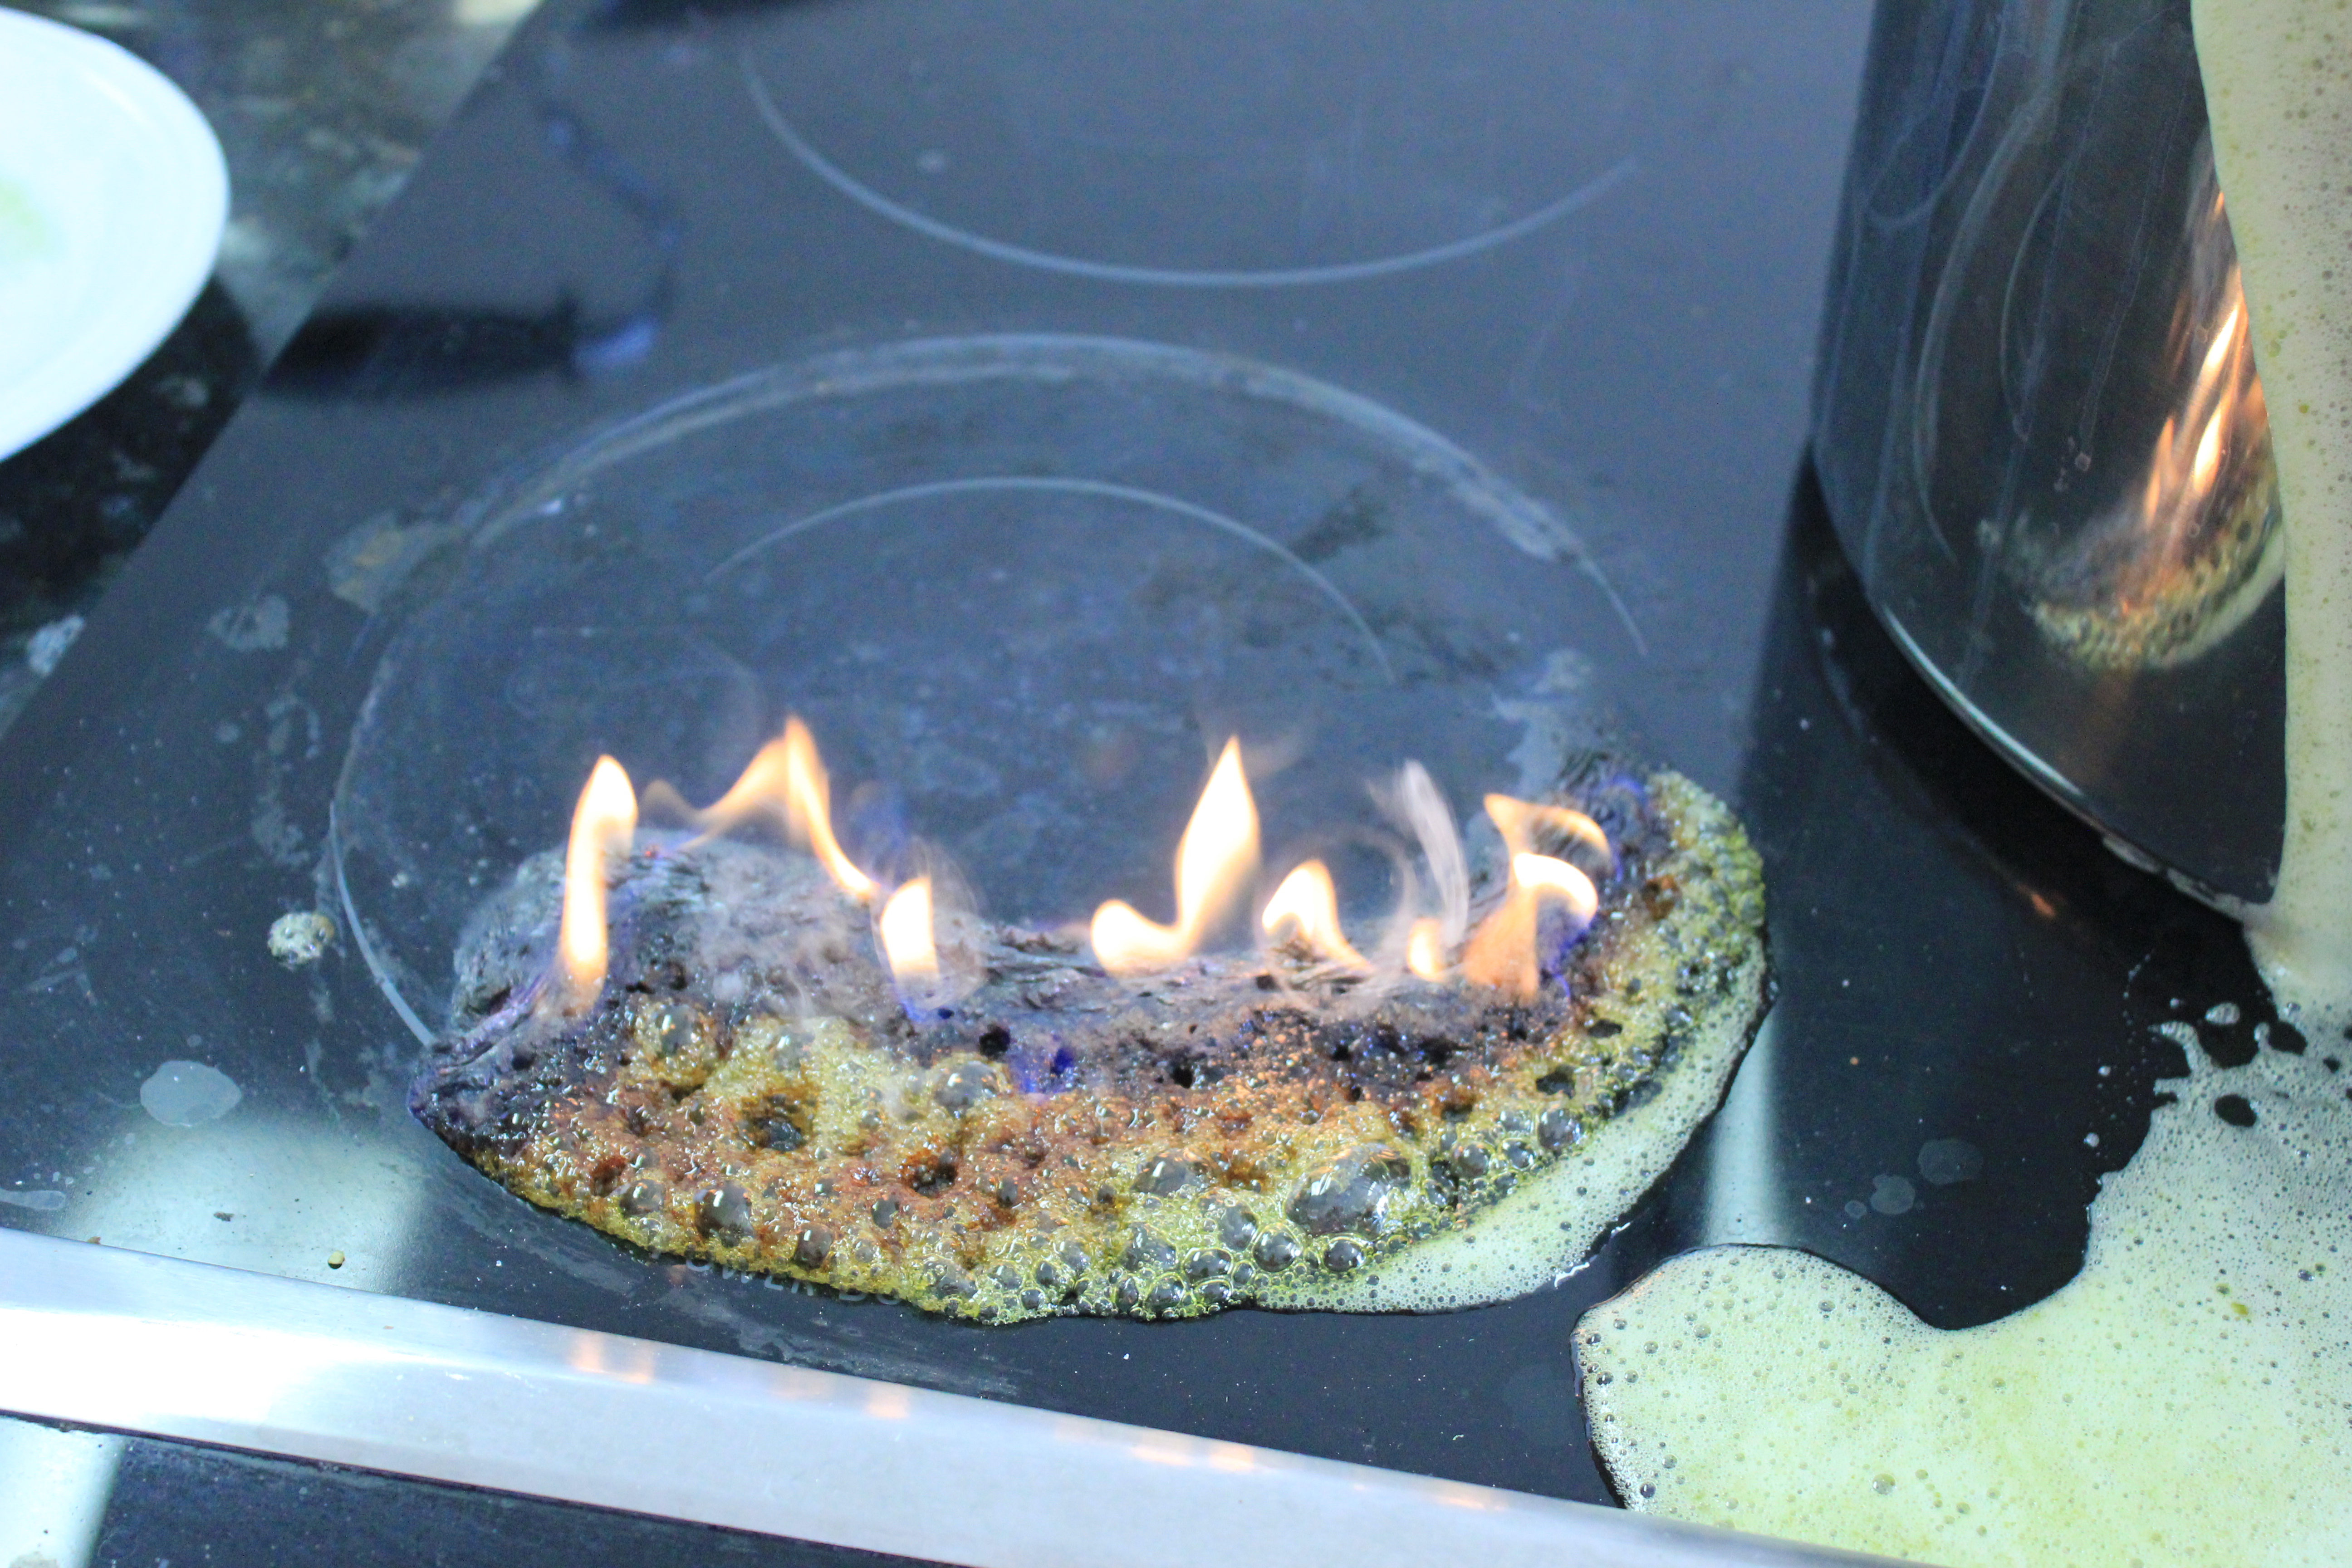
(this is what happens if you get distracted by homeschooling the kiddos and the sugar mixture boils over.  I will say, a glass flat top stove makes cleaning up a mess like that a breeze) IMG_4783
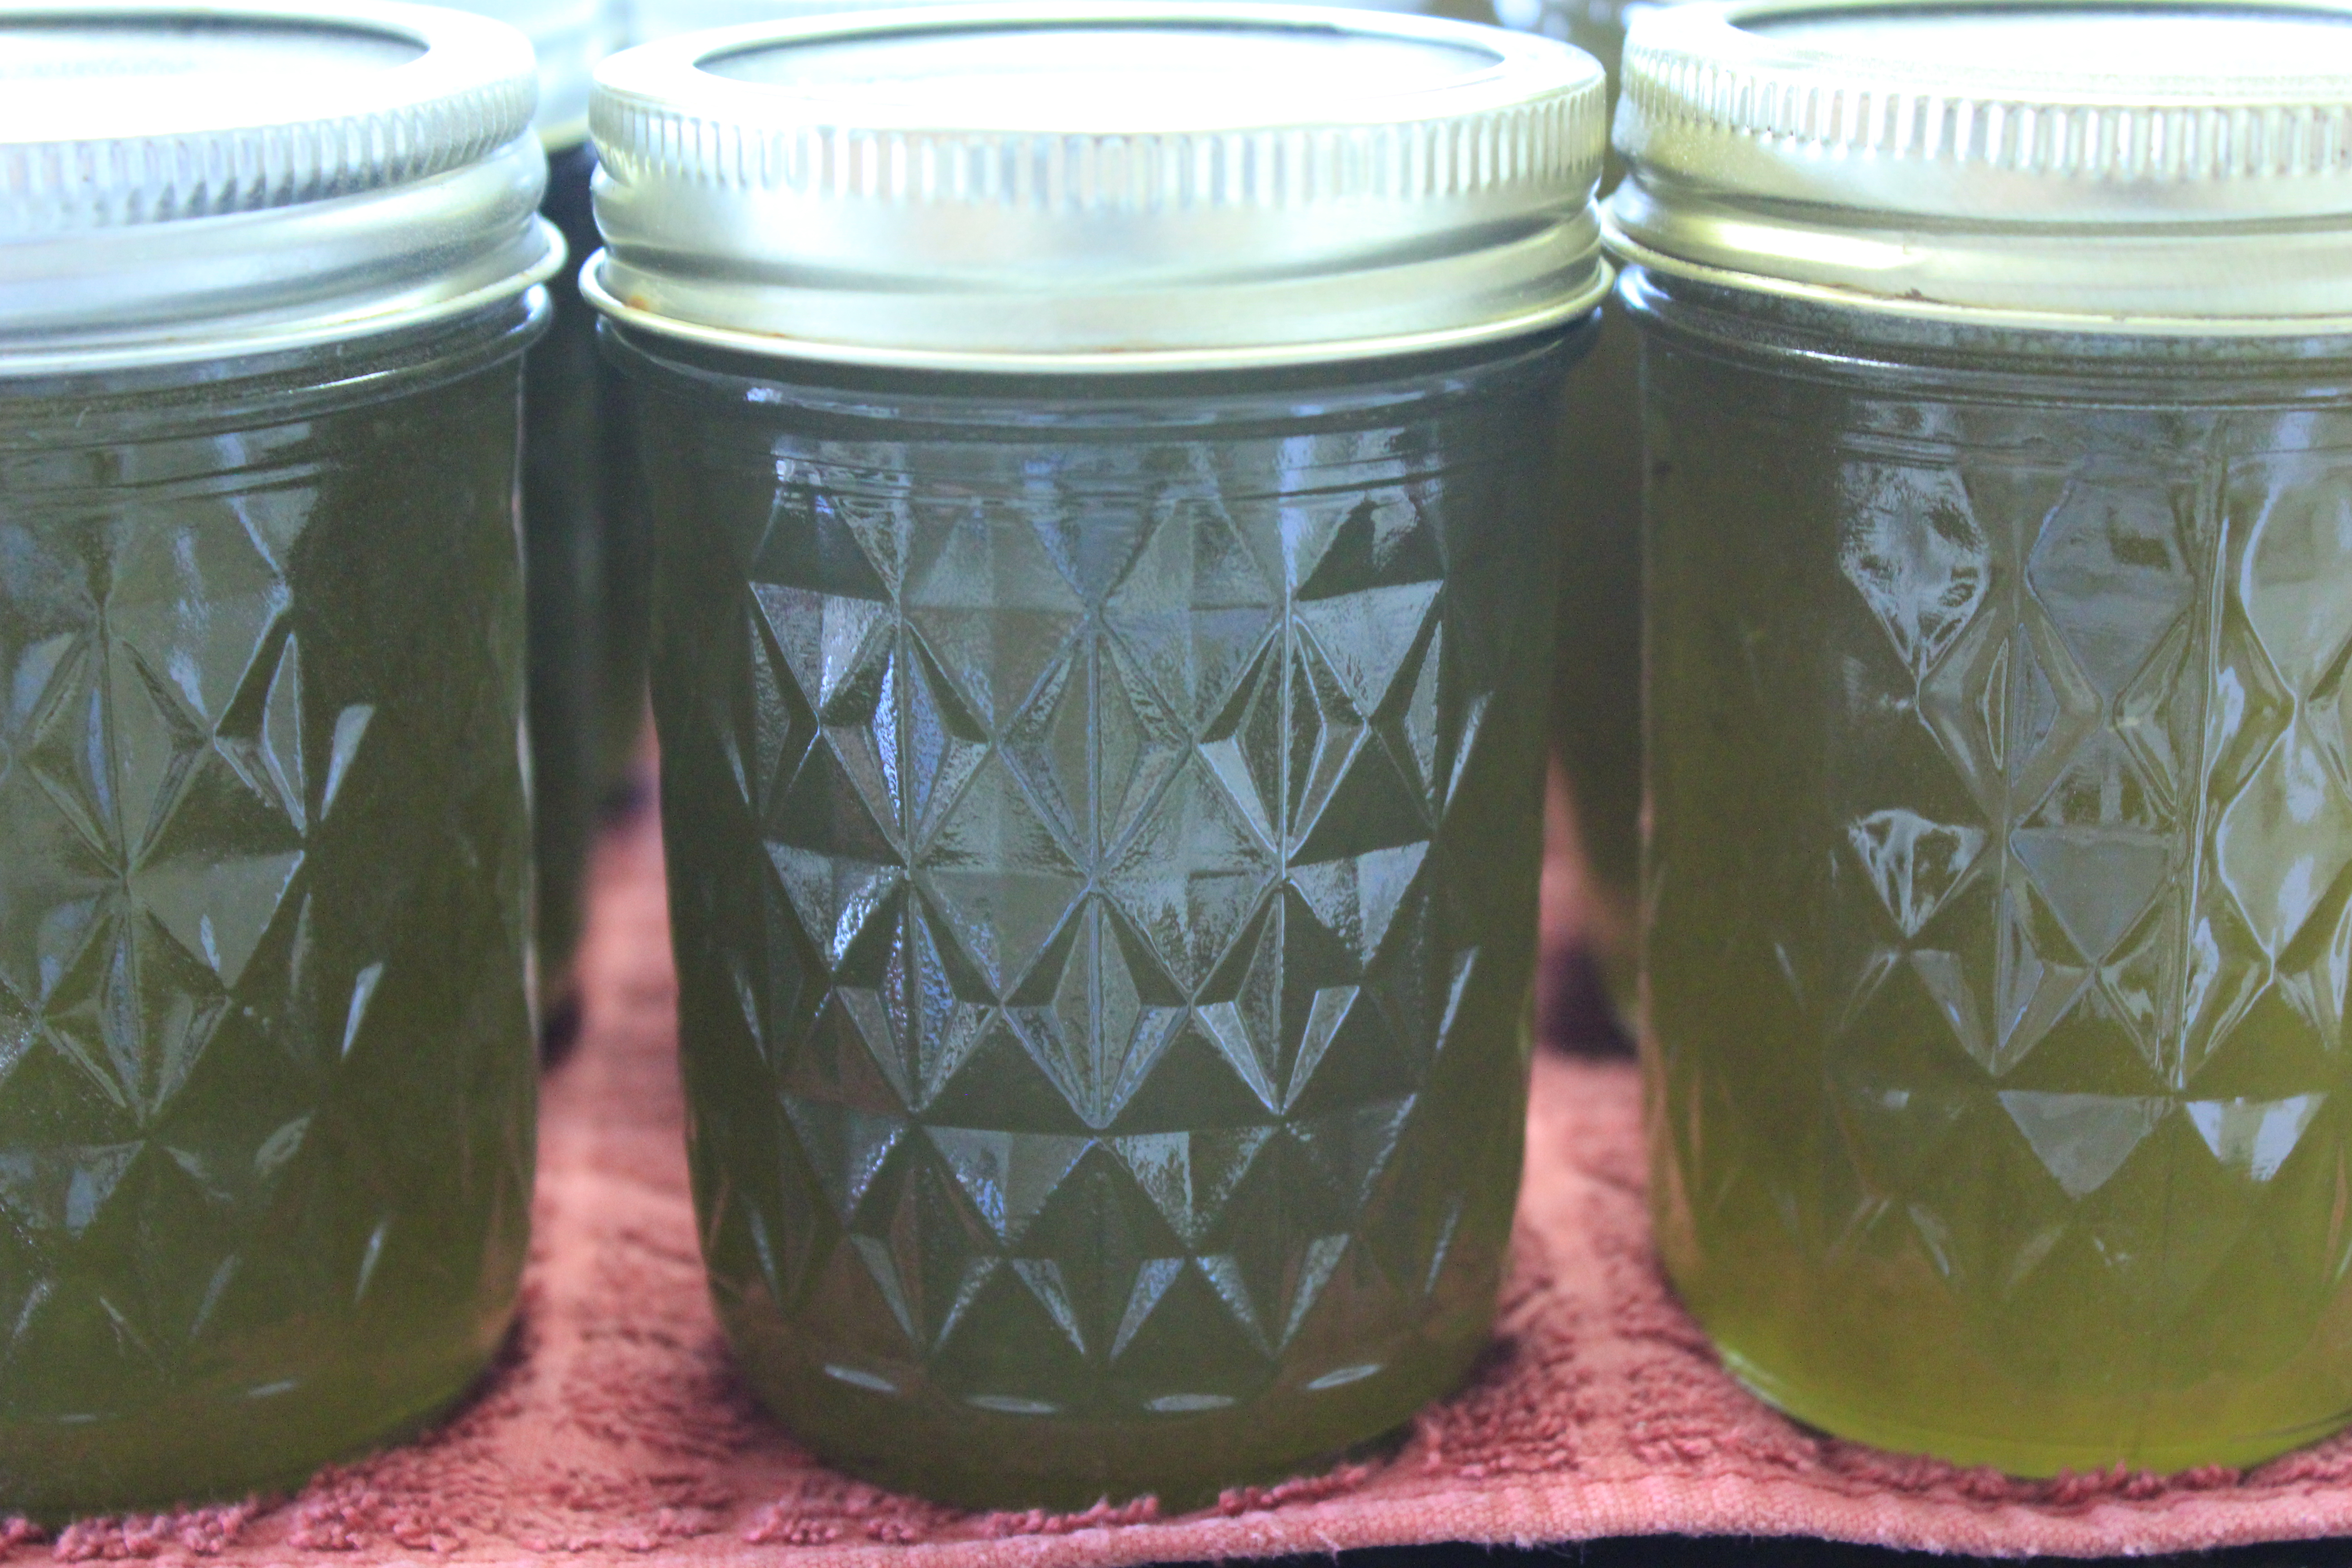
Pepper Jelly (jam) all bottled up and ready for cheese and crackers this winter.

Drying Tomatoes


Drying is one of the oldest forms of food preservation.
At the beginning of our tomato season, when things finally started to pick up and the tomatoes came trickling in faster than we could eat them, Lou and I decided the best thing to do would be to dry them.

We didn’t have quite enough to can anything and a few jars of dried tomatoes are nice to have around, they can be added to soups, stews, pastas, stir fries, or eaten as is.

IMG_4705

Lou with one of her first baskets of tomatoes, she is my tomato girl and has taken care of these plants from the very start when she planted the seeds.

IMG_4706

IMG_4724

Striped Cavern heirloom tomato.

IMG_4723

The inside of the Striped Cavern. See all the open space, thus the name “cavern”. It doesn’t make for a good saucing tomato, being that there is little flesh, but it has a wonderful taste, very mild and low acid. It was my best producing heirloom this year.

IMG_4727

Another pretty yellow heirloom, “Dr. Wyche’s Yellow”. It too is a low acid tomato that is great for eating. I wouldn’t can it, being low acid it would either need to be pressure canned or there would have to be added vinegar. Isn’t that flesh beautiful.

The only prep involved in drying tomatoes is washing and cutting.
Simple and free.  IMG_4725

I used my dehydrator, and it took about a day.
A dehydrator isn’t necessary, an oven on a low setting can be used, or they can be dried in the sun.
I dry them nice and crispy.  If too much moisture is left in the tomatoes the will go moldy, and since I want them for long term storage I need them very dry.
They will be stored in glass jars in the pantry.  IMG_4877

This winter they will add pretty color and great flavor to hearty vegetable soups and stews.

I am so very thankful for the bounty we have received throughout they year and the ability to store and use it later to feel our family.

Drying the Zukes

 Zucchini
A gardener’s delight,
the gift that keeps giving
and giving
and giving
right up until the first hard frost.

Zucchini is one of those beautiful vegetables that seems to grow despite the blackest of black thumbs, it gives prolifically for a long time, making it one of the best vegetables to grow for fresh summer eating.

There are many recipes out there for fresh zucchini, from skillet dinners to baked goods, but today I am going to talk about preserving zucchini.  Zucchini is a delicate vegetable, being that its flesh turns soft quickly when cooked, making canning and pickling a little challenging.  However it dries and freezes beautifully.

IMG_4707

Zucchini is very simple to dry, if you don’t have a dehydrator, a warm oven or a couple sunny afternoons will do.  The method is as simple as slicing thin and sprinkling with salt (if you want).  Some recipes call for oil to be added, while added oil is good for a very crispy, flavorful zucchini chip, it doesn’t work well for long term storage, as the oil will go rancid quickly. IMG_4592

It only took one day in my dehydrator, it always amazes me how much produce shrinks in the dehydrator. IMG_4596

The dried zucchini will be stored in glass jars in my pantry to be used later in soups, stews and sauces. IMG_4878

Processing Carrots


We had a really nice carrot harvest this year,
about 80 pounds.
Our original plan was to store the carrots in the ground, with a thick cover of straw and dig them up as needed.
However.
A friendly little gopher changed our plans.

When we got back from vacation the first of July we found several new gopher mounds around the carrot patch and one smack in the middle of it.
While I appreciate that even little rodents need to eat, I’d not too keen on sharing my hard earned food with them.
They can eat sage brush.

IMG_4568

Our carrots were quickly harvested the next day, and the tops cut off to prevent the carrots from going soft. IMG_4576

There are several ways to preserve carrots through the winter.  They are one of the easier vegetable to store. As I mentioned before, they can stay in the ground, with a thick cover of straw or other bedding to prevent freezing.  They can be stored in a root cellar, either buried in damp sand or peat moss.  They can be stored in a cool refrigerator.  They can be dried or canned.

Since my first pick, storing them in the ground, was derailed by pesky gophers I picked drying and canning, I don’t have refrigerator space and didn’t want to deal with barrels and buckets of sand in my cold storage (which really doesn’t keep a very cold temp anyway).

IMG_4577

Drying was  the simplest method.
I sliced those pretty Orange carrots in the food processor and laid them out in my dehydrator.
It took about a day for them to become crispy dry. IMG_4578 IMG_4704

They are stored in mason jars in the pantry.
They will be added to soups and stews this winter. IMG_4703 IMG_4579

Most of the carrots were canned.
Canning carrots are very easy
(as long as you aren’t scared of using a pressure canner like I was for so many years!)
The girls scrubbed the carrots very well and I sliced them into chunks.
We then raw packed them into pint jars, added water (no salt) and processed at 12 pounds pressure for 25 minutes. IMG_4580

Some of the smaller carrots I saved and canned them whole in the jars.
I thought it looked cute,
everyone needs a little cuteness in life. IMG_4582

So there you have it.
Carrots, stored away for winter.
And if I was really on the ball, I would have planted more and would have more to harvest, or over winter later this fall.
But I didn’t,
maybe next year?

Wild Yeast

I have played and played around with sour dough and wild yeast off and on the last few years, and mostly I have found it tedious with unappetizing results.  Regardless of the brick-like bread I had produced in the past, I  still wanted to learn how to make a good sour dough bread and other items from wild yeast.  Baking with wild yeast means that you gather the natural yeast from the environment, you don’t use any commercial leavening products, and you keep it alive in your “sour dough start”, just like they use to do it in the olden days.

Last time I was at Costco I saw the book “The Art of Baking With Natural Yeast” by Caleb Warnock and Melissa Richardson and I had to buy it.

Monday I prepared my start.  I combined one cup freshly ground wheat flour and one cup water, put it in a jar and covered with a cloth.  By that evening it was already starting to bubble with yeast and by Wednesday night it had doubled and was ready to use.  This very morning I made sour dough banana pancakes from the recipe book.  I was a little worried about how the kids would react, they weren’t fluffy pancakes, like those that use baking powder, and they have a sour taste (very mild) however, the family loved them!  I am so excited to try some other recipes, including bread.