
So here it is!
I use a yogurt maker, I figured it would be worth the small investment for the amount of yogurt we eat. I make at least one batch a day, many times I will make two. I am thinking of buying a larger maker, since my daughter has been off cow milk I have been using yogurt in all of my recipes calling for milk. She has no problem with yogurt, kefir or any cultured milk product, so this is what we have been using.
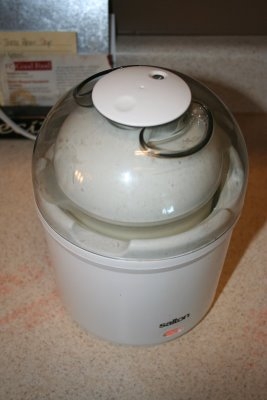
This is my yogurt maker, pretty simple, it keeps the temperature of the culturing milk low and consistent.

First measure out the amount of milk to fit whatever you are going to use to make your yogurt. If you are doing this without a “yogurt maker” make sure you culture your milk in a glass or plastic container. A quart canning jar works really well.
For more information on culturing yogurt with out a “yogurt maker” you can go here, here and here.
 (sorry the pictures aren’t so good, I did this at night so my kitchen was dark and I just can’t get nice pictures without the natural light)
Heat the milk to 180-200 degrees.
This is important, you are basically pasteurising the milk for a second time, since the conditions are ripe for culturing bacteria you only want to be culturing the yogurt bacteria…nothing else.
Keep a good eye on this, once milk starts to boil it boils over very quickly….I have done this many times…hehe….and you don’t want it to get too hot and burn. Burnt milk is really smelly and is almost impossible to get off a pan….yes, I have done that too….

See the small bubbles, the milk is at the right temperature, almost to a boil, but not quite there. I promise a thermometer makes the whole process a lot easier.
 At this point take the pan off the hot burner and let it sit and cool to 120 degrees. If you don’t let the yogurt cool down enough you will kill the yogurt cultures. Usually I make yogurt when I am cleaning up dinner, so I just let it sit, it takes a while to cool down, if I am in a hurry I will set the pan in a sink full of cold water and then it only takes a few minutes.
 When it has cooled to 120 degree pour a little off into a bowl and add your starter. You can buy dry yogurt starter at a health food store, or you can use plain cultured yogurt. For this batch I used a couple spoonfuls of my sweet yogurt cheese. Once you start making yogurt you can use leftovers from the previous batch…it is like a gift that keeps giving.
 Whisk the yogurt starter in until well blended.
 Then pour it into your pan of warm milk and give it a good stir
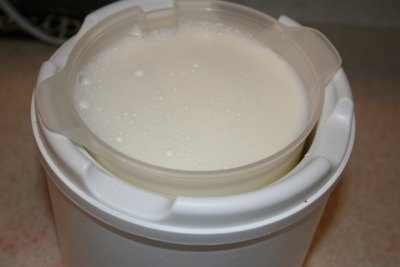
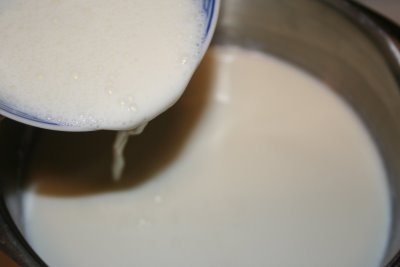 Then, once again, pour it back into the yogurt maker.
I you aren’t using a yogurt maker at this point you would pour the milk mixture into your jar and put the lid on. You can let it culture in an oven, turn the oven onto warm, when it is warmed up turn it off and set the jar inside, let it culture for several hours. Or you can wrap the warm jar in towels to keep it warm and let it culture. There is a heating pad method and a crock pot method, (I shared the links above.) There are many methods to culture yogurt.
 Place it in the warmer
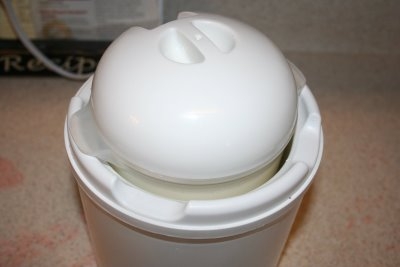
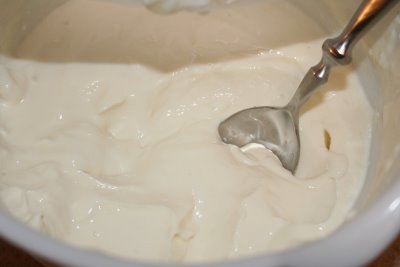
It takes between 4 to 6 hours to get a good firm yogurt, I will start it and just let it go all night and in the morning this is what I am left with.

Now, homemade yogurt is runnier than yogurt bought at the store. Store bought yogurt sometimes has gelatin added or it had been strained to create a thicker, creamer yogurt. I use the runnier yogurt for recipes and smoothies, this is what we use yogurt for the very most. If I want it thicker I will strain it until I reach the desired thickness. Yogurt can be used as a substitute for sour cream and cream cheese, it is wonderful strained with a little honey whipped in or drizzled over the top.
I have make yogurt with whole mill, 2%, 1% skim and powdered milk, it is a great way to rotate your powdered milk.
I would also like to note that yogurt doesn’t always turn out, even with a yogurt maker, don’t be discouraged if your first attempt doesn’t work. Making yogurt is like baking bread, it is an art and it takes some time to figure it out. The benefits of making your own yogurt are well worth the effort. You have control over the quality of milk used and the ingredients added, you also avoid the sugars and food dyes used in commercial yogurts.


