Kefir

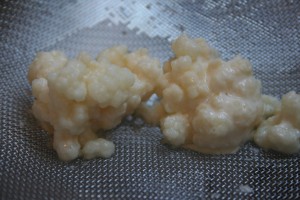
For everyone who guessed and wondered what this is:

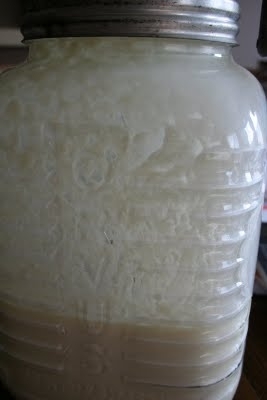
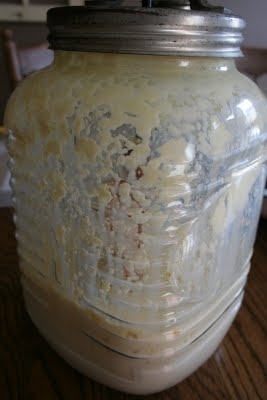
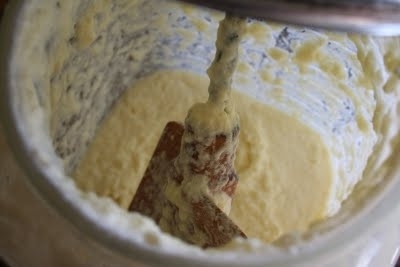
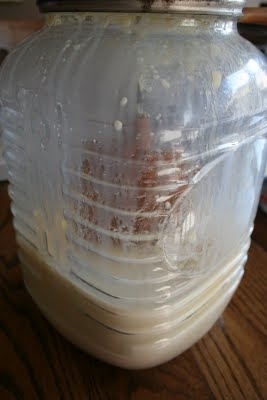
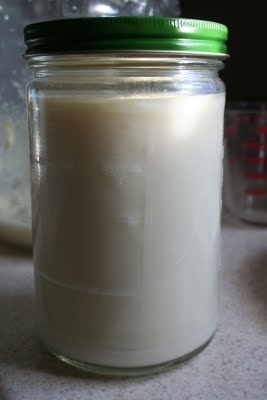
Kefir Grains

I will keep you from your suspense….
it is Kefir grains!
(good job Tiff)

A neighbor generously gave me some of her extras and I am so excited to start making Kefir using my own grains.  I have been making Kefir for years now using freeze dried starter, but it doesn’t grow grains, and only lasts for about 7 batches.  However with Kefir grains I can use them forever as long as they are taken care of.

You may wonder what Kefir is.  Kefir is a yogurt like cultured dairy (or other liquid) product.  I say yogurt like, because it isn’t yogurt, it is thinner and a little tangier, it will even produce bubbles if cultured a certain way.  It is like yogurt, in that it is full of wonderful pro-biotics, like yogurt, in fact the “grains” are the colonies of pro-biotic producing bacteria.

For more information you can go here, and read all about Kefir.

Butter in a Blender

We drink raw milk that comes from happy cows who eat fresh green grass all day long.  Because our milk is raw, meaning it isn’t pasturised or homoginized, we get a nice thick layer of cream that rises to the top of the milk.  This time of year especially the cream is thick and there is a lot, being that the cows have all calved and they are eating fast growing green grass, the milk is full of vitamins A and D and the taste is wonderful.  I like to make butter with the cream, being that raw butter is actually nutritious with the combination of natural occuring fat soluable vitamins and the fat that is butter.  The quickest way, I have found to make butter is with my blender, it only take a few minutes and very little work.  I do have an old fashioned butter churn which I have used, but it takes a while to get butter from all the churning.

First I let my jars of cream sit out for a few hours, to bring them to room temprature.  It makes the cream whip up faster, and while this step isn’t neccisary, it cut the churning time in about half.  Then I add it to my hand dandy Blendtec blender (one of my favorite kitchen purchases).
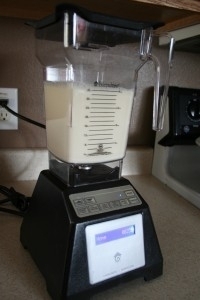
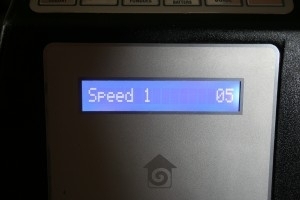
I set the spead to “1” and just let it blend, it will go for about a minute then shut off, then I check it, and start it over if I need to.  There have been times that I have only had do this twice, but other times (when the cream is cold) it takes several cycles.
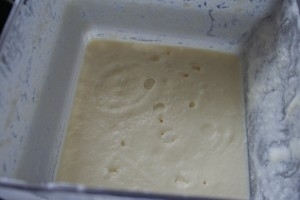
After a couple cycles, it turns into whipped cream
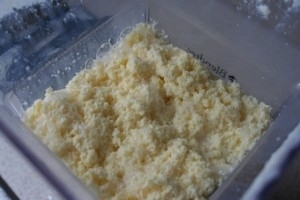
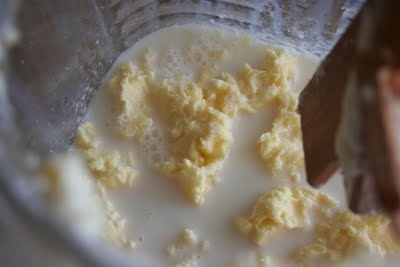
One more cycle and I have butter, it is floating in buttermilk.
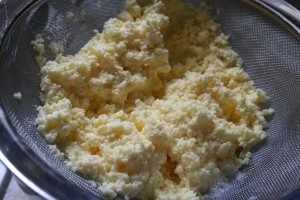
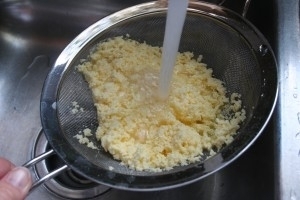
I then strain it, getting most of the buttermilk to save later for recipes
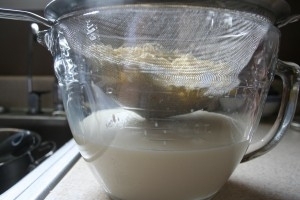
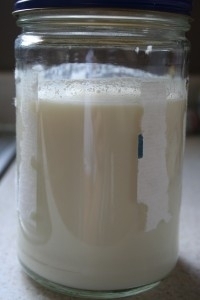
The buttermilk is stored in a jar in the refridgerator for a couple of days, so it can clabber and it takes on the tangy taste that we all know as buttermilk.  Since my butter is sweet cream butter, the buttermilk that comes off of it tastes like skim milk.  For more information on cultured buttermilk and sweet cream buttermilk, go “here“.
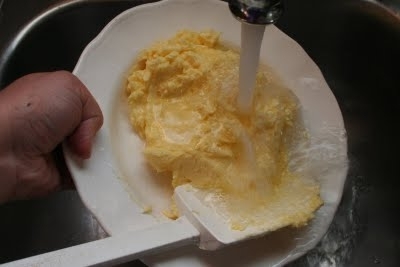
I then rinse the butter very, very well in cold water.  This takes a little while, you need to get all the buttermilk out of the butter, the old buttmilk will make the butter go bad, but butter that is cleaned well lasts a long time.  I usually rinse, then let it sit, stir and rinse again and let sit again, this takes maybe an hour, but it isn’t that time consuming, as I stir then let sit while I do other things.
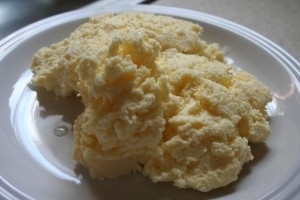
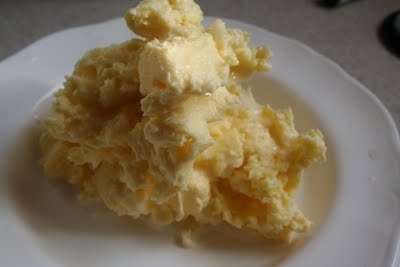
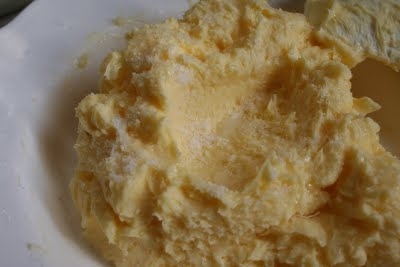
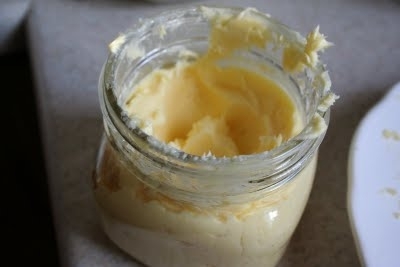
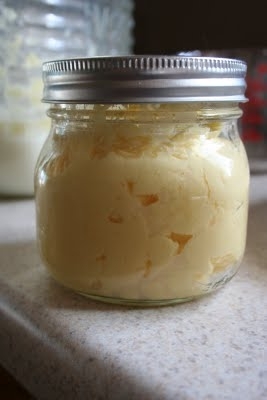
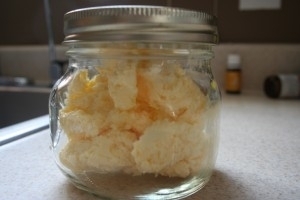
There you have it, grass fed raw butter, beautiful and yellow.  That yellow color comes from vitamin A, that the cows get from fresh greeen grass.  Comercial butter that comes from corn and soy fed cows is white, and yellow coloring is added.  This beautiful color comes from healthy cows eating what cows were ment to eat.  The butter is then packed away in jars and stored in either the fridge of freezer to be enjoyed on potates, veggies or hot bread.
Making Buttermilk

This post, about making buttermilk, is actually a precursor to a wonderful recipe I am going to share latter this week for buttermilk syrup.

Making your own buttermilk at home is simple and inexpensive, and a great beginner step into the wonderful world of cultured milk products.  Buttermilk bought from the store is a cultured product.  It really isn’t the milk leftover from making butter.  Butter now days is usually sweet cream butter, meaning that the cream used to make the butter is fresh, not soured.  In the good old days, women would save their cream for a week or more until they had enough to churn, in the process of saving the cream (in a world where there was no refrigeration) the cream would sour, or culture.  Once the butter was made, the milk that would come off the butter tasted, well, sour and tangy.  Women would use this buttermilk in baking, nothing was every wasted.

Now that we use sweet cream to make butter, buttermilk has to be made from milk that has had cultured added to it, in order to get the soured taste that makes buttermilk.

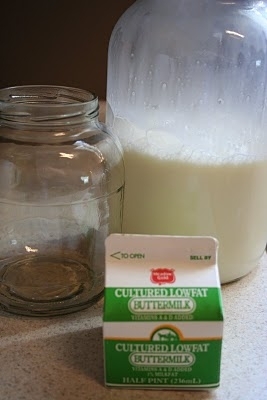
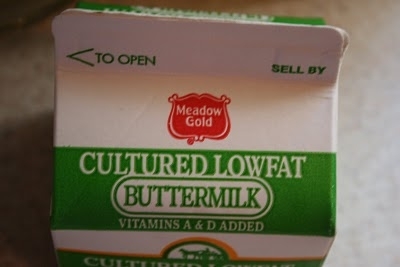
To make buttermilk from home, all you  need is:
Cultured buttermilk
Milk 
and
a glass jar 
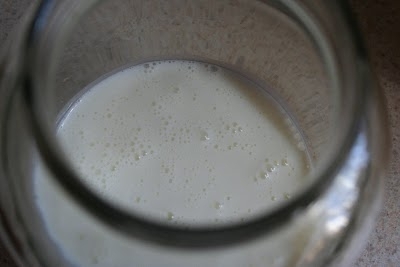
Making the buttermilk is as simple as, adding the store bought buttermilk and milk together in a jar
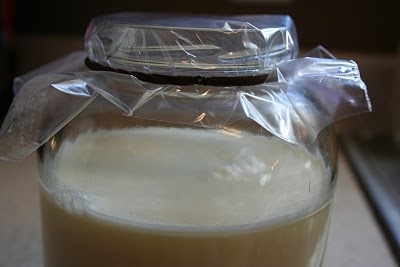
covering with plastic (so it can breath a little, or you might break the jar as the milk cultures)
 
and letting it sit on your counter for a day or so, until it thickens.
Yes, out on the counter, not refrigerated, the milk will not go bad.
This will create a nice thick buttermilk, sometimes it is thick enough to spoon out of the jar. (If this happens, a quick stir will liquefy it again).  At this point store in the refrigerator, it will be good for a couple of weeks.  Make sure you remember to save a little bit to use as a starter for the next batch.  Like yogurt or kiefer, it is the gift that will just keep giving.
 
There you have it, a quart of buttermilk for the price of a half pint and some milk.

You What? Butter?


Yes, I do, make our butter.

I don’t make all of our butter, but for buttering toast, bread and veggies I make and use wonderful raw, grass fed butter. Not only is it yummy it is actually good for you! Imagine that!

(for more information go here: http://www.eatwild.com/healthbenefits.htm)

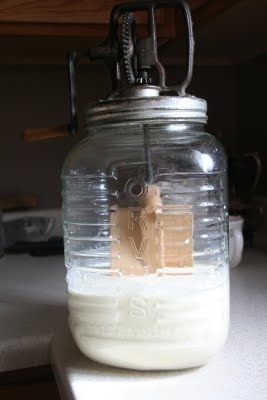
(this is my grandma’s old butter churn, I wish I knew where she got it from and if she used it!)

Over the last year I have been reading and researching alternative methods of eating and nutrition. It isn’t as much alternative as it is traditional, the kinds of food my great-great grandparents would have eaten. It is a far cry from the processed foods that are considered “health” foods. If it has a bunch of ingredients, or I can’t pronounce any ingredients or they have been “fortified” we have been slowly eliminating them from our diet.


One big change we have made is from drinking organic grain fed vitamin D fortified processed milk (homogenization and pasteurization is processing) to whole raw grass fed organic milk.

For more information you can go here:
http://www.westonaprice.org/splash_2.htm
http://www.realmilk.com/
http://www.raw-milk-facts.com/raw_milk_health_benefits.html

Because my milk isn’t homogenized the cream rises to the top of my milk jugs and I figured I could start making my own butter.

First I collect the cream from off the top of my milk. I don’t skim it all off, I want some of the butter fat in the milk so the fat soluble vitamins could actually work when we drank the milk. Once I had collected a couple of quarts it is butter making time! I let the cream sit for a couple of hours on the counter to warm up, then I pour it all into my churn.

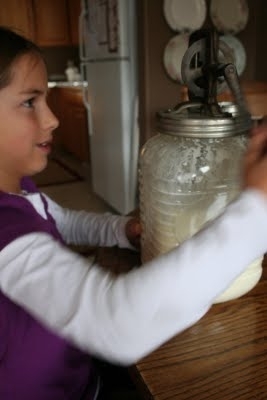
Then we crank the handle and churn away, the kids really like to help with this.

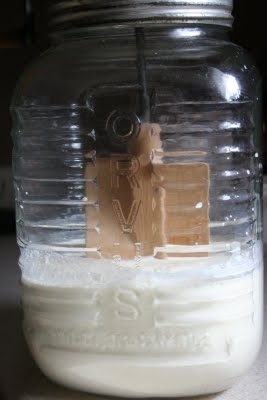
The cream gets nice and frothy.

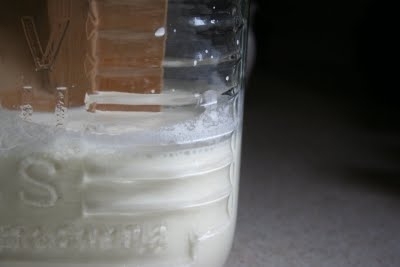
And in a little bit the butter fat will start to separate from the liquid.


Just a bit more churning and the butter fat collects into a nice big lump floating in the sweet butter milk.


Once the butter is out of the churn it need to be rinsed and rinsed in cold water until the water runs clear. I need to get all the butter milk out, so it won’t go bad sitting out. Isn’t it pretty and yellow, this yellow coloring is all the vitamin A concentrated in the butter fat. A lot of commercial butter will add a little coloring to give their butter the yellow color.

The color of grass fed butters change over the season. In the spring the butter can be almost orange from all the vitamins gleaned from fast growing spring grasses. In the winter it will be whiter, because the hay has less vitamin A in it.

After that, a little salt

I then pack it into little jars and put it in the freezer until needed. The jar that I am taking butter from stays in the fridge until it is needed, then I take it out for a couple of hours before hand to soften.

(I love these little squaty bottles)

The left over butter milk (it is sweet, very different from cultured buttermilk that we are all familiar with) is saved for use in recipes.

Is making butter this way cheaper than what I can buy at the grocery store? No, but the extra expense is worth it to me. We literally are what we eat, if we are eating overly processed foods with synthetic vitamins and minerals our body is not going to function very well. We will be chronically tired and suffer from degenerative illnesses. Our bodies have been eating natural whole foods for thousands of years, it has only been in the last 100 years or so that we have changed the foods we eat, even something as simple as milk and butter are completely different that what our ancestors ate long ago. It isn’t surprising to me that the incident of degenerative disease has gone through the roof in the last 50 years.
(oh wow…soap box! didn’t see that coming!)
If you are interested in more information I would like to recommend these books and sites: