Kefir

For everyone who guessed and wondered what this is:

Kefir Grains

I will keep you from your suspense….
it is Kefir grains!
(good job Tiff)

A neighbor generously gave me some of her extras and I am so excited to start making Kefir using my own grains.  I have been making Kefir for years now using freeze dried starter, but it doesn’t grow grains, and only lasts for about 7 batches.  However with Kefir grains I can use them forever as long as they are taken care of.

You may wonder what Kefir is.  Kefir is a yogurt like cultured dairy (or other liquid) product.  I say yogurt like, because it isn’t yogurt, it is thinner and a little tangier, it will even produce bubbles if cultured a certain way.  It is like yogurt, in that it is full of wonderful pro-biotics, like yogurt, in fact the “grains” are the colonies of pro-biotic producing bacteria.

For more information you can go here, and read all about Kefir.

Making Buttermilk

This post, about making buttermilk, is actually a precursor to a wonderful recipe I am going to share latter this week for buttermilk syrup.

Making your own buttermilk at home is simple and inexpensive, and a great beginner step into the wonderful world of cultured milk products.  Buttermilk bought from the store is a cultured product.  It really isn’t the milk leftover from making butter.  Butter now days is usually sweet cream butter, meaning that the cream used to make the butter is fresh, not soured.  In the good old days, women would save their cream for a week or more until they had enough to churn, in the process of saving the cream (in a world where there was no refrigeration) the cream would sour, or culture.  Once the butter was made, the milk that would come off the butter tasted, well, sour and tangy.  Women would use this buttermilk in baking, nothing was every wasted.

Now that we use sweet cream to make butter, buttermilk has to be made from milk that has had cultured added to it, in order to get the soured taste that makes buttermilk.

To make buttermilk from home, all you  need is:
Cultured buttermilk
Milk 
and
a glass jar 
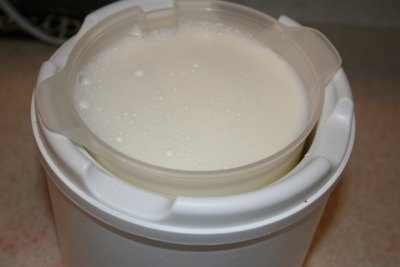
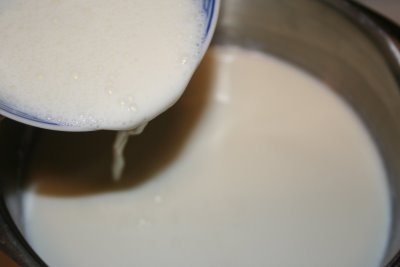
Making the buttermilk is as simple as, adding the store bought buttermilk and milk together in a jar
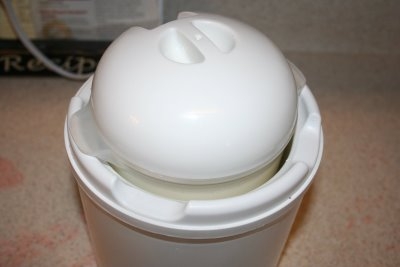
covering with plastic (so it can breath a little, or you might break the jar as the milk cultures)
 
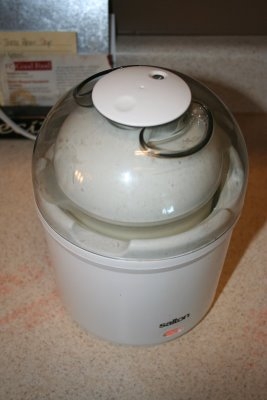
and letting it sit on your counter for a day or so, until it thickens.
Yes, out on the counter, not refrigerated, the milk will not go bad.
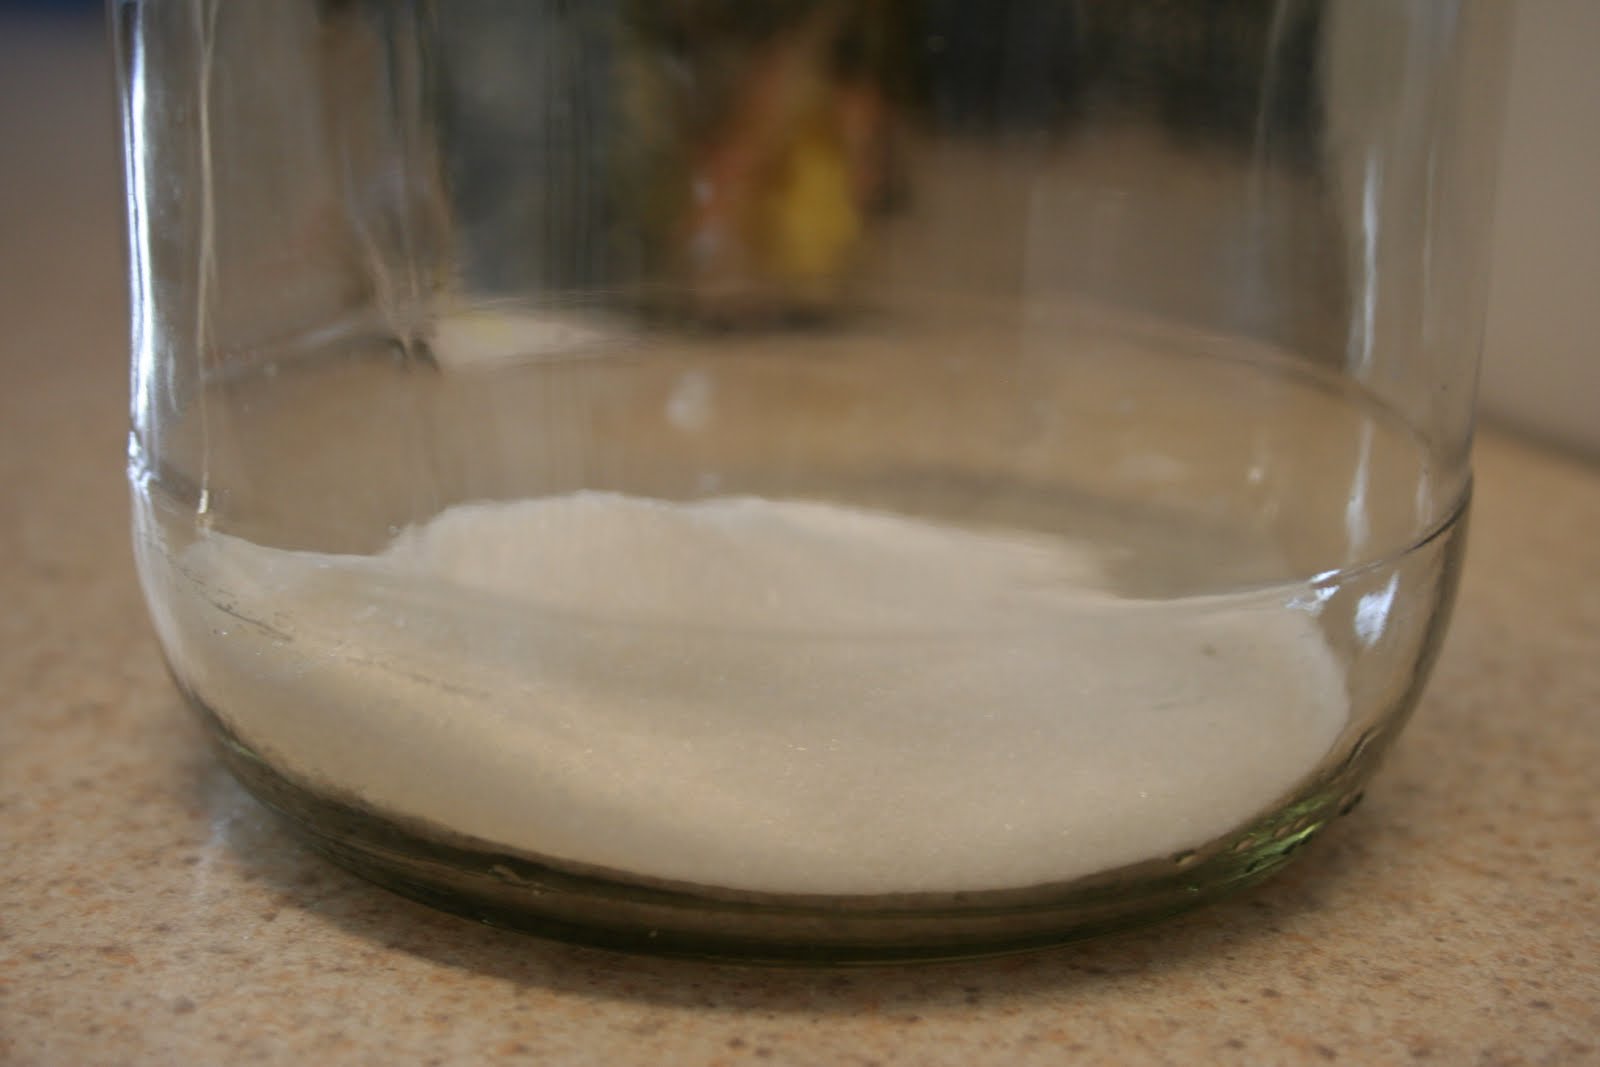
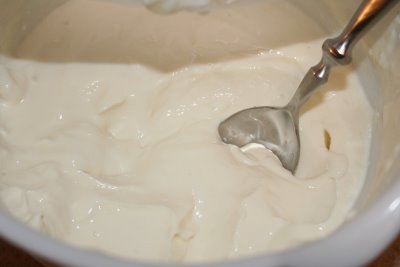
This will create a nice thick buttermilk, sometimes it is thick enough to spoon out of the jar. (If this happens, a quick stir will liquefy it again).  At this point store in the refrigerator, it will be good for a couple of weeks.  Make sure you remember to save a little bit to use as a starter for the next batch.  Like yogurt or kiefer, it is the gift that will just keep giving.
 
There you have it, a quart of buttermilk for the price of a half pint and some milk.

Making Vinegar

I learned how to make pineapple vinegar last winter, but never blogged about it, and since I had another pineapple to cut up and eat I decided to make another batch of vinegar and share the process.

Vinegar making is very simple. All that is needed is some type of organic matter (usually fruit) sugar, water, air and yeast.

The great thing about making your own vinegar is that you can use then entire plant, instead of throwing away portions of it.

For pineapple vinegar, just slice a pineapple as you normally would, eating the fruit, but saving the peel and core. Give the peel a good rinse in water.

Then in a jar (I used a quart size and half gallon jar) add about 1/3 cup sugar.


Then some water, and stir it until the sugar dissolves.


Once the peel is rinsed, cut it up into good sized chunks.


Put it in you jars and add enough water to fill the jar and cover the fruit.


Then cover the jars with a cloth. Air needs to be able to get to the fruit, the natural yeasts in the air will start working on the sugar water and fermentation will start.

The pictures below are after three days. You can see that the liquid gets cloudy, that is good, it is part of the process. You can also see the bubbles that are forming around the top and inside the jar, that is also good, alcohol is being formed. To make vinegar we need to get past the alcohol to where it turns to vinegar.


Making vinegar can take several weeks depending on the temperature (it needs to be between 60 and 80 degrees) and how much yeast you have in the air.

There are also a few other considerations. Sometimes bits of mold will form at the top of the jar, at the water line, just spoon it out, it won’t hurt anything. Also water will need to be added as the days go along to compensate for evaporation.

I will keep you updated as things progress, and we will talk about the “mother” and why having vinegar with the “mother” still intact is a good thing.

Yogurt

I was asked to do a tutorial on yogurt making

So here it is!

I use a yogurt maker, I figured it would be worth the small investment for the amount of yogurt we eat. I make at least one batch a day, many times I will make two. I am thinking of buying a larger maker, since my daughter has been off cow milk I have been using yogurt in all of my recipes calling for milk. She has no problem with yogurt, kefir or any cultured milk product, so this is what we have been using.

This is my yogurt maker, pretty simple, it keeps the temperature of the culturing milk low and consistent.


First measure out the amount of milk to fit whatever you are going to use to make your yogurt. If you are doing this without a “yogurt maker” make sure you culture your milk in a glass or plastic container. A quart canning jar works really well.

For more information on culturing yogurt with out a “yogurt maker” you can go here, here and here.

(sorry the pictures aren’t so good, I did this at night so my kitchen was dark and I just can’t get nice pictures without the natural light)

Pour the milk into a sauce pan and turn the stove on to medium heat. I use a candy thermometer, when I first started to make yogurt I just guessed at the temperatures, and I ruined a few batches before I broke down and just bought a thermometer.


Heat the milk to 180-200 degrees.

This is important, you are basically pasteurising the milk for a second time, since the conditions are ripe for culturing bacteria you only want to be culturing the yogurt bacteria…nothing else.

Keep a good eye on this, once milk starts to boil it boils over very quickly….I have done this many times…hehe….and you don’t want it to get too hot and burn. Burnt milk is really smelly and is almost impossible to get off a pan….yes, I have done that too….


See the small bubbles, the milk is at the right temperature, almost to a boil, but not quite there. I promise a thermometer makes the whole process a lot easier.

At this point take the pan off the hot burner and let it sit and cool to 120 degrees. If you don’t let the yogurt cool down enough you will kill the yogurt cultures. Usually I make yogurt when I am cleaning up dinner, so I just let it sit, it takes a while to cool down, if I am in a hurry I will set the pan in a sink full of cold water and then it only takes a few minutes.

When it has cooled to 120 degree pour a little off into a bowl and add your starter. You can buy dry yogurt starter at a health food store, or you can use plain cultured yogurt. For this batch I used a couple spoonfuls of my sweet yogurt cheese. Once you start making yogurt you can use leftovers from the previous batch…it is like a gift that keeps giving.

Whisk the yogurt starter in until well blended.

Then pour it into your pan of warm milk and give it a good stir

Then, once again, pour it back into the yogurt maker.

I you aren’t using a yogurt maker at this point you would pour the milk mixture into your jar and put the lid on. You can let it culture in an oven, turn the oven onto warm, when it is warmed up turn it off and set the jar inside, let it culture for several hours. Or you can wrap the warm jar in towels to keep it warm and let it culture. There is a heating pad method and a crock pot method, (I shared the links above.) There are many methods to culture yogurt.

Place it in the warmer

Put the lids on

And let it culture away.

It takes between 4 to 6 hours to get a good firm yogurt, I will start it and just let it go all night and in the morning this is what I am left with.


Now, homemade yogurt is runnier than yogurt bought at the store. Store bought yogurt sometimes has gelatin added or it had been strained to create a thicker, creamer yogurt. I use the runnier yogurt for recipes and smoothies, this is what we use yogurt for the very most. If I want it thicker I will strain it until I reach the desired thickness. Yogurt can be used as a substitute for sour cream and cream cheese, it is wonderful strained with a little honey whipped in or drizzled over the top.

I have make yogurt with whole mill, 2%, 1% skim and powdered milk, it is a great way to rotate your powdered milk.

Enjoy!

I would also like to note that yogurt doesn’t always turn out, even with a yogurt maker, don’t be discouraged if your first attempt doesn’t work. Making yogurt is like baking bread, it is an art and it takes some time to figure it out. The benefits of making your own yogurt are well worth the effort. You have control over the quality of milk used and the ingredients added, you also avoid the sugars and food dyes used in commercial yogurts.