Drying Tomatoes


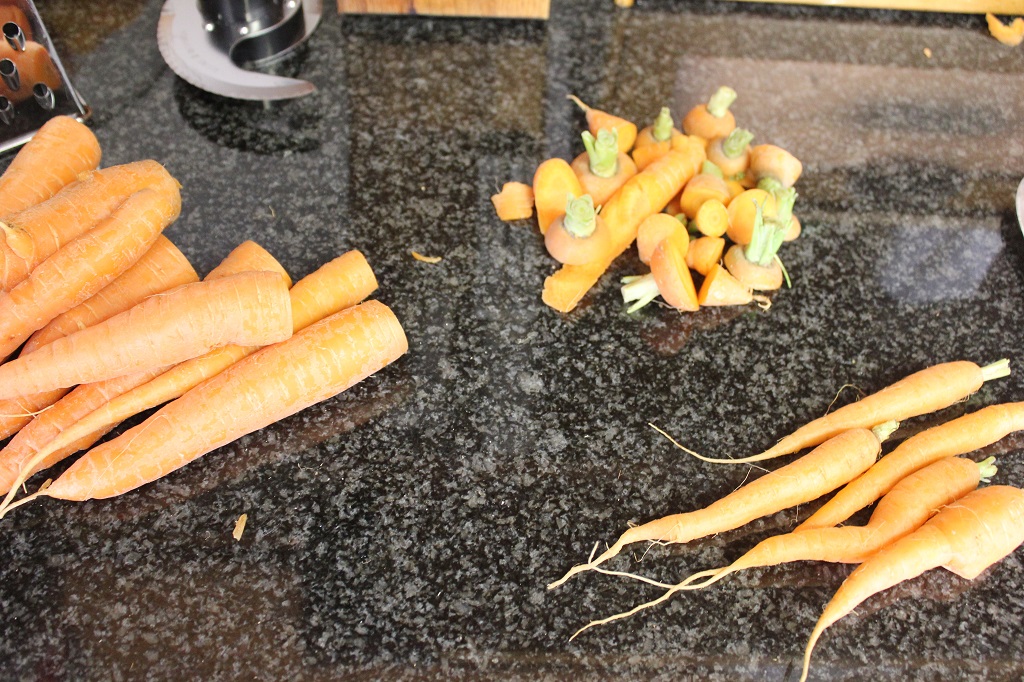
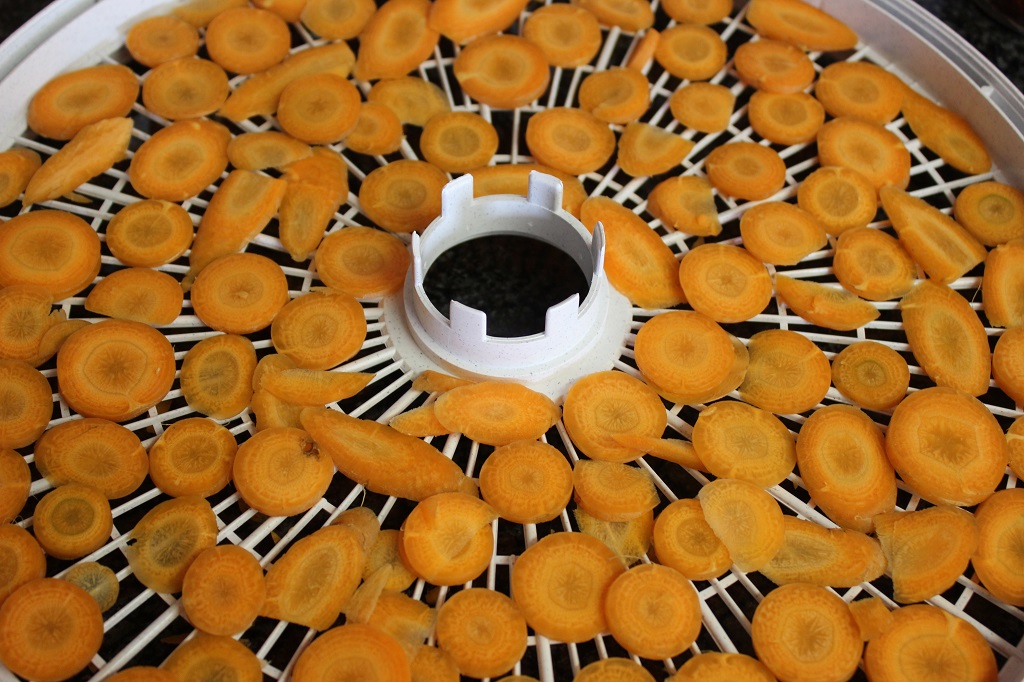
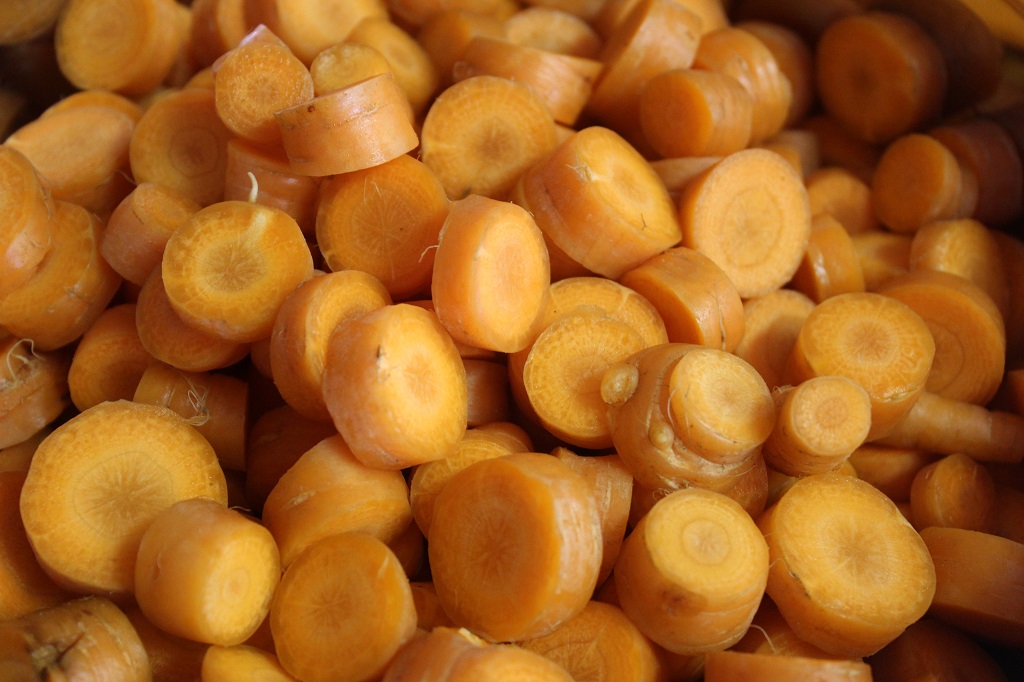
Drying is one of the oldest forms of food preservation.
At the beginning of our tomato season, when things finally started to pick up and the tomatoes came trickling in faster than we could eat them, Lou and I decided the best thing to do would be to dry them.

We didn’t have quite enough to can anything and a few jars of dried tomatoes are nice to have around, they can be added to soups, stews, pastas, stir fries, or eaten as is.

IMG_4705

Lou with one of her first baskets of tomatoes, she is my tomato girl and has taken care of these plants from the very start when she planted the seeds.

IMG_4706

IMG_4724

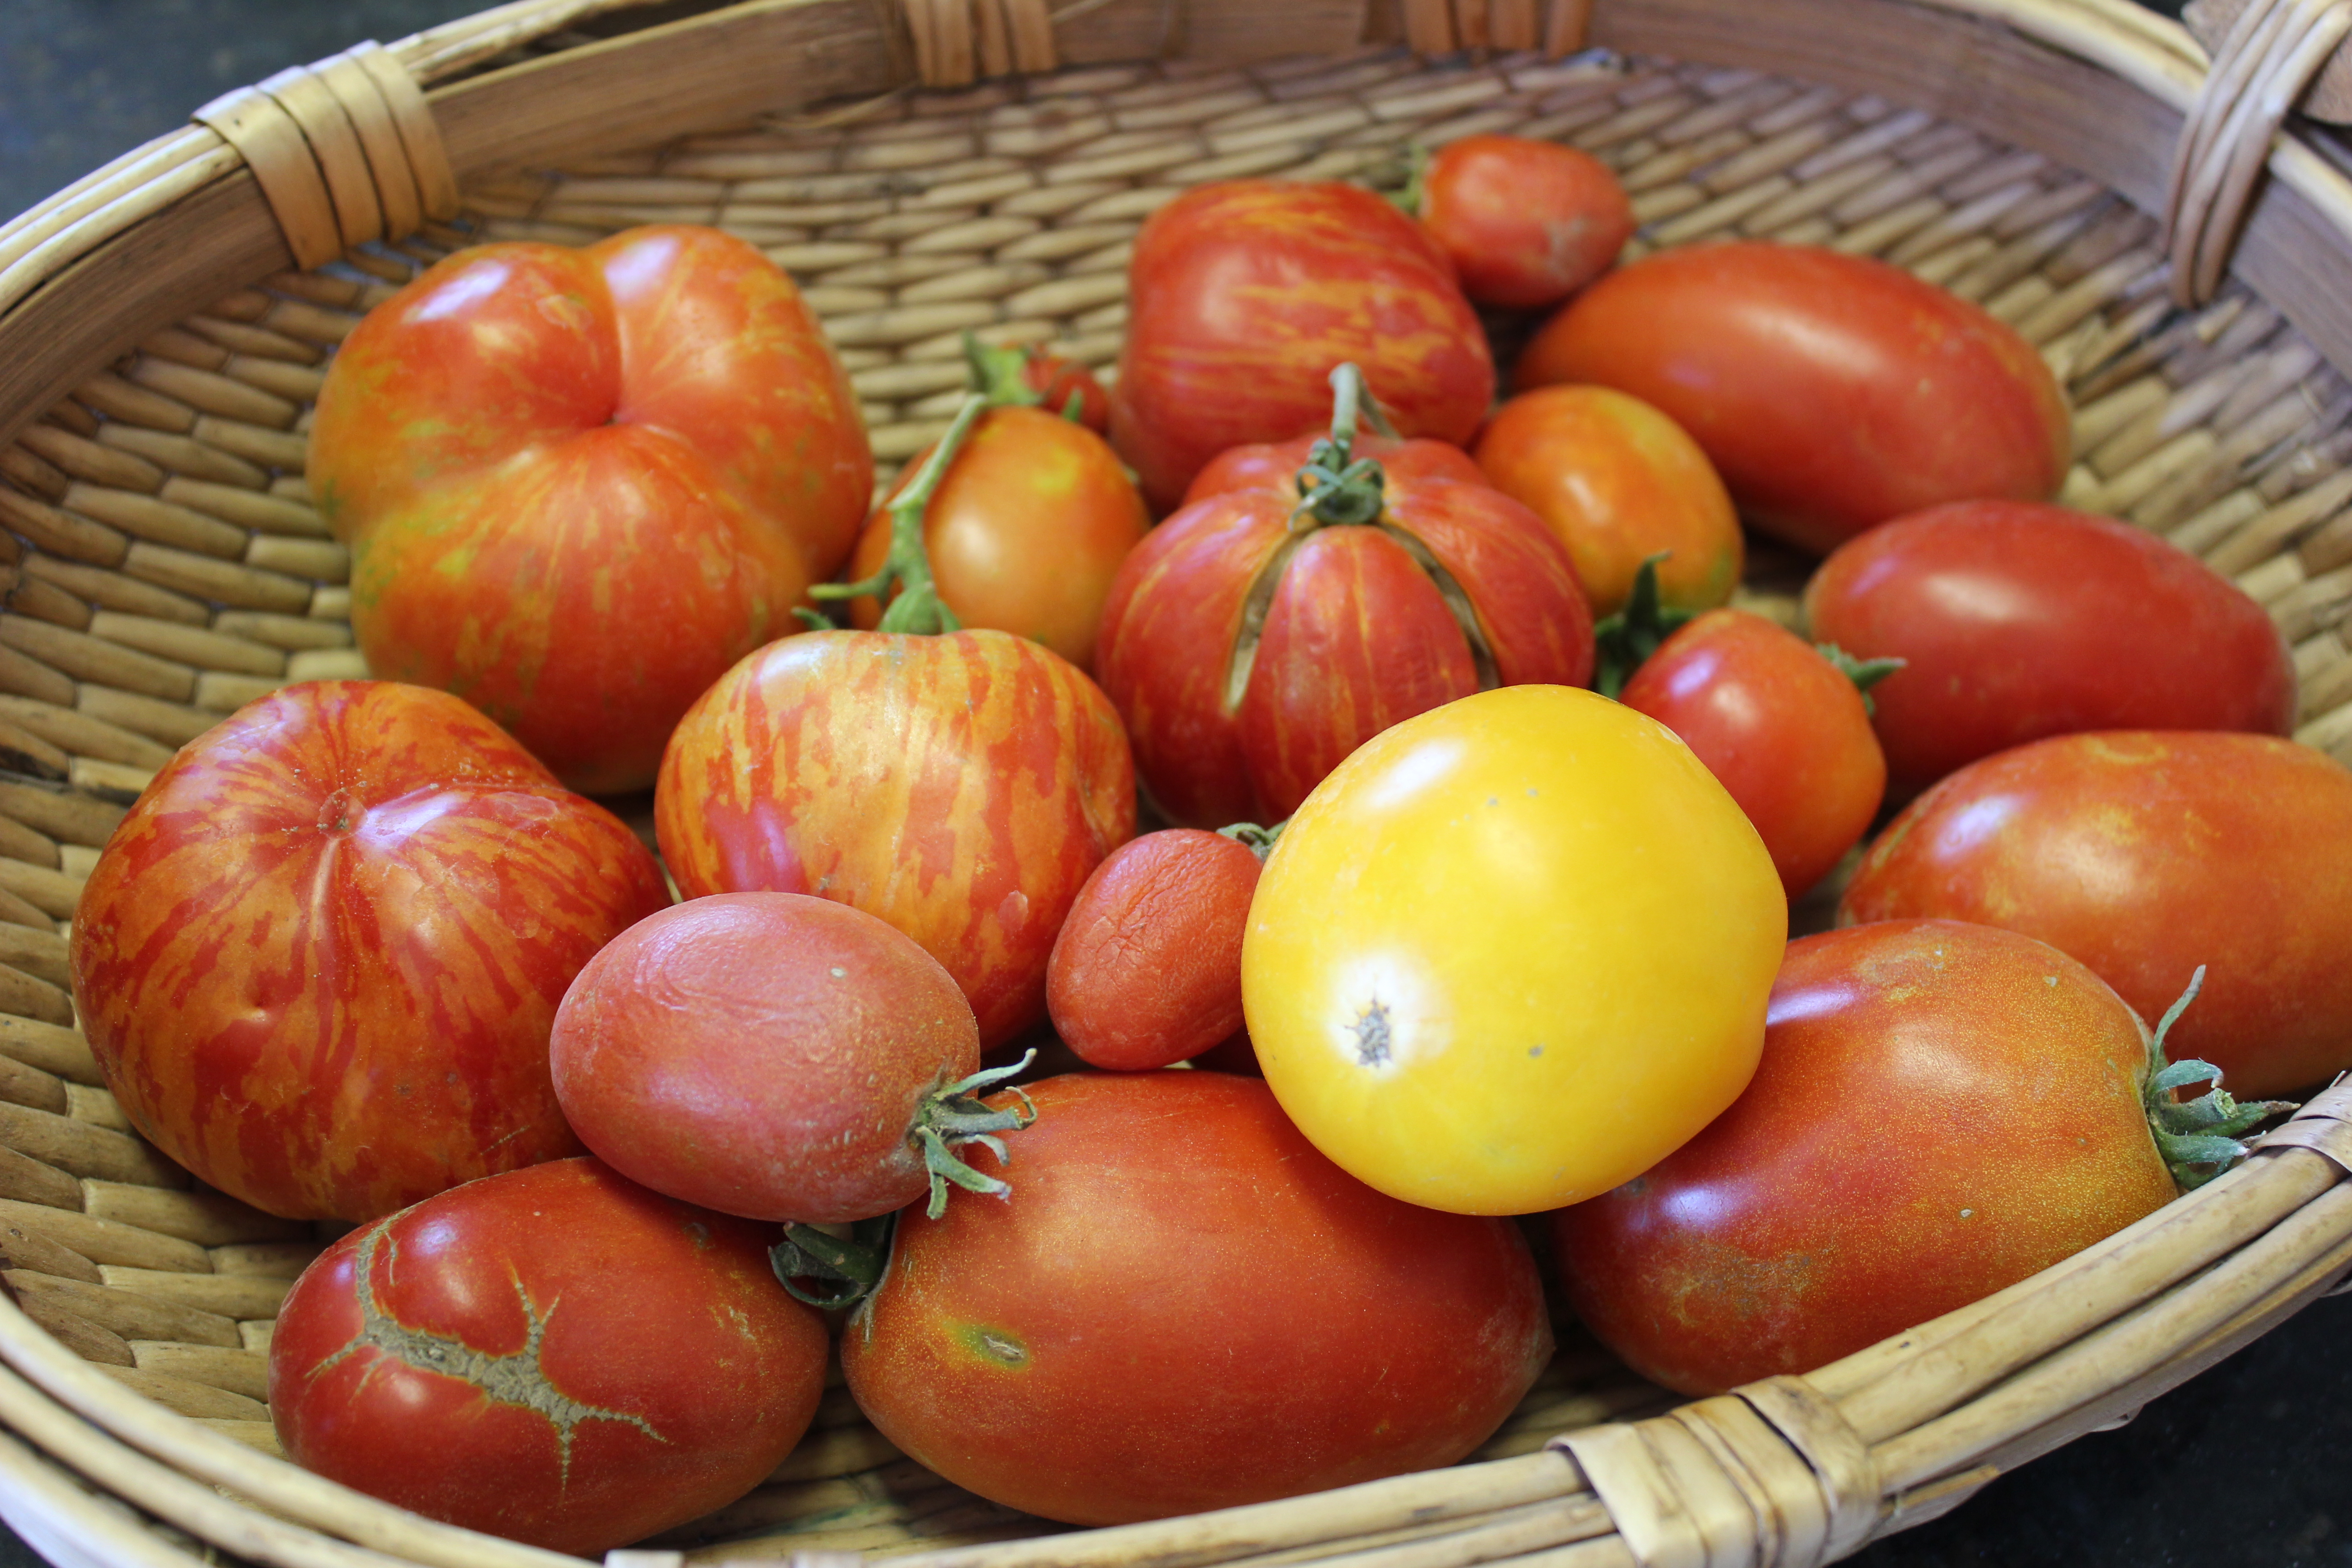
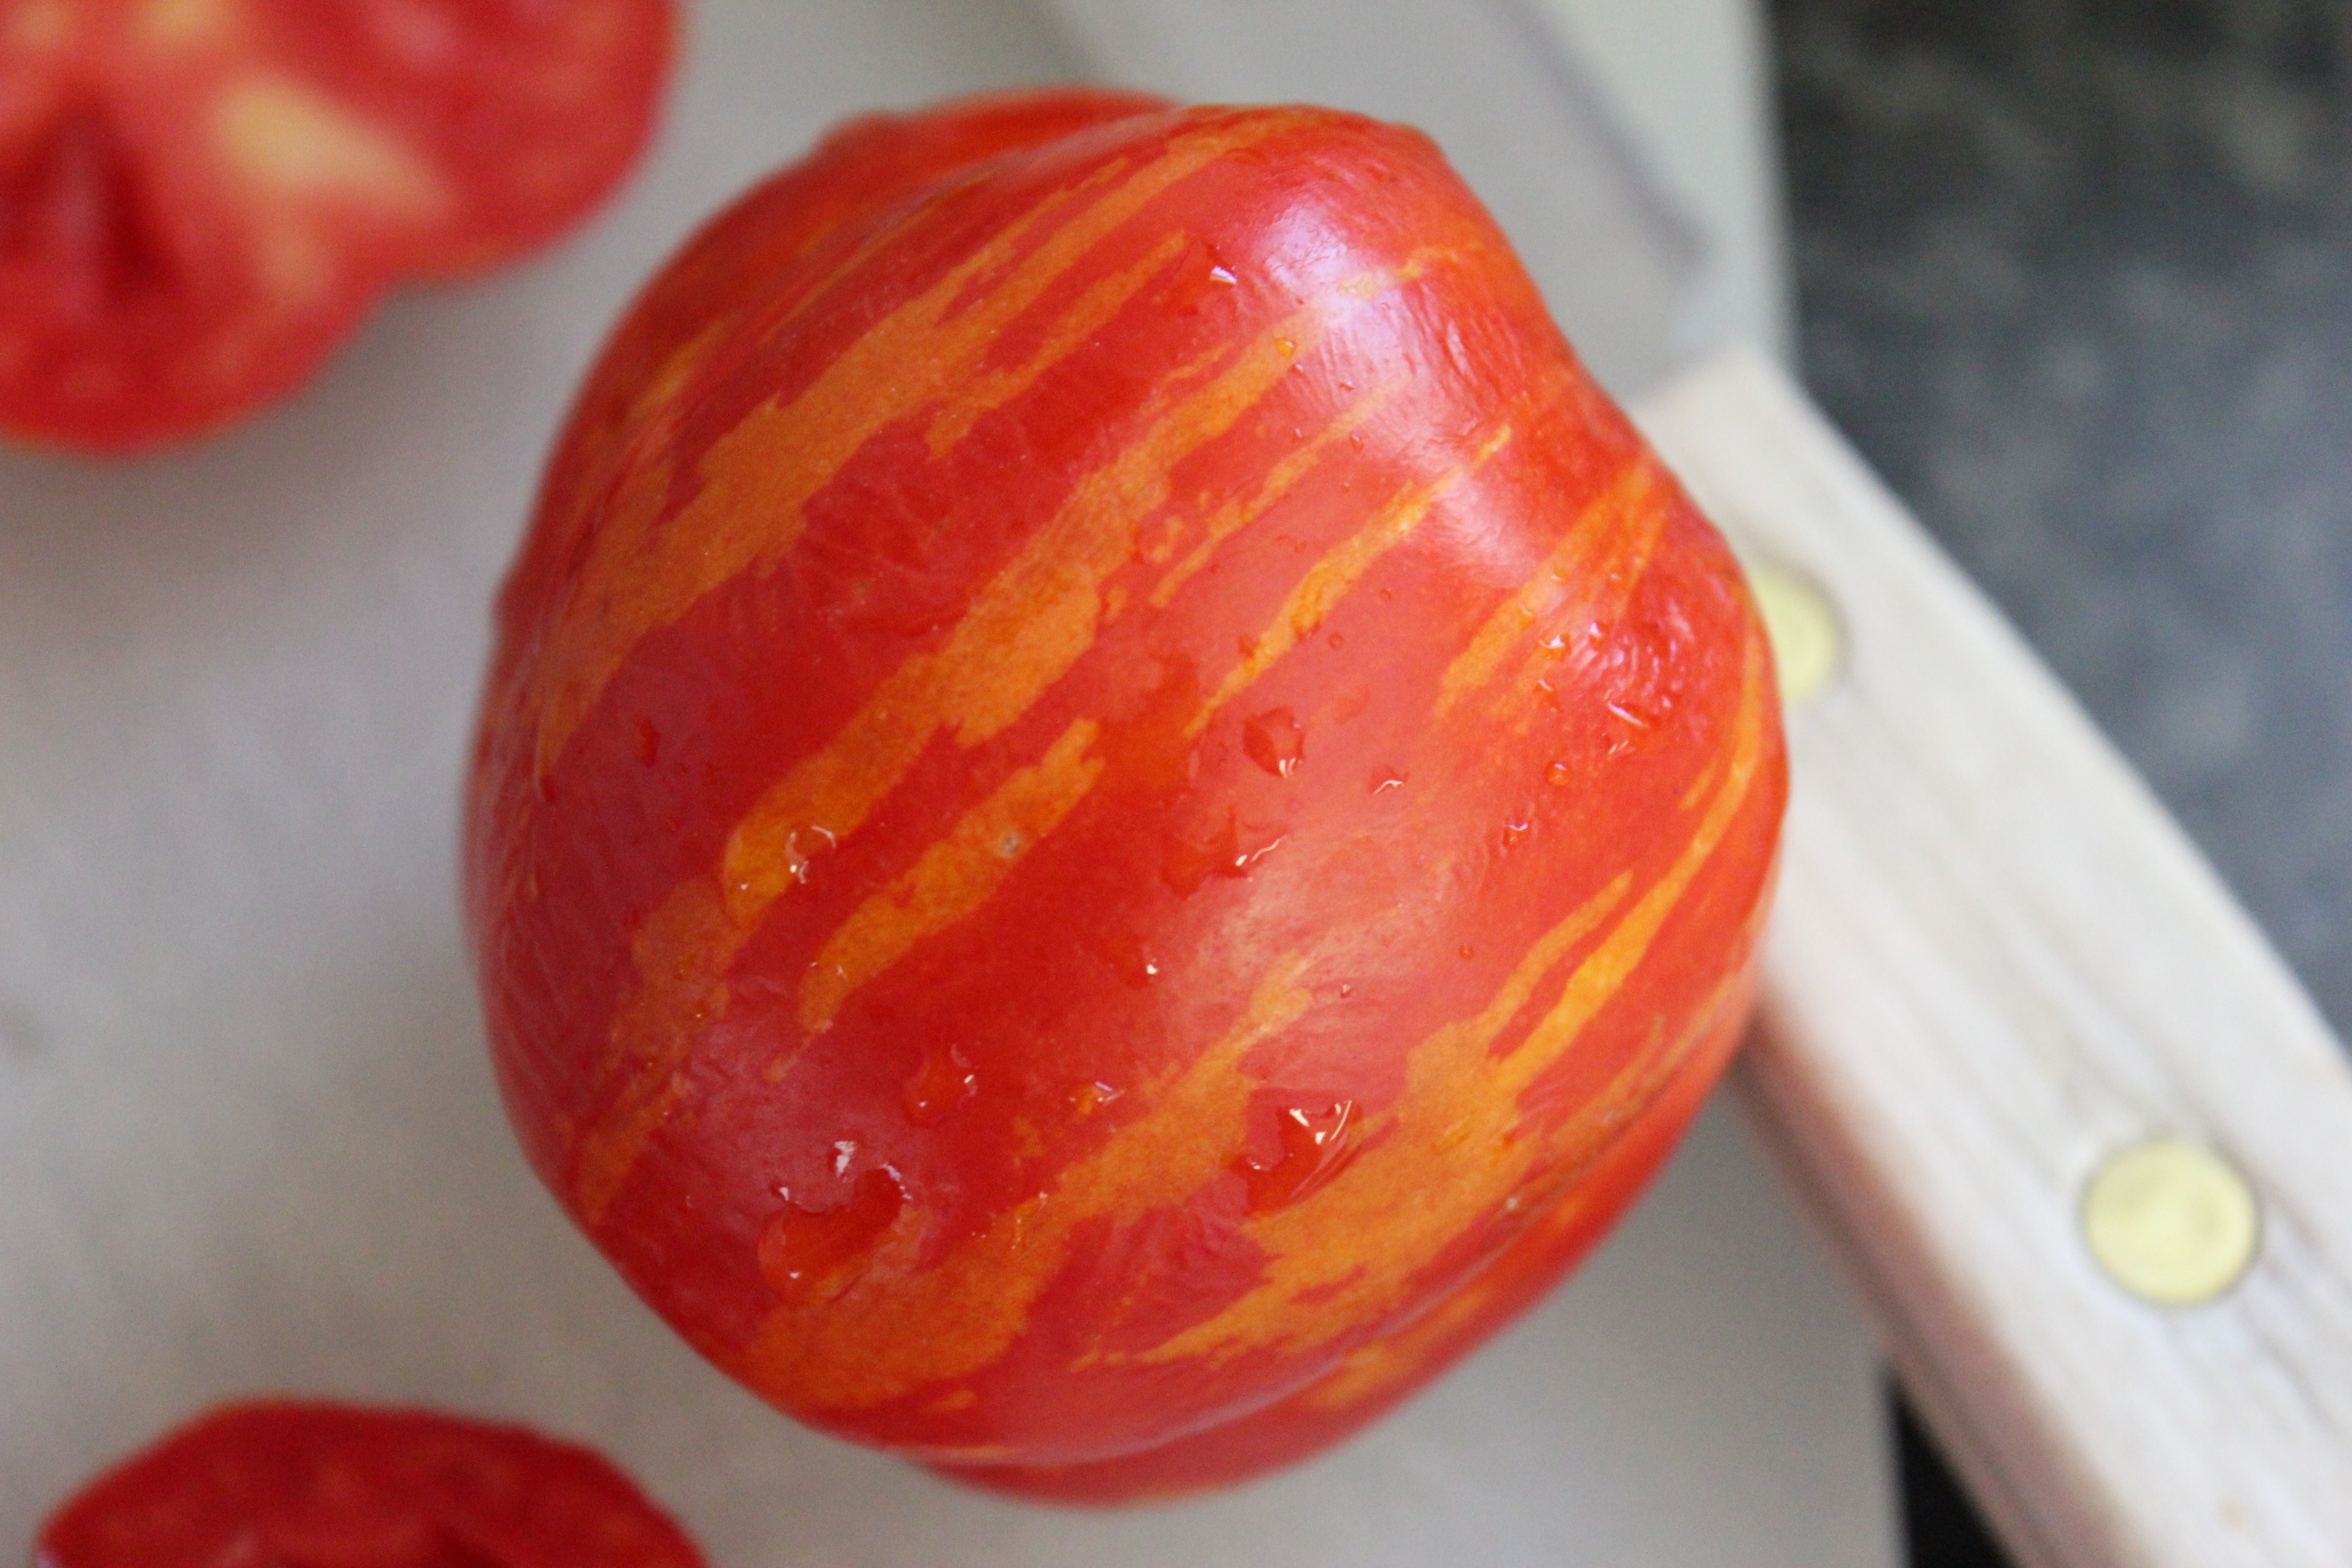
Striped Cavern heirloom tomato.

IMG_4723

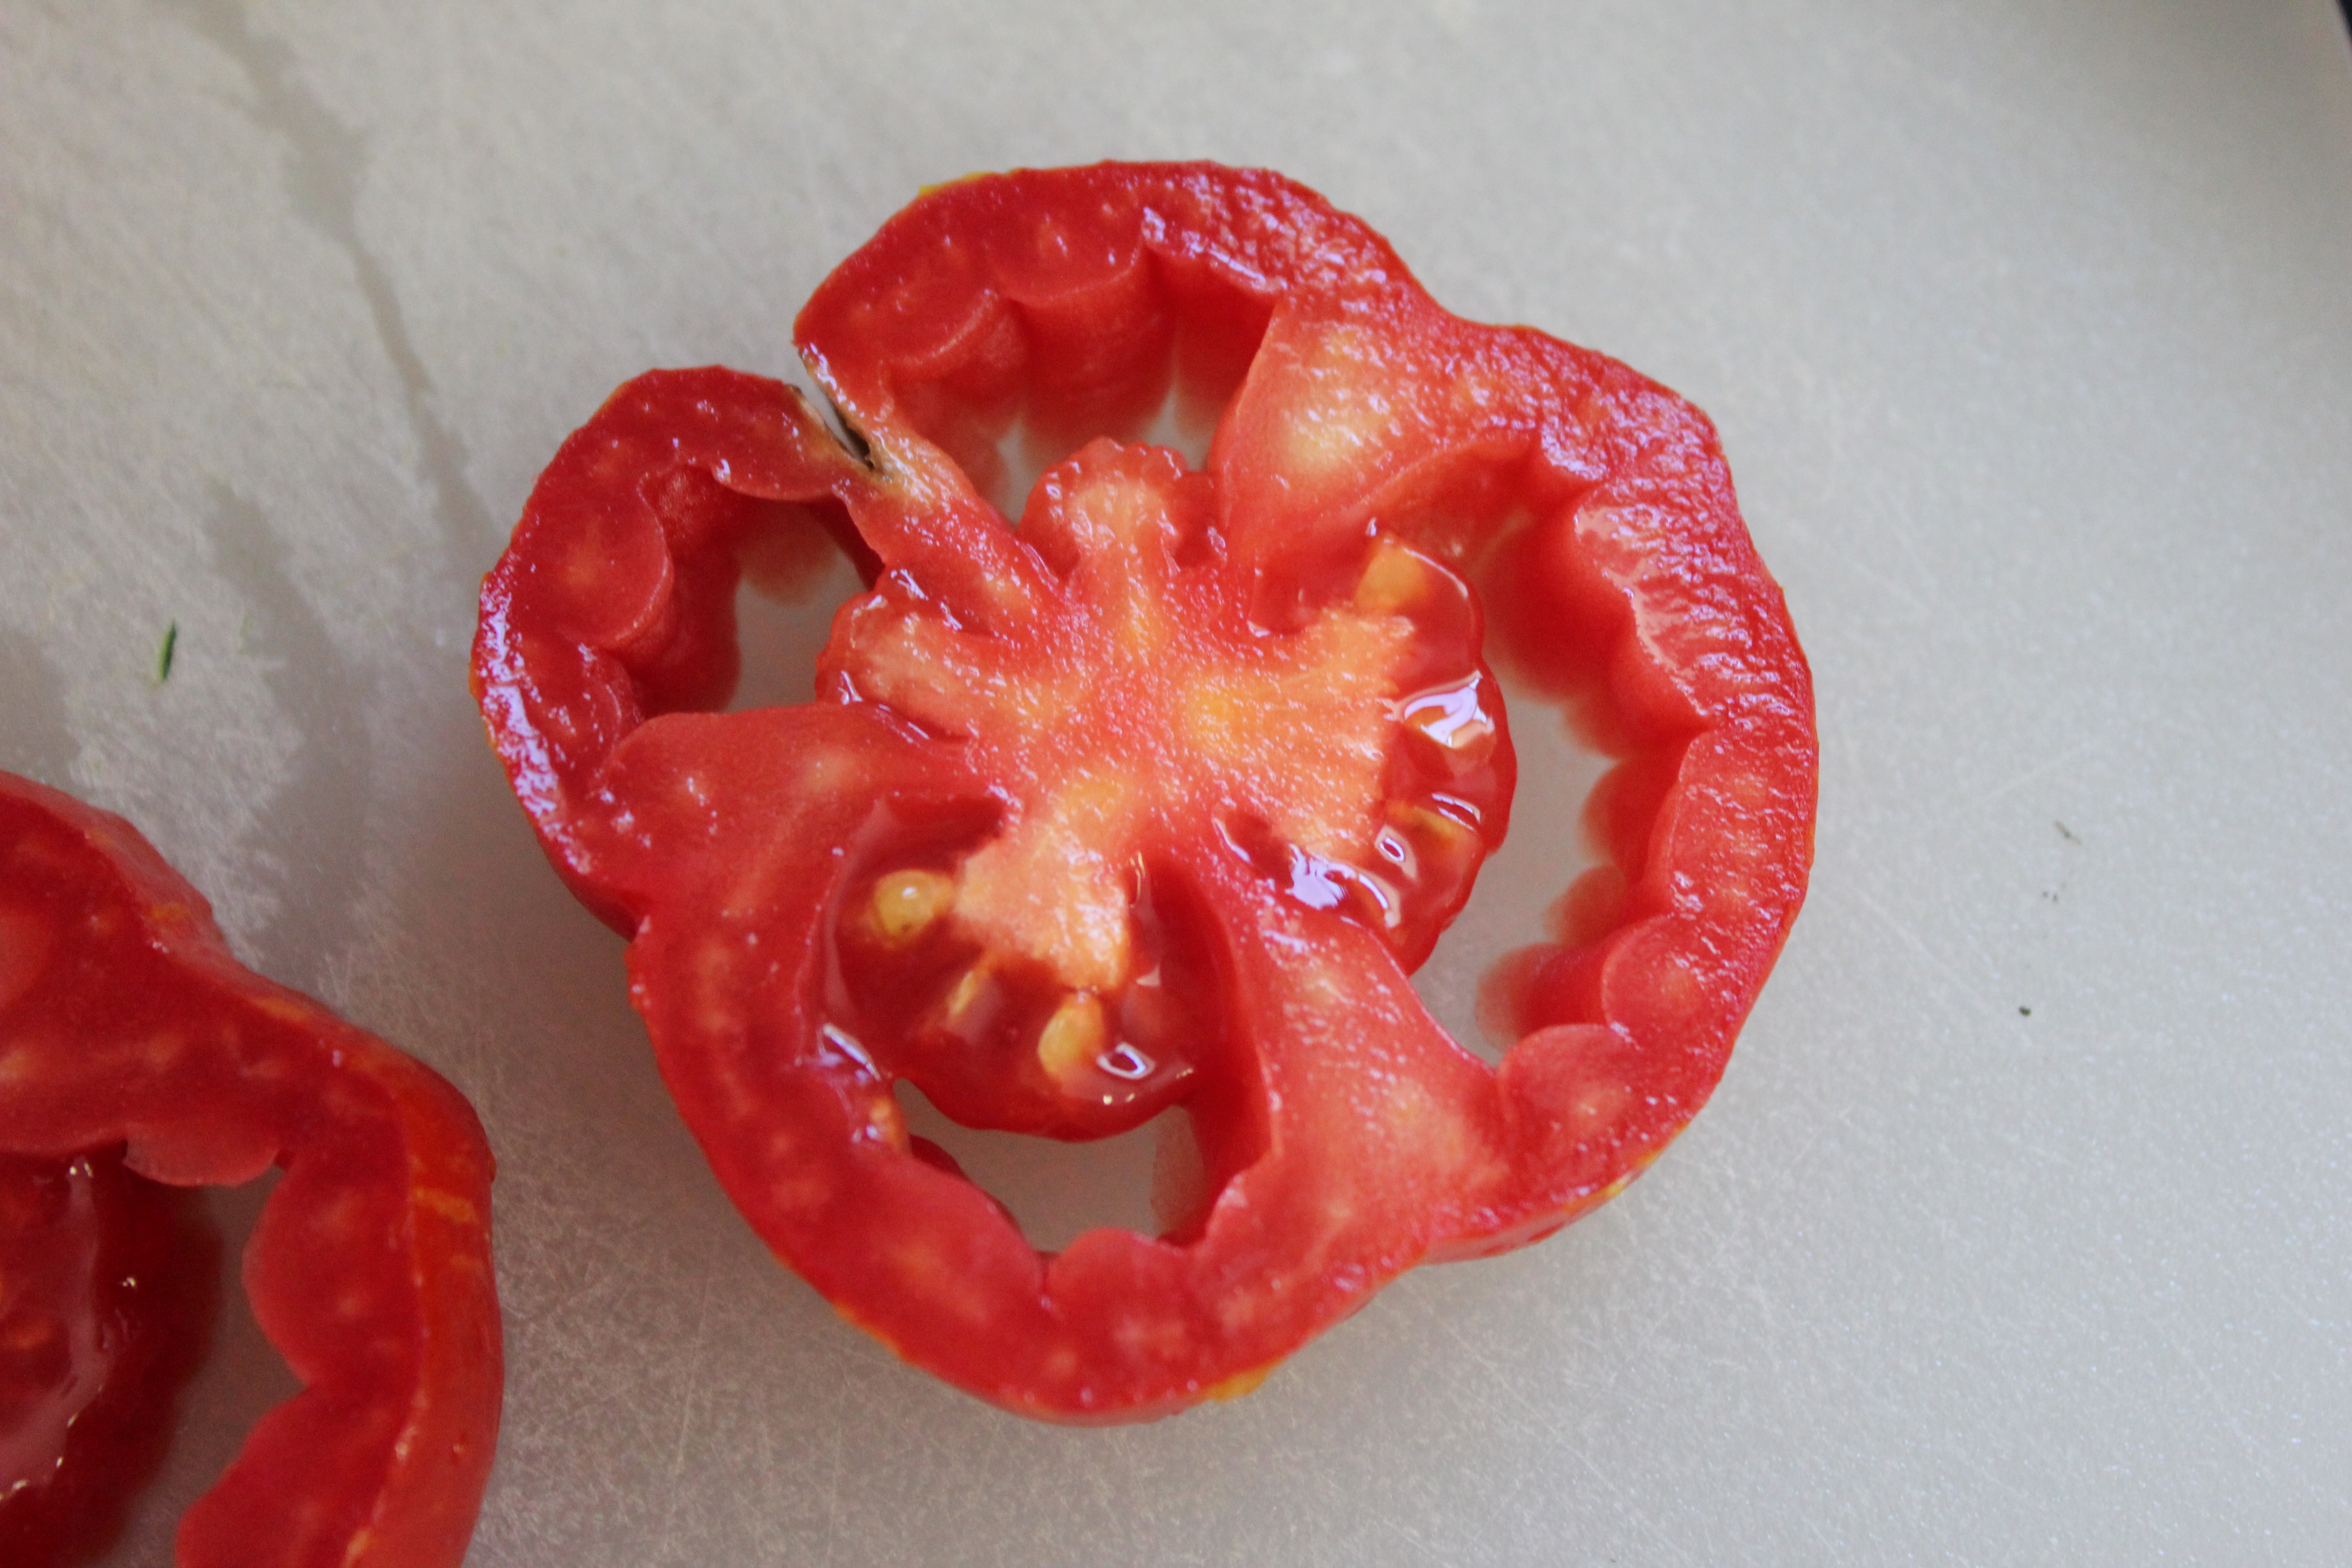
The inside of the Striped Cavern. See all the open space, thus the name “cavern”. It doesn’t make for a good saucing tomato, being that there is little flesh, but it has a wonderful taste, very mild and low acid. It was my best producing heirloom this year.

IMG_4727

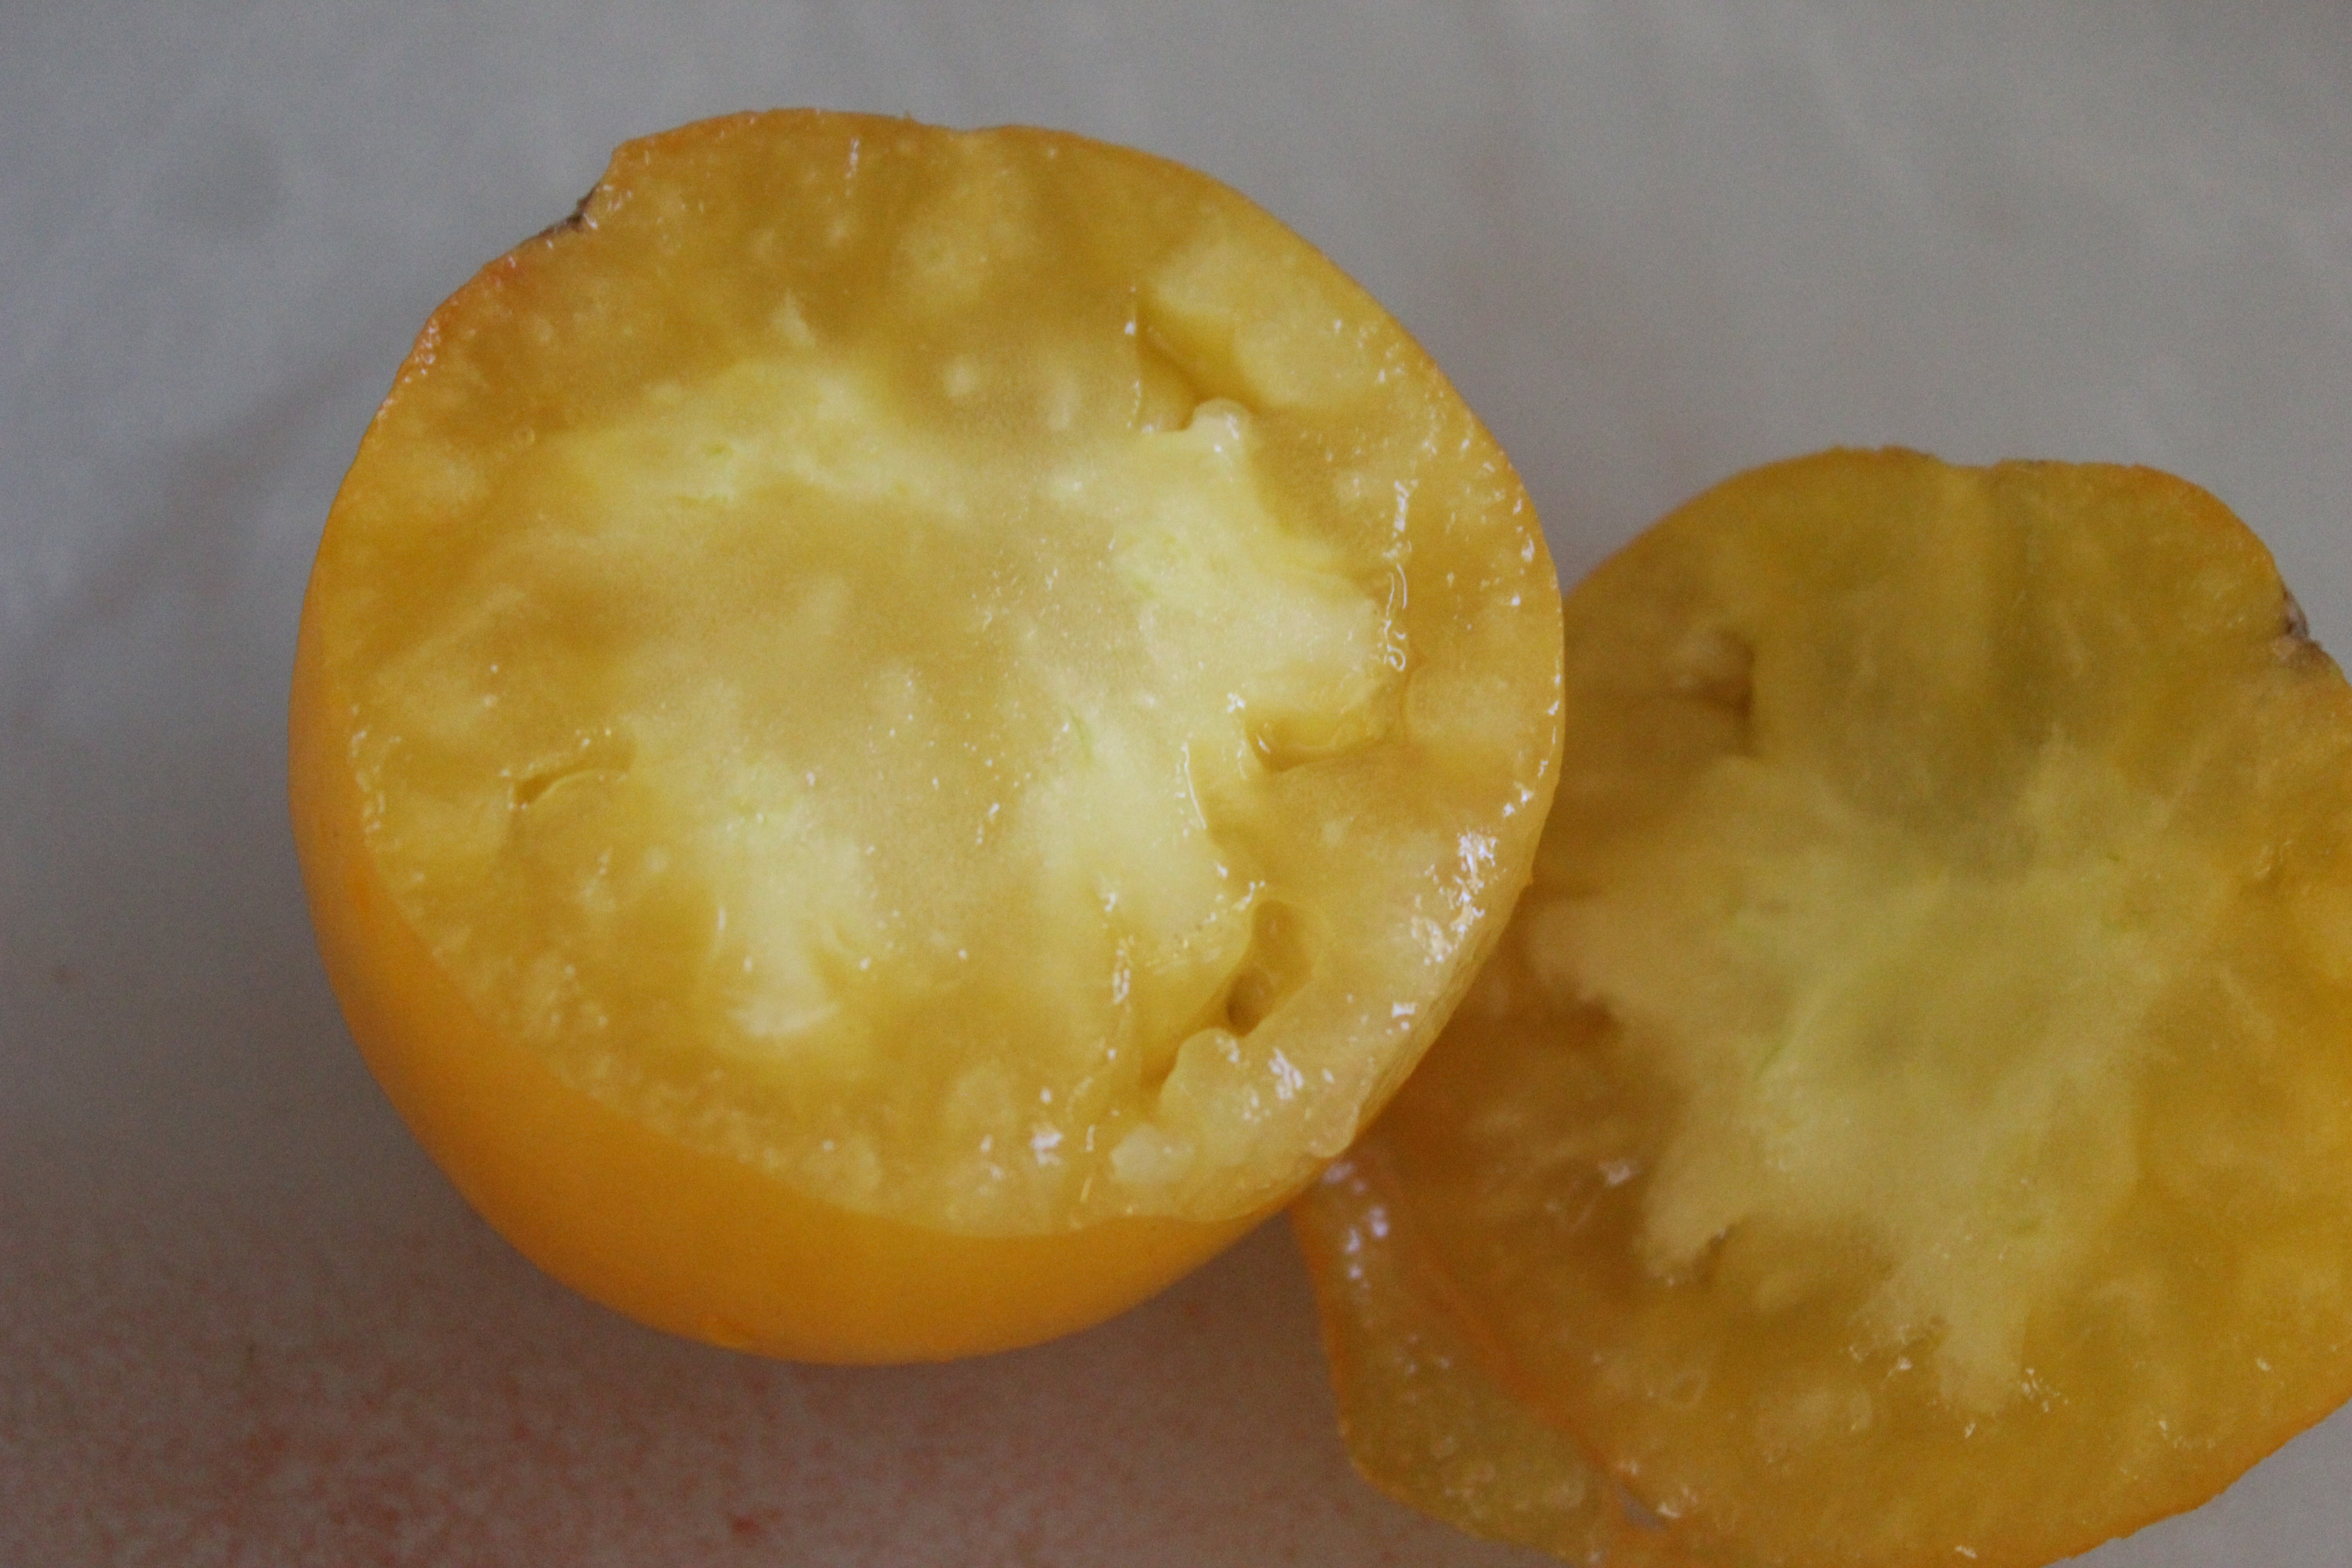
Another pretty yellow heirloom, “Dr. Wyche’s Yellow”. It too is a low acid tomato that is great for eating. I wouldn’t can it, being low acid it would either need to be pressure canned or there would have to be added vinegar. Isn’t that flesh beautiful.

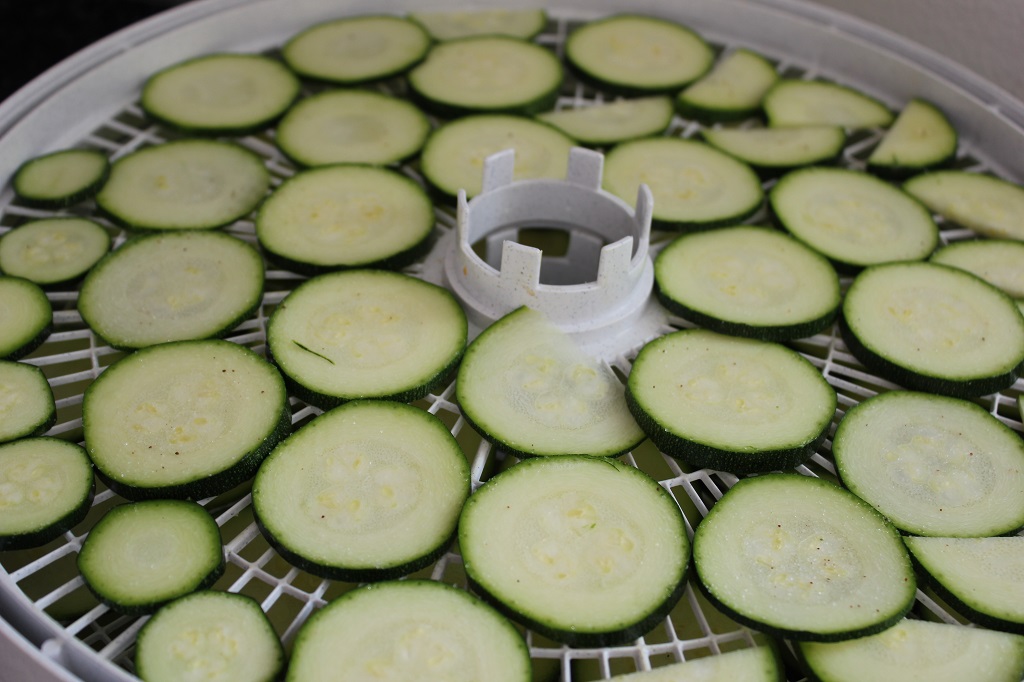
The only prep involved in drying tomatoes is washing and cutting.
Simple and free.  IMG_4725

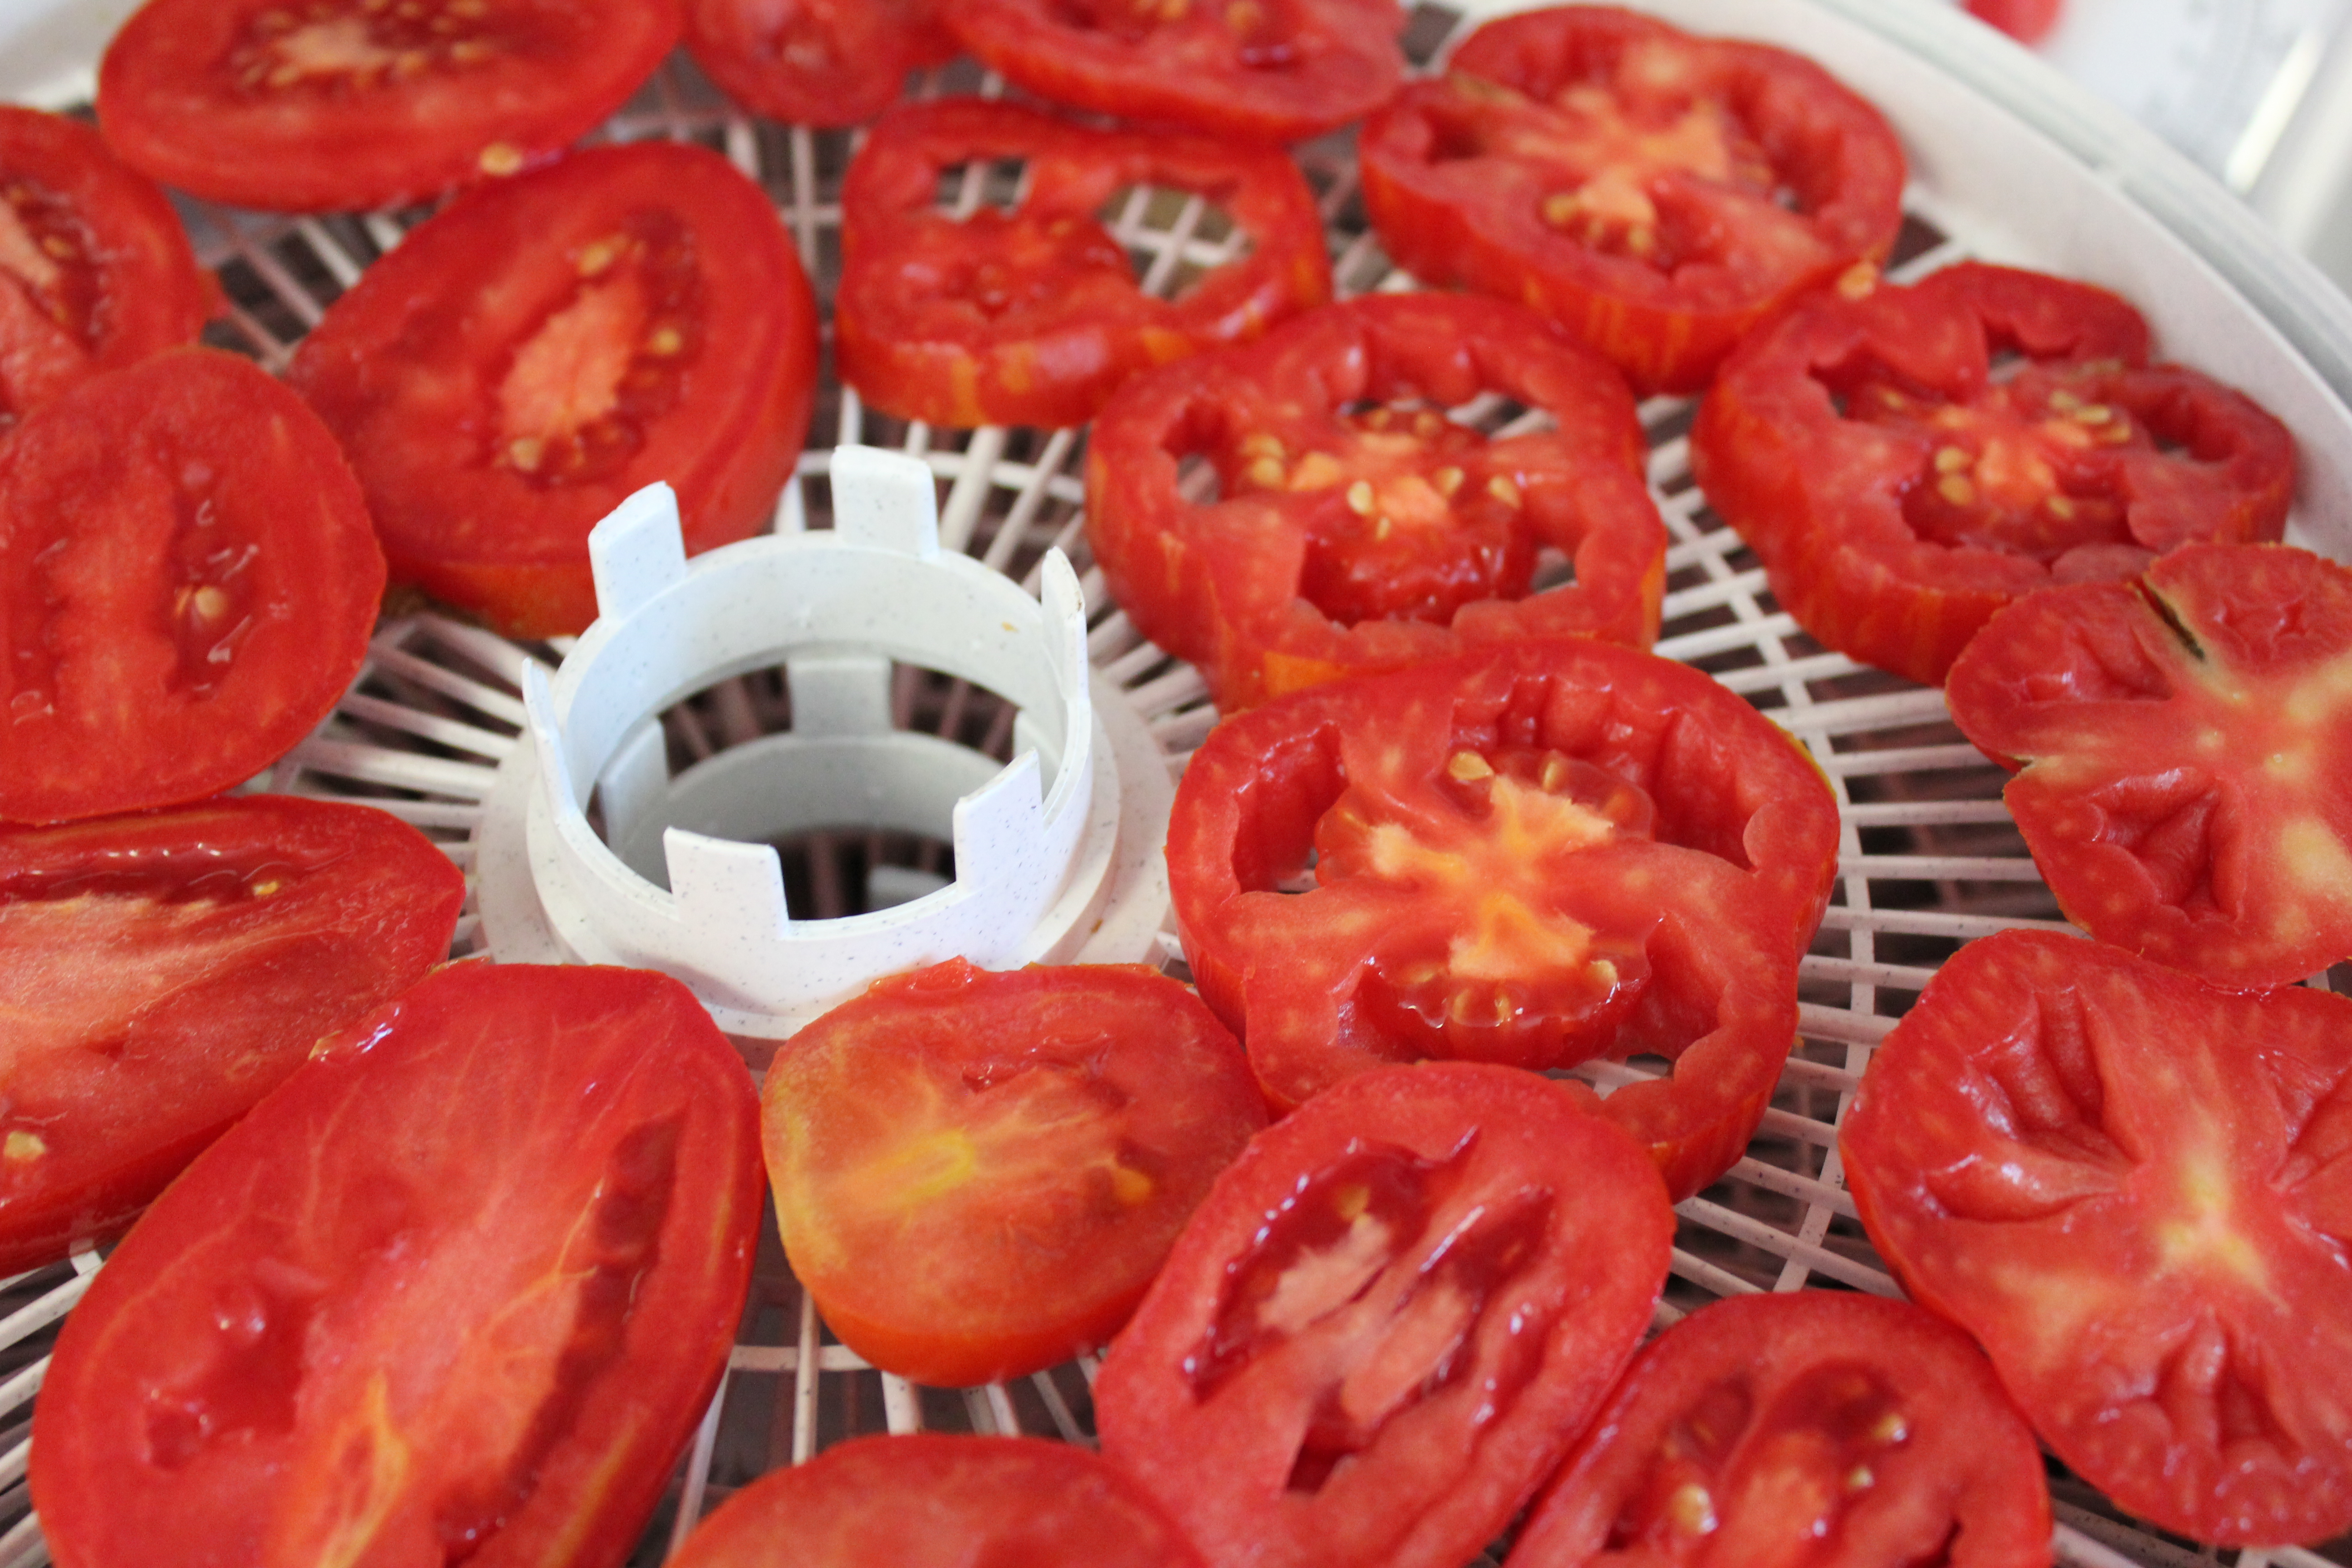
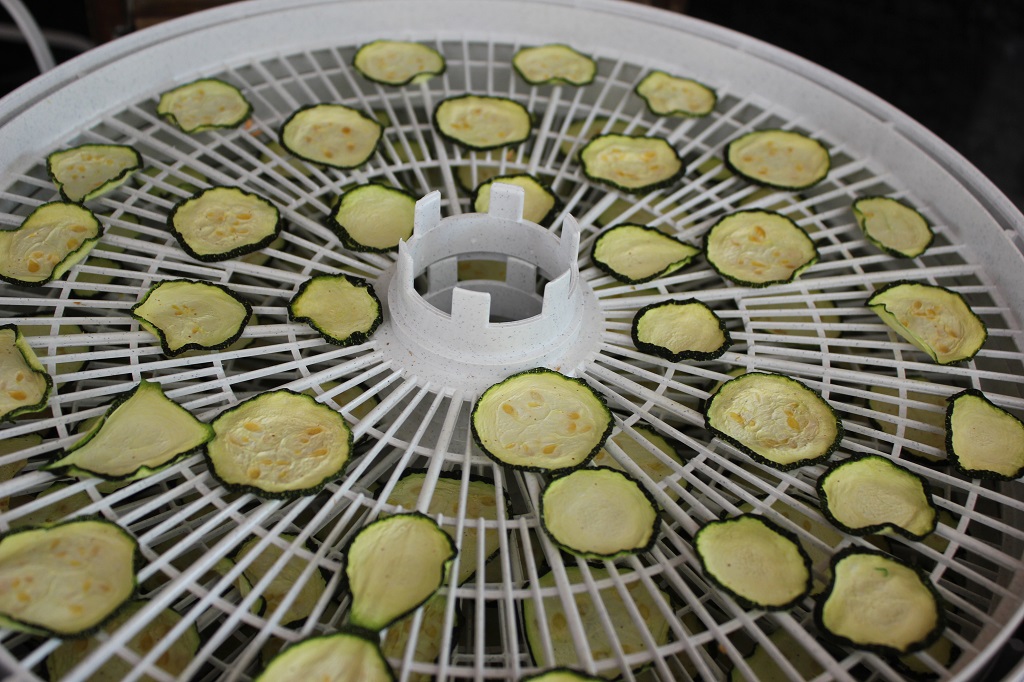
I used my dehydrator, and it took about a day.
A dehydrator isn’t necessary, an oven on a low setting can be used, or they can be dried in the sun.
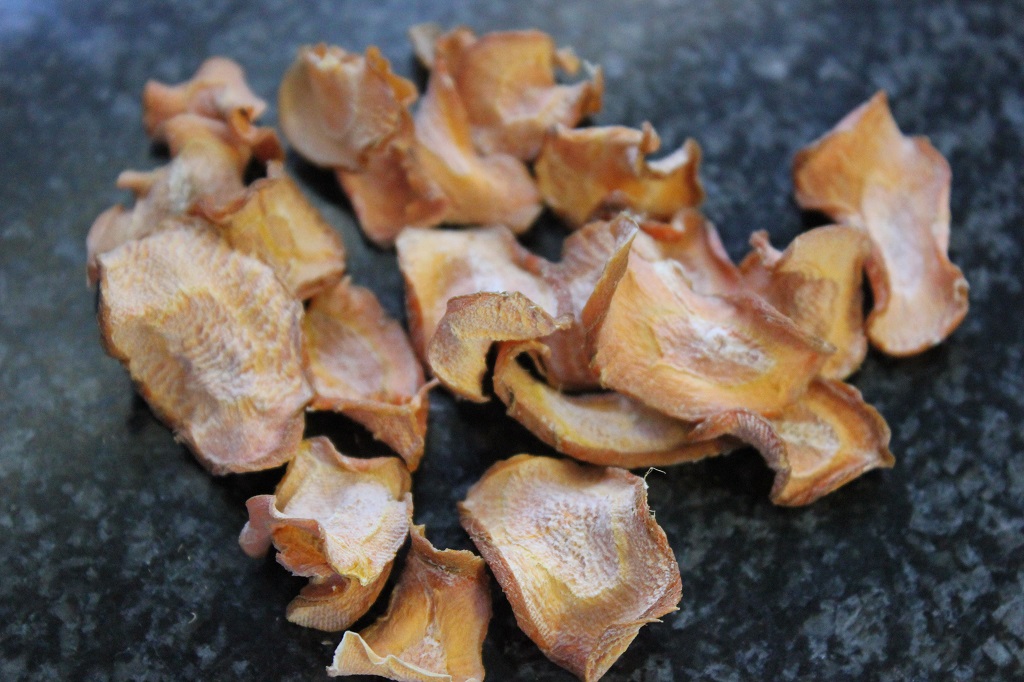
I dry them nice and crispy.  If too much moisture is left in the tomatoes the will go moldy, and since I want them for long term storage I need them very dry.
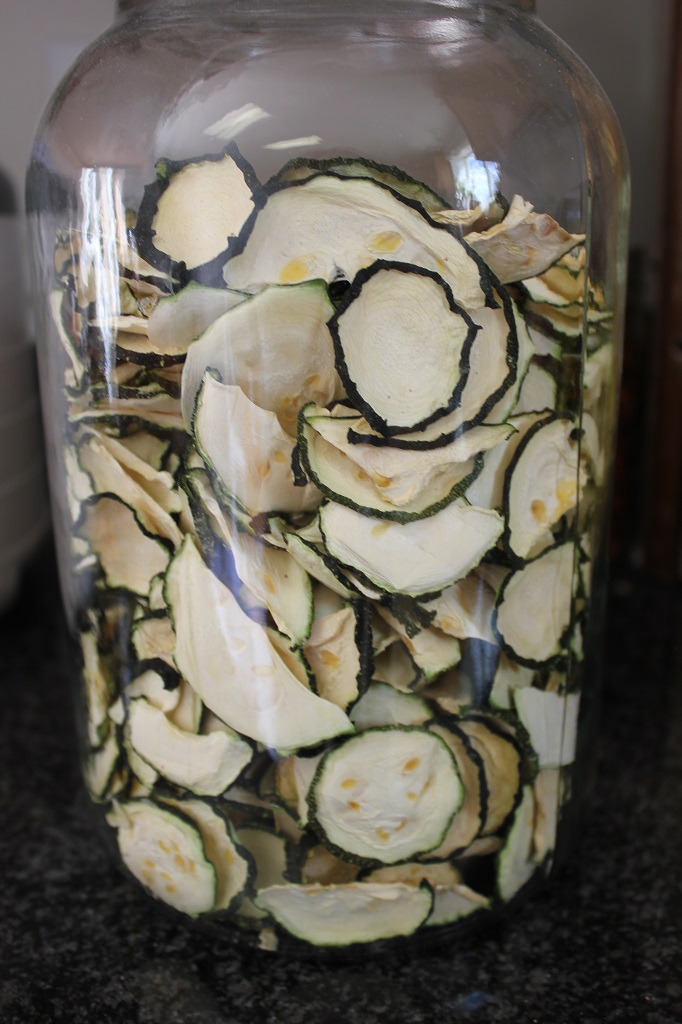
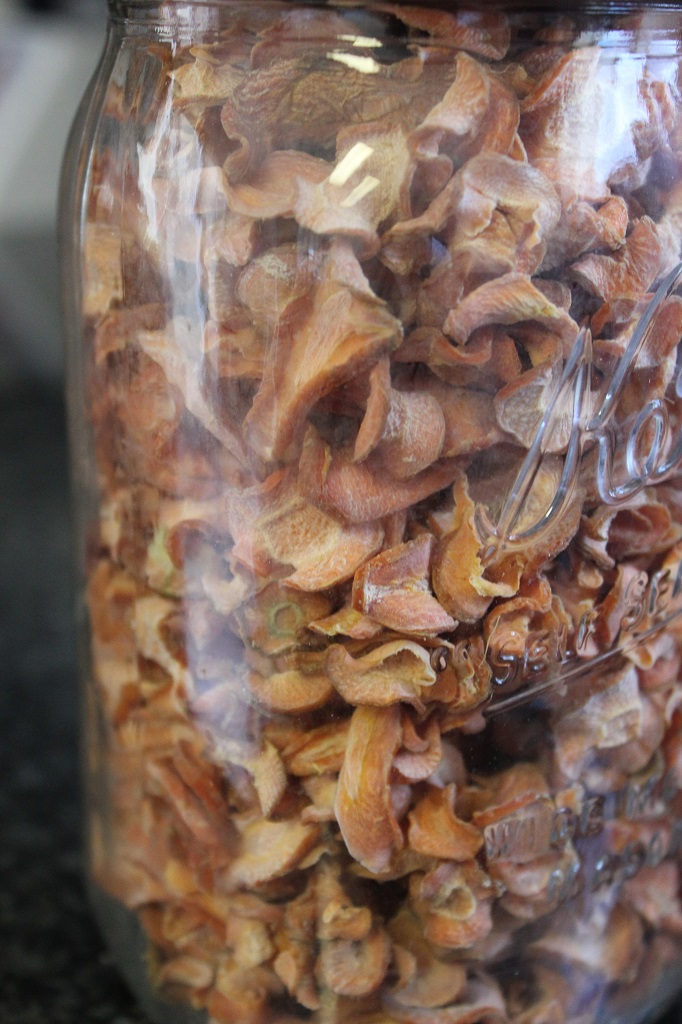
They will be stored in glass jars in the pantry.  IMG_4877

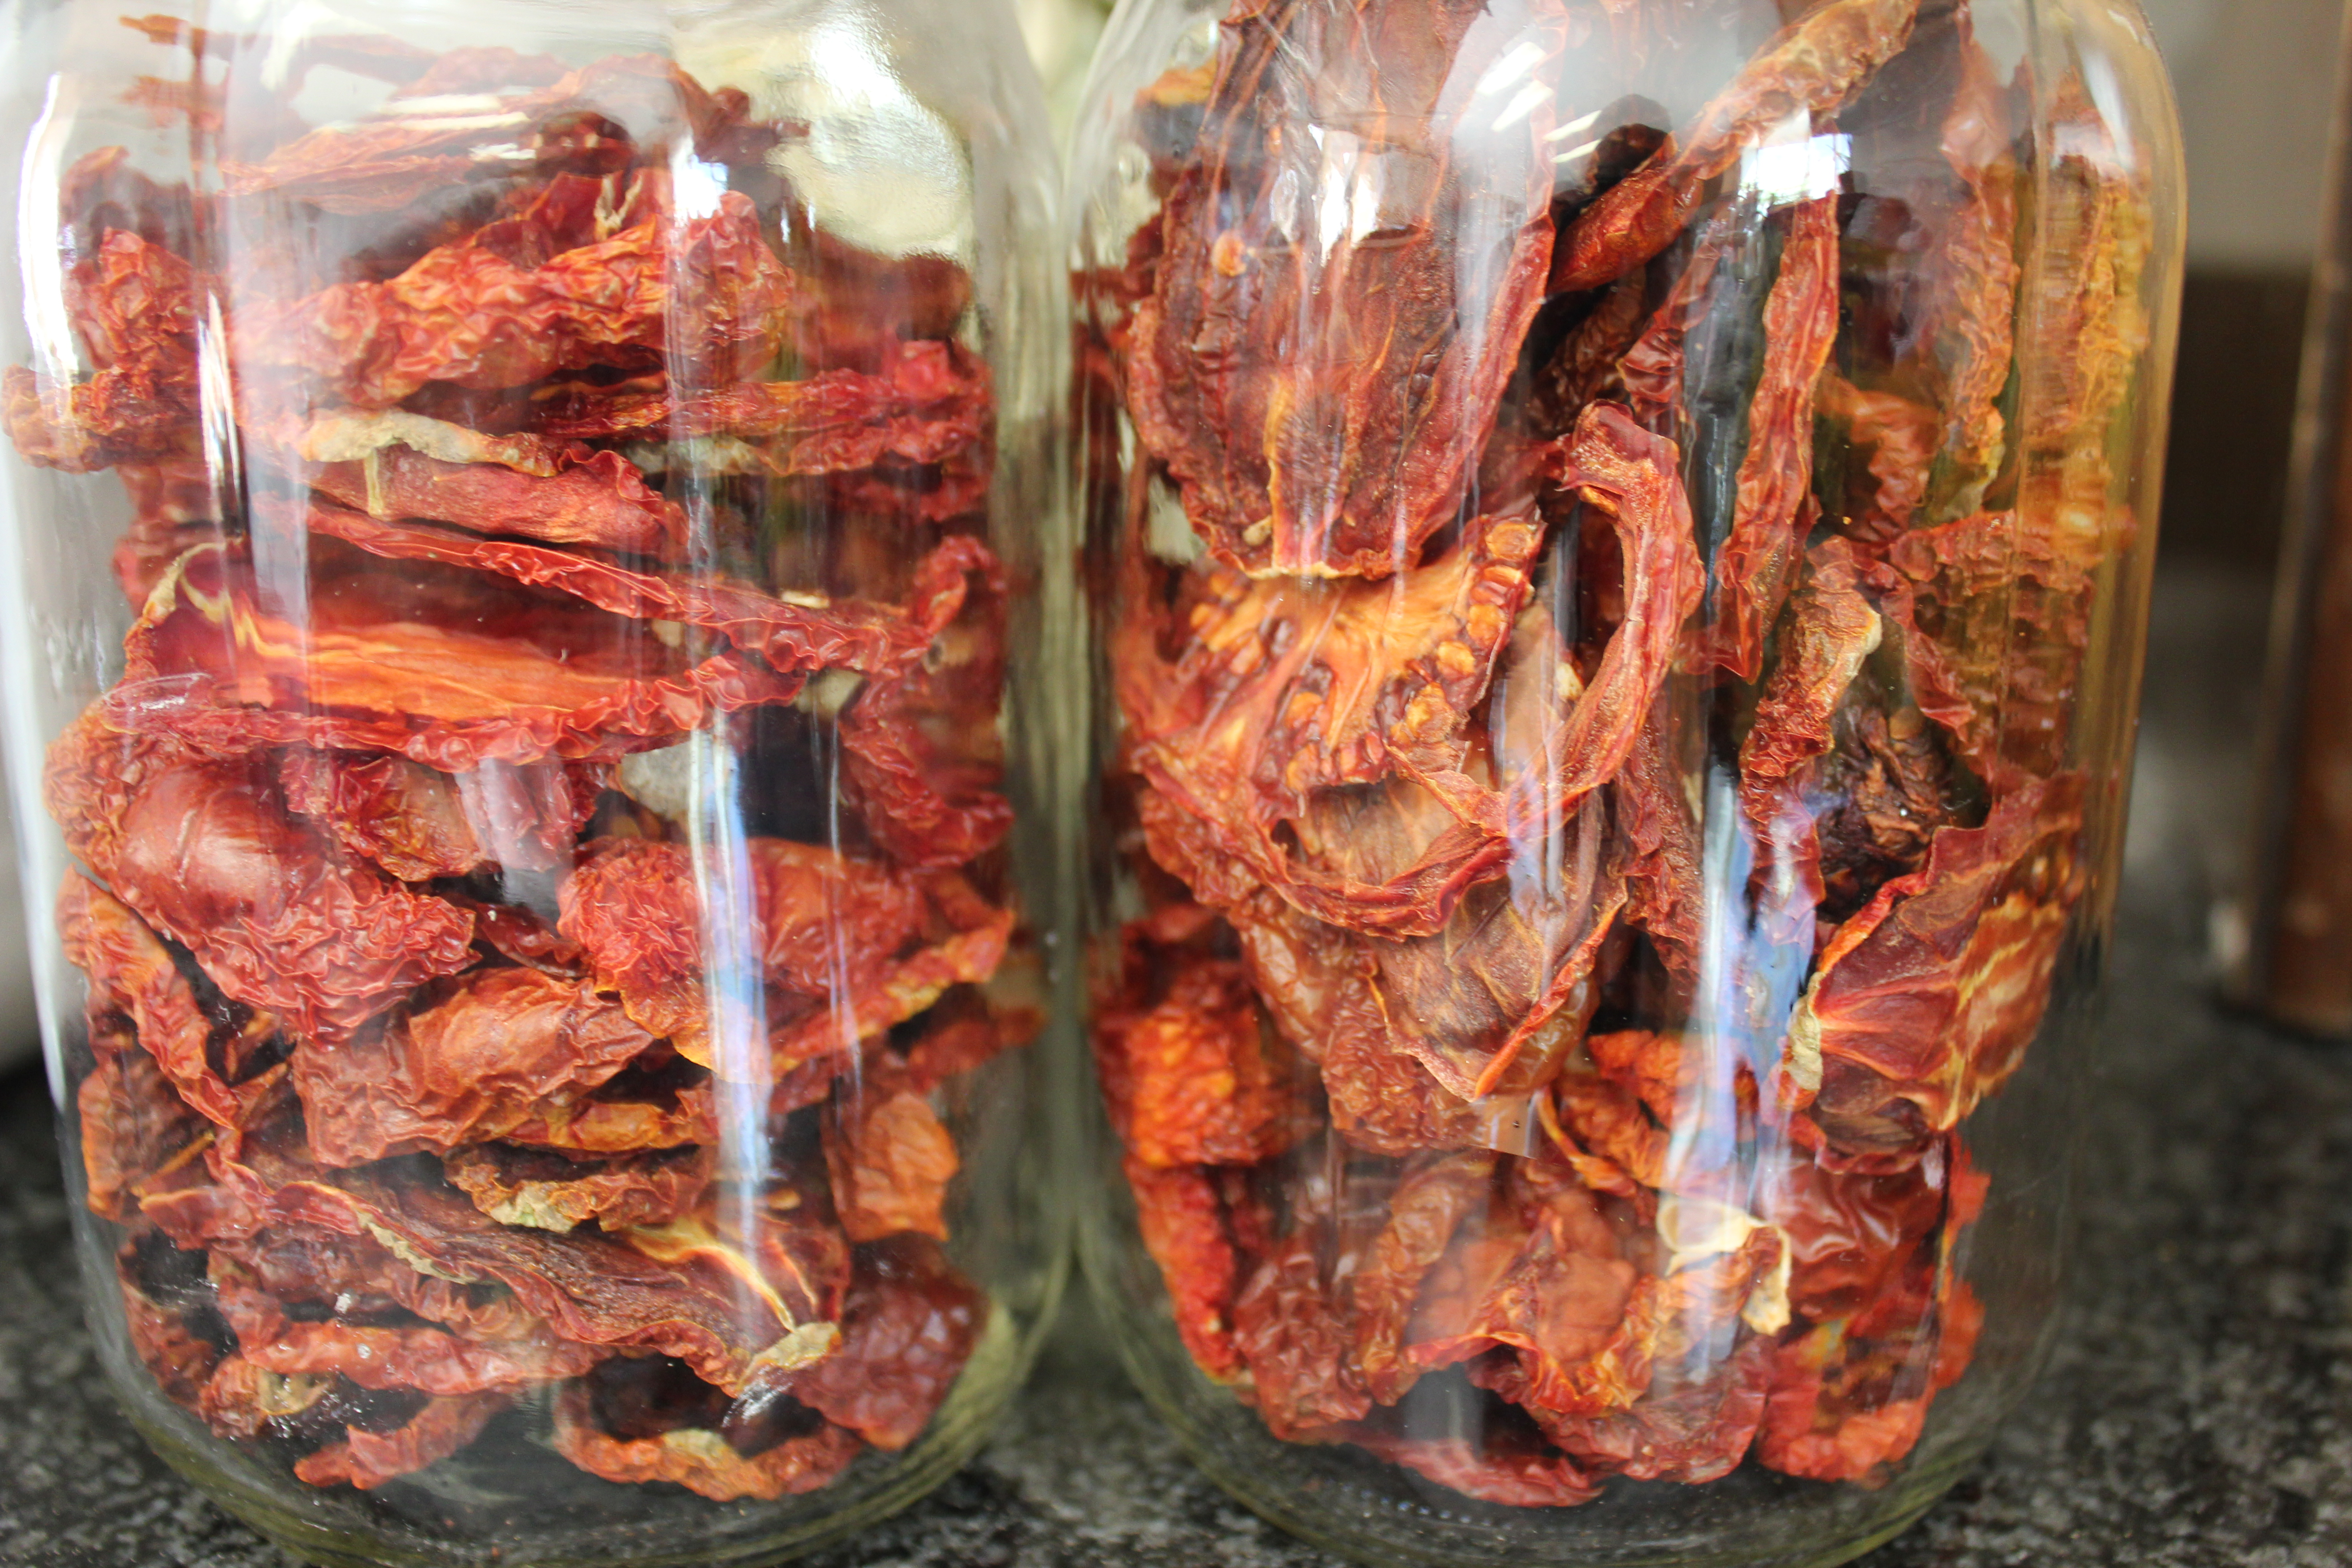
This winter they will add pretty color and great flavor to hearty vegetable soups and stews.

I am so very thankful for the bounty we have received throughout they year and the ability to store and use it later to feel our family.

Drying the Zukes

 Zucchini
A gardener’s delight,
the gift that keeps giving
and giving
and giving
right up until the first hard frost.

Zucchini is one of those beautiful vegetables that seems to grow despite the blackest of black thumbs, it gives prolifically for a long time, making it one of the best vegetables to grow for fresh summer eating.

There are many recipes out there for fresh zucchini, from skillet dinners to baked goods, but today I am going to talk about preserving zucchini.  Zucchini is a delicate vegetable, being that its flesh turns soft quickly when cooked, making canning and pickling a little challenging.  However it dries and freezes beautifully.

IMG_4707

Zucchini is very simple to dry, if you don’t have a dehydrator, a warm oven or a couple sunny afternoons will do.  The method is as simple as slicing thin and sprinkling with salt (if you want).  Some recipes call for oil to be added, while added oil is good for a very crispy, flavorful zucchini chip, it doesn’t work well for long term storage, as the oil will go rancid quickly. IMG_4592

It only took one day in my dehydrator, it always amazes me how much produce shrinks in the dehydrator. IMG_4596

The dried zucchini will be stored in glass jars in my pantry to be used later in soups, stews and sauces. IMG_4878

Processing Carrots


We had a really nice carrot harvest this year,
about 80 pounds.
Our original plan was to store the carrots in the ground, with a thick cover of straw and dig them up as needed.
However.
A friendly little gopher changed our plans.

When we got back from vacation the first of July we found several new gopher mounds around the carrot patch and one smack in the middle of it.
While I appreciate that even little rodents need to eat, I’d not too keen on sharing my hard earned food with them.
They can eat sage brush.

IMG_4568

Our carrots were quickly harvested the next day, and the tops cut off to prevent the carrots from going soft. IMG_4576

There are several ways to preserve carrots through the winter.  They are one of the easier vegetable to store. As I mentioned before, they can stay in the ground, with a thick cover of straw or other bedding to prevent freezing.  They can be stored in a root cellar, either buried in damp sand or peat moss.  They can be stored in a cool refrigerator.  They can be dried or canned.

Since my first pick, storing them in the ground, was derailed by pesky gophers I picked drying and canning, I don’t have refrigerator space and didn’t want to deal with barrels and buckets of sand in my cold storage (which really doesn’t keep a very cold temp anyway).

IMG_4577

Drying was  the simplest method.
I sliced those pretty Orange carrots in the food processor and laid them out in my dehydrator.
It took about a day for them to become crispy dry. IMG_4578 IMG_4704

They are stored in mason jars in the pantry.
They will be added to soups and stews this winter. IMG_4703 IMG_4579

Most of the carrots were canned.
Canning carrots are very easy
(as long as you aren’t scared of using a pressure canner like I was for so many years!)
The girls scrubbed the carrots very well and I sliced them into chunks.
We then raw packed them into pint jars, added water (no salt) and processed at 12 pounds pressure for 25 minutes. IMG_4580

Some of the smaller carrots I saved and canned them whole in the jars.
I thought it looked cute,
everyone needs a little cuteness in life. IMG_4582

So there you have it.
Carrots, stored away for winter.
And if I was really on the ball, I would have planted more and would have more to harvest, or over winter later this fall.
But I didn’t,
maybe next year?

Chicken Broth Part II


 Chicken Broth Part I is
HERE

At this point we have already cooked the chicken with vegetables and seasonings.  The chicken has been removed and the meat stripped from the bones, and the bones and skin put back into the pot.  Put the pot back onto the stove and slowly simmer for 48 to 72 hours, adding water when needed.


After 48 to 72 hours the bones and skin will have reduced considerably.  I empty the pot, through a fine strainer, into a large pitcher.  I like to press out any liquid remaining in the chicken parts.  The bones are soft and will crush when you put pressure on them, this is good thing, when the bones go soft you know that the minerals have leached out of them and into your broth, making the broth packed full of nutrients.

Once you have drained the liquid out of the chicken mush and strained the water, place the pitcher into the refrigerator to cool completely.  This allowes the fat to rise to the top and solidify so it is easier to remove.  We do want some fat in our broth, but not as much as is produced. 

After a few hours you can see the fat as risen and solidified.  Also the broth itself will thicken (depending on the chicken) sometimes the broth will be so solid you can cut it, other times the broth just seems a little thicker.  The is gelatin that has come from the bones gelatin is very good for you, a very digestible form of protein.  Skim all the fat off the top.  If the fat is cold it is very easy to skim, it just breaks off in big lumps.  This fat can be saved for cooking if you would like, potatoes are really good fried in this fat.

Then pour the broth in to individual containers, in amounts that suit you.  I like to use small, plastic, containers that hold two cups of broth.  Then I add a little lup of fat into each container.  Don’t be afraid of good fats, we need them to adsorb certain vitamins.   

The broth is then stored in the freezer.

Isn’t it such a beautiful dark brown color, this broth is rich, full of flavor and packed full of nutrients.  It can be added to any recipe that calls for broth, bouillon cubes (which are just chemicals and not good for you) or just water for an added punch of flavor.  Try cooking rice in broth for a wonderful flavor and added nutritional value.  Broth is also good for the sick, whose bodies need the nourishment, but also need something easy to digest.


Chicken Broth Part I


” Why is chicken soup superior to all the things we have, even more than relaxing “Tylenol”?  It is because chicken soup has a natural ingredient which feeds, repairs and calms the mucous lining in the small intestine.  This inner lining is the beginning or ending of the nervous system.  It is easily pulled away from the intestine through too many laxatives, too many food additives…and parasites.  Chicken soup…heal the nerves, improves digestion reduces allergies, relaxes and gives strength.”
Hanna Kroeger Ageless Remedies from Mother’s Kitchen

 Chicken broth is one of the easiest ways to add nutritious foods to our family’ diet.  Chicken broth when cooked slowly over a few days becomes a super food full of vitamins, enzymes and minerals that nourishes the body, and heal disease.  There is a lot of research about the value of chicken broth that is beyond the scope of this post and blog, but if you would like to research more here are a few good articles about the value of chicken broth:  Here, Here, Here and Here.

I like to make chicken broth in a  big batch and freeze it for quick easy meals.  Of coarse I use chicken broth in soups, but I also use it in  mashed potatoes, casseroles, any where liquid is required and I want a little punch of nutrition and flavor.  Chicken broth is easy to make, but does require time to get the full benefits of the chicken, when I do broth it takes at least three days.

 I start with two chickens and place them with all the pieces (giblets and neck) in a large stock pot.  I add onions, celery, thyme, sage, salt, pepper, garlic and vinegar. I fill the pot with water and bring it to a boil


 Once it is boiling hard, reduce the heat so it is lightly simmering and skim the impurities as they rise to the surface.
  You want it to cook very slowly.


After a couple hours the chicken will be fully cooked.  At this point take the chicken out, let it cool and little and strip the bones of the meat.  I usually make chicken noodle soup on broth making day!  the cooked chicken can be used for other recipes and also freezes well.

At this point all the bones and skin go back into the pot to simmer slowly for 48 hours…..

(to be continued….)